Demos
- Deploying the Correct Code
- Checking the Controls
- Using the Driver Station
- How to Robot Demo (with Kitty)
- Controls Layout Stash
Deploying the Correct Code
It's important to make sure the correct code is deployed to the robot before demos to ensure there are no unwanted bugs (secret features) that could jeopardize the quality of the demo. This page will guide you through selecting and deploying the correct branch.
The team keeps the working and tested code on the main branch, so you first need to navigate to this branch. Do this by opening the terminal by hitting this icon:
Then, type in git checkout main to navigate to the main branch:
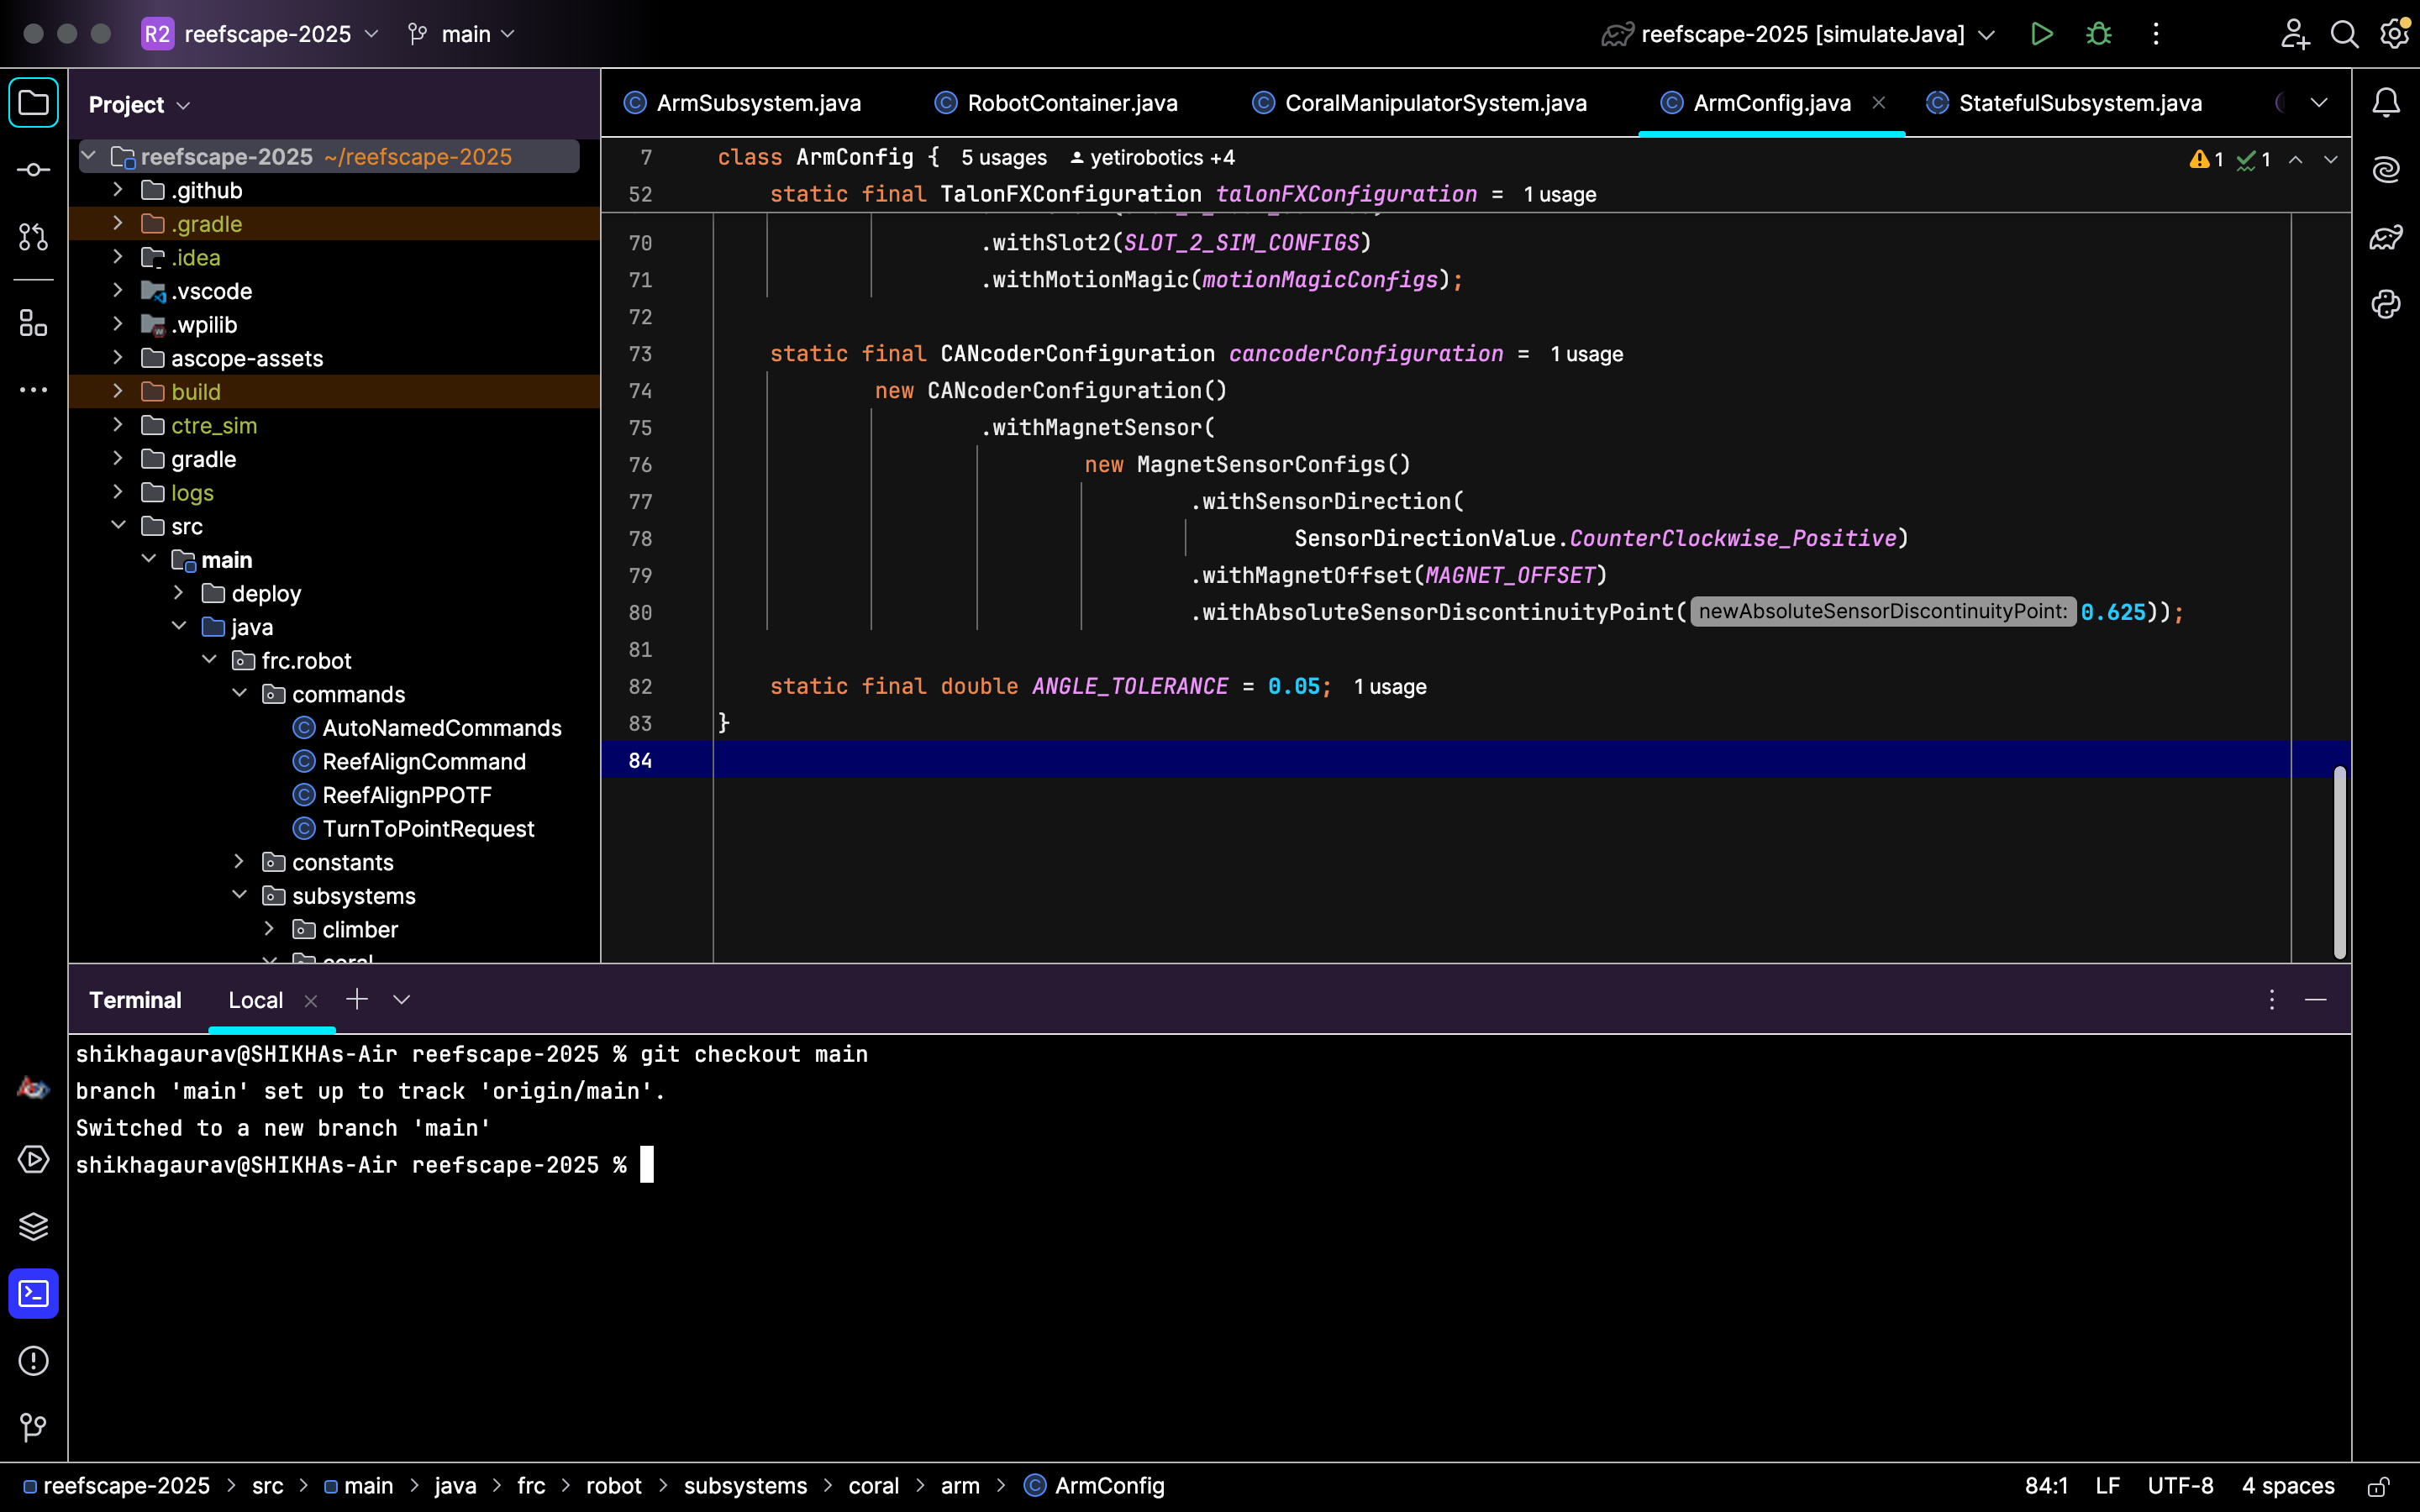
Next, type in git pull to update the branch with any changes that may have been made:
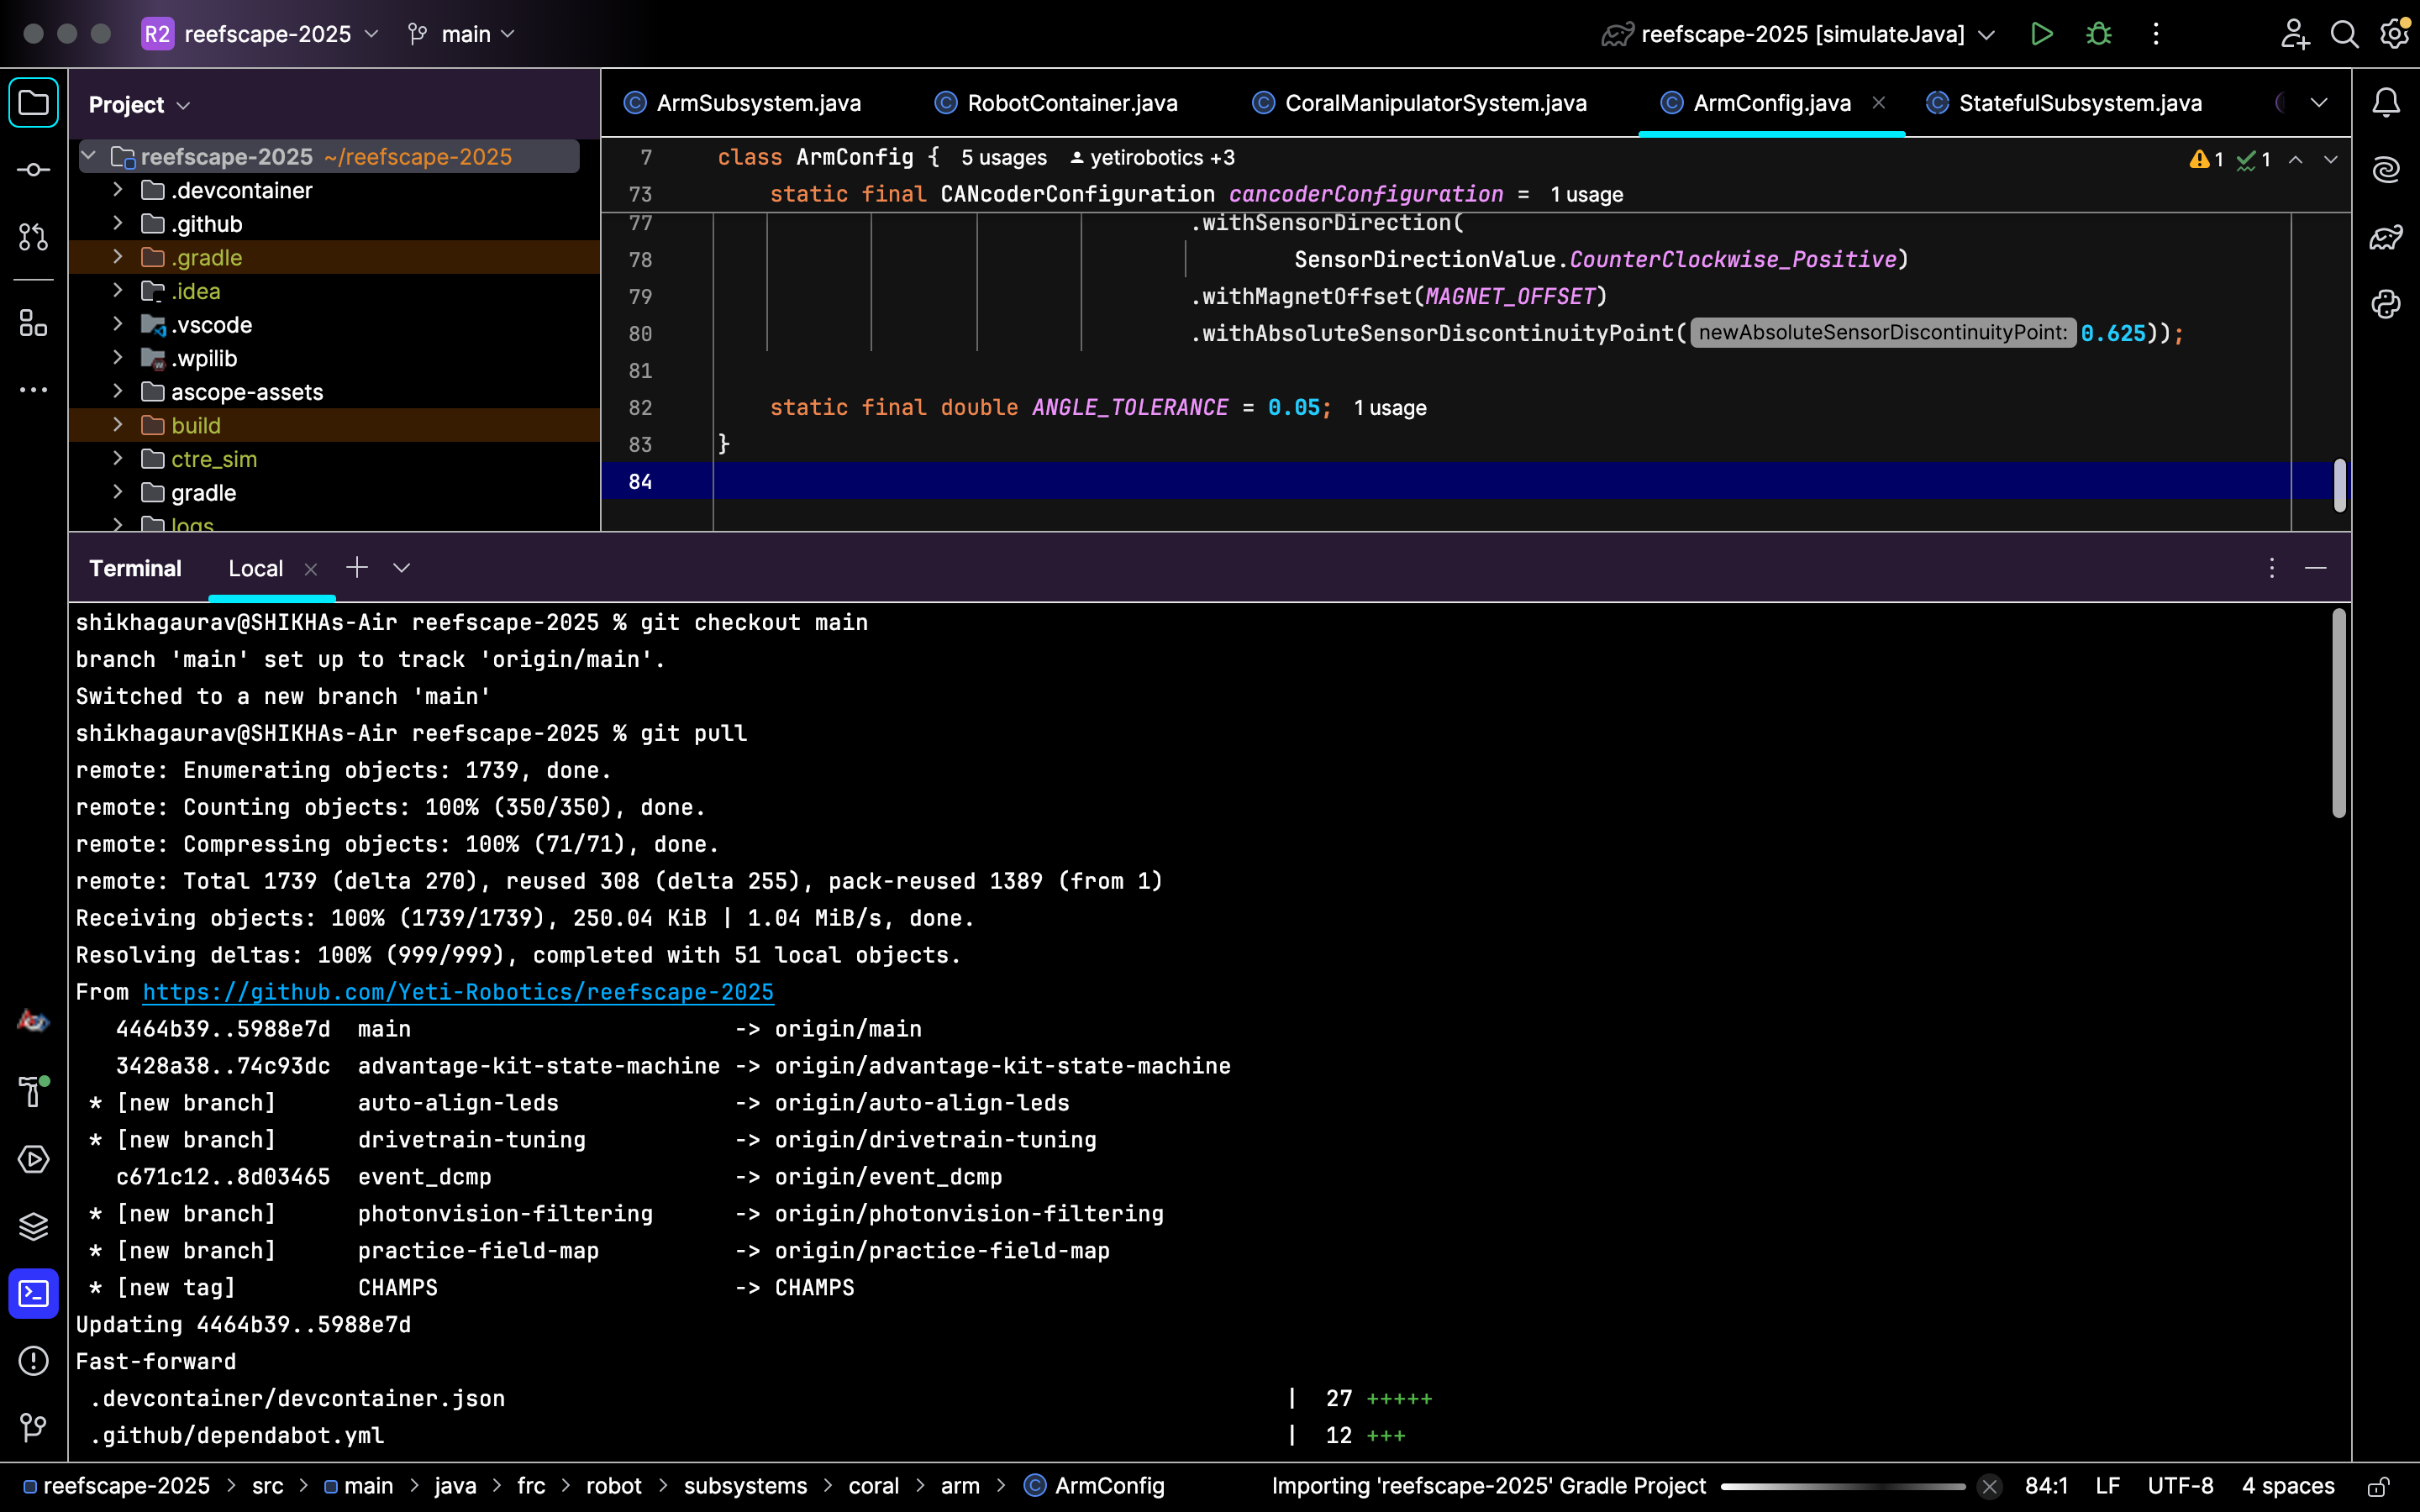
Next, make sure you're connected to the robot's WiFi. It should show up as 3506_[robot name] or something similar. Once this is done, hit the Gradle tab here:
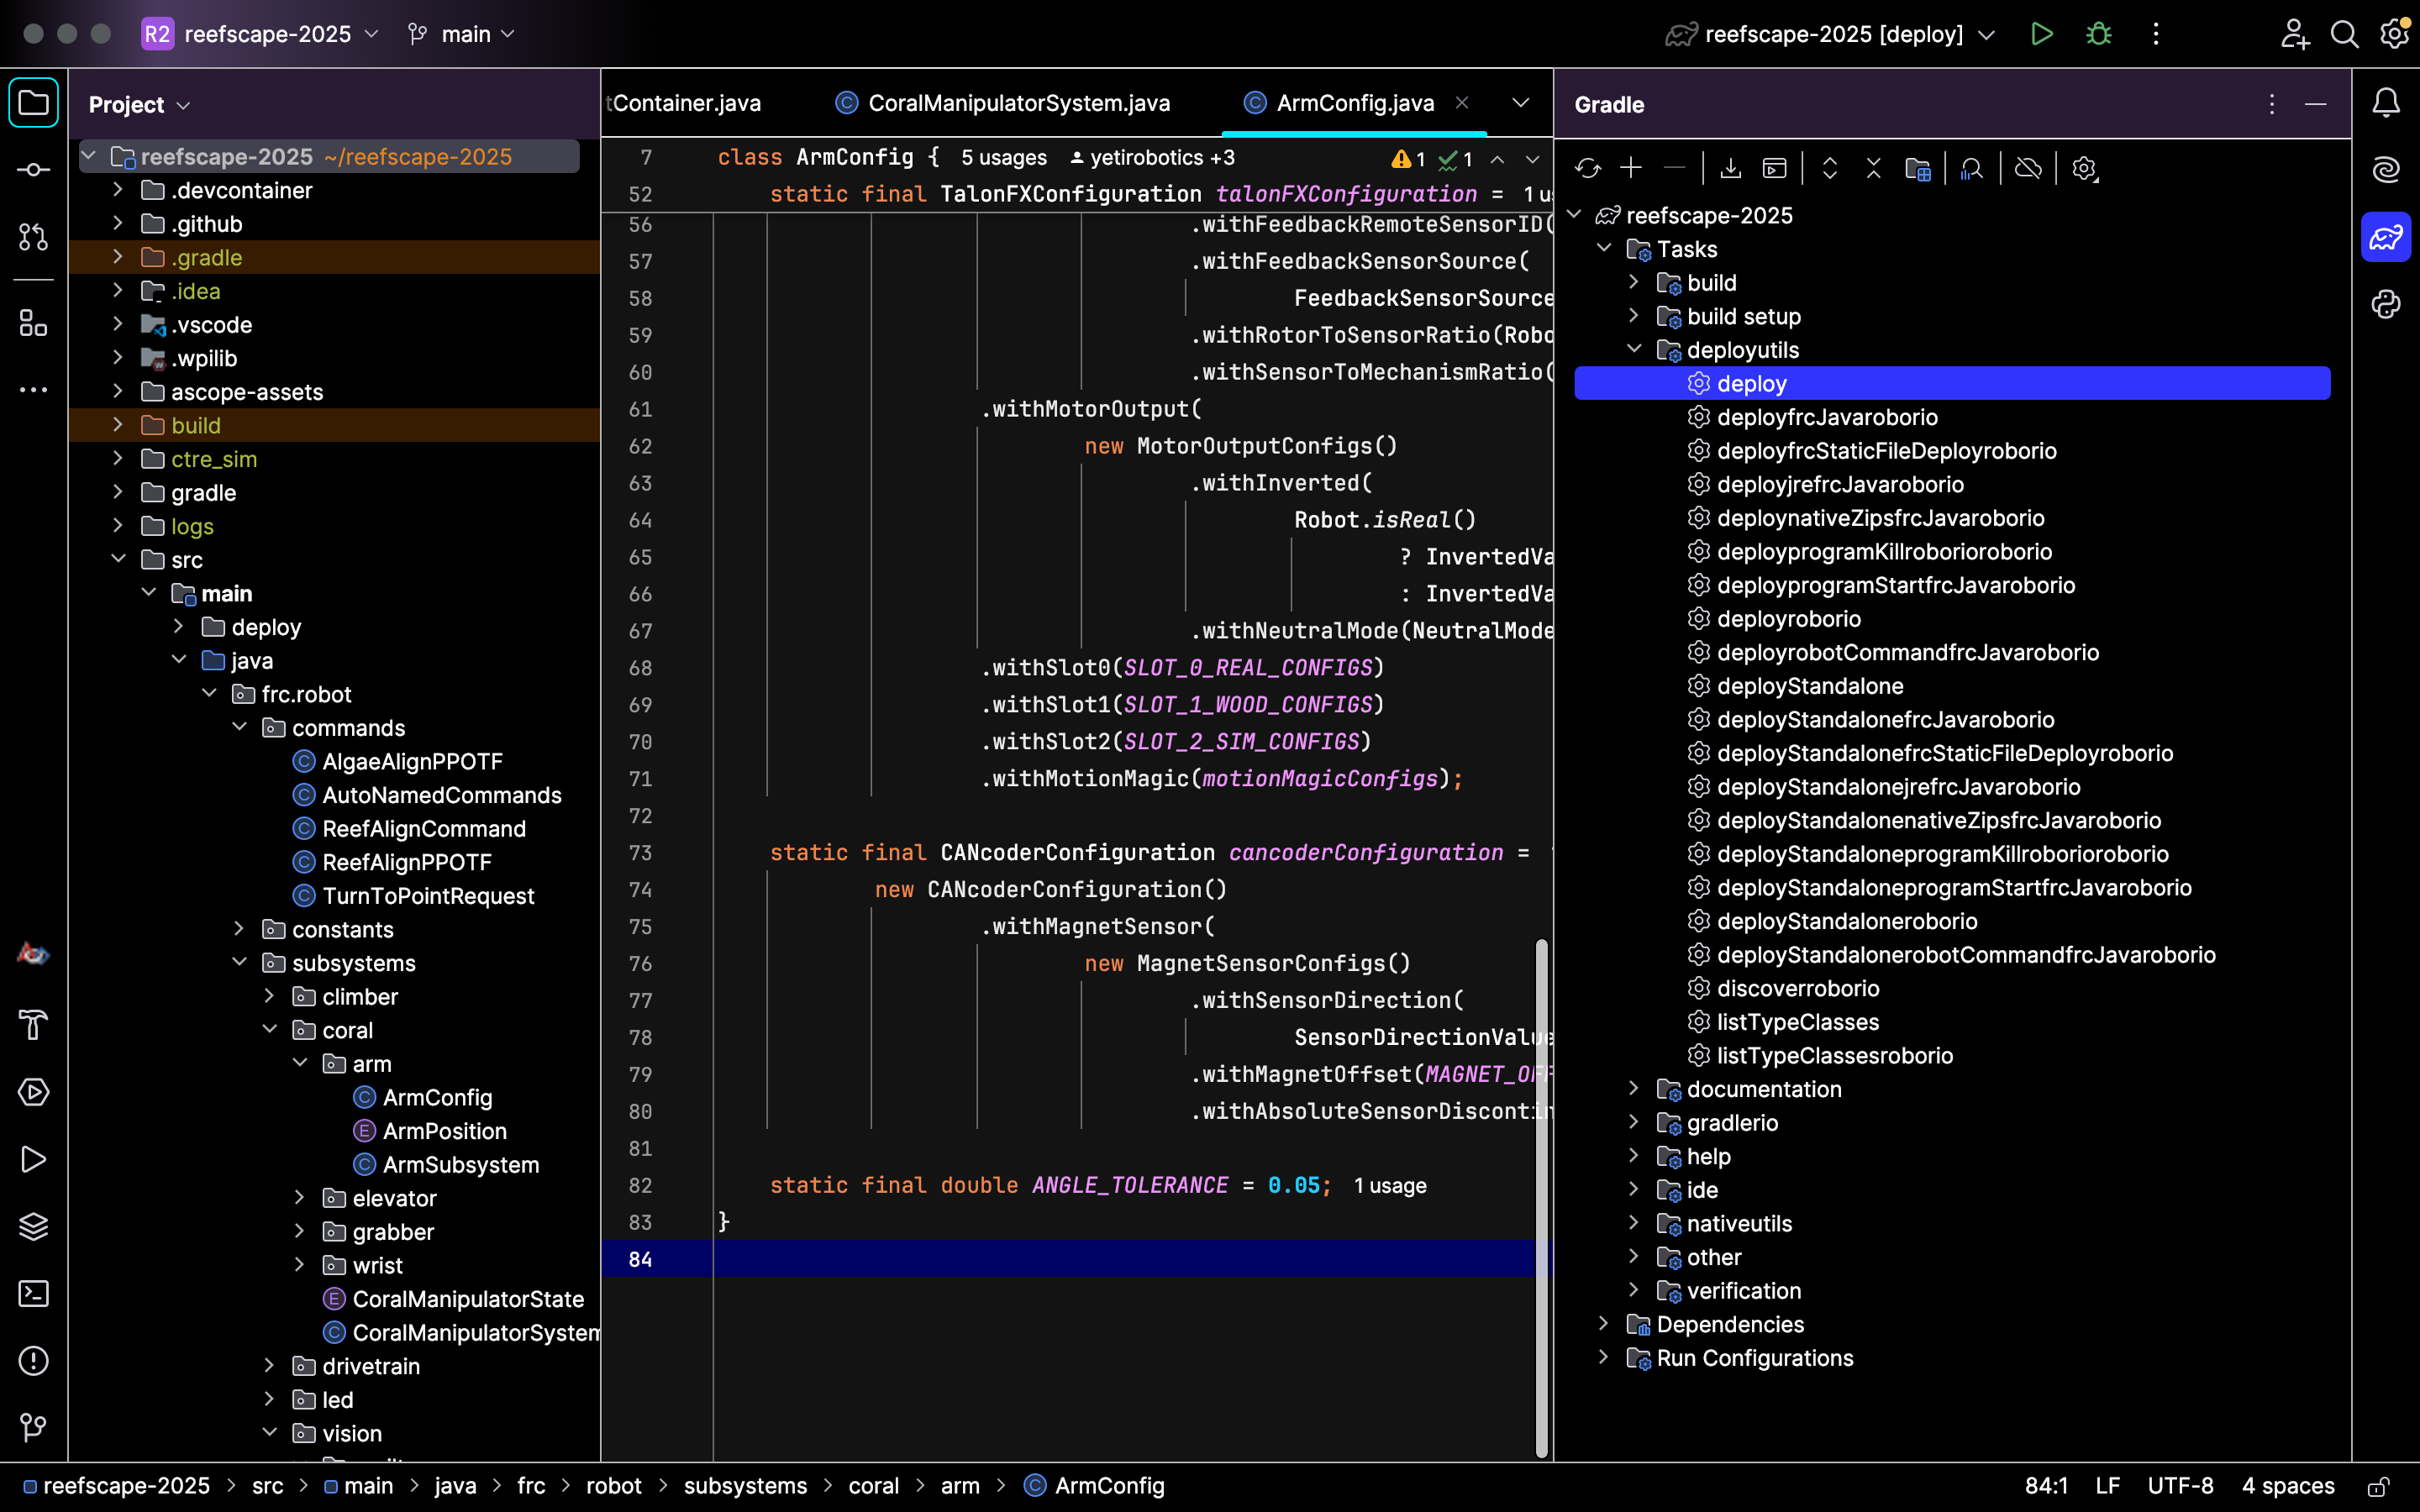
Great! Your code is now being deployed to the robot. Wait a couple of seconds, and you should be good to go!
Checking the Controls
Overview
During demos, it's generally pretty important to know what buttons make your robot move. Sometimes, these controls will not be readily available to you in the form of a graphic or a veteran. This page will guide you through how to figure out your controls so that you can successfully pull off a demo.
Guide
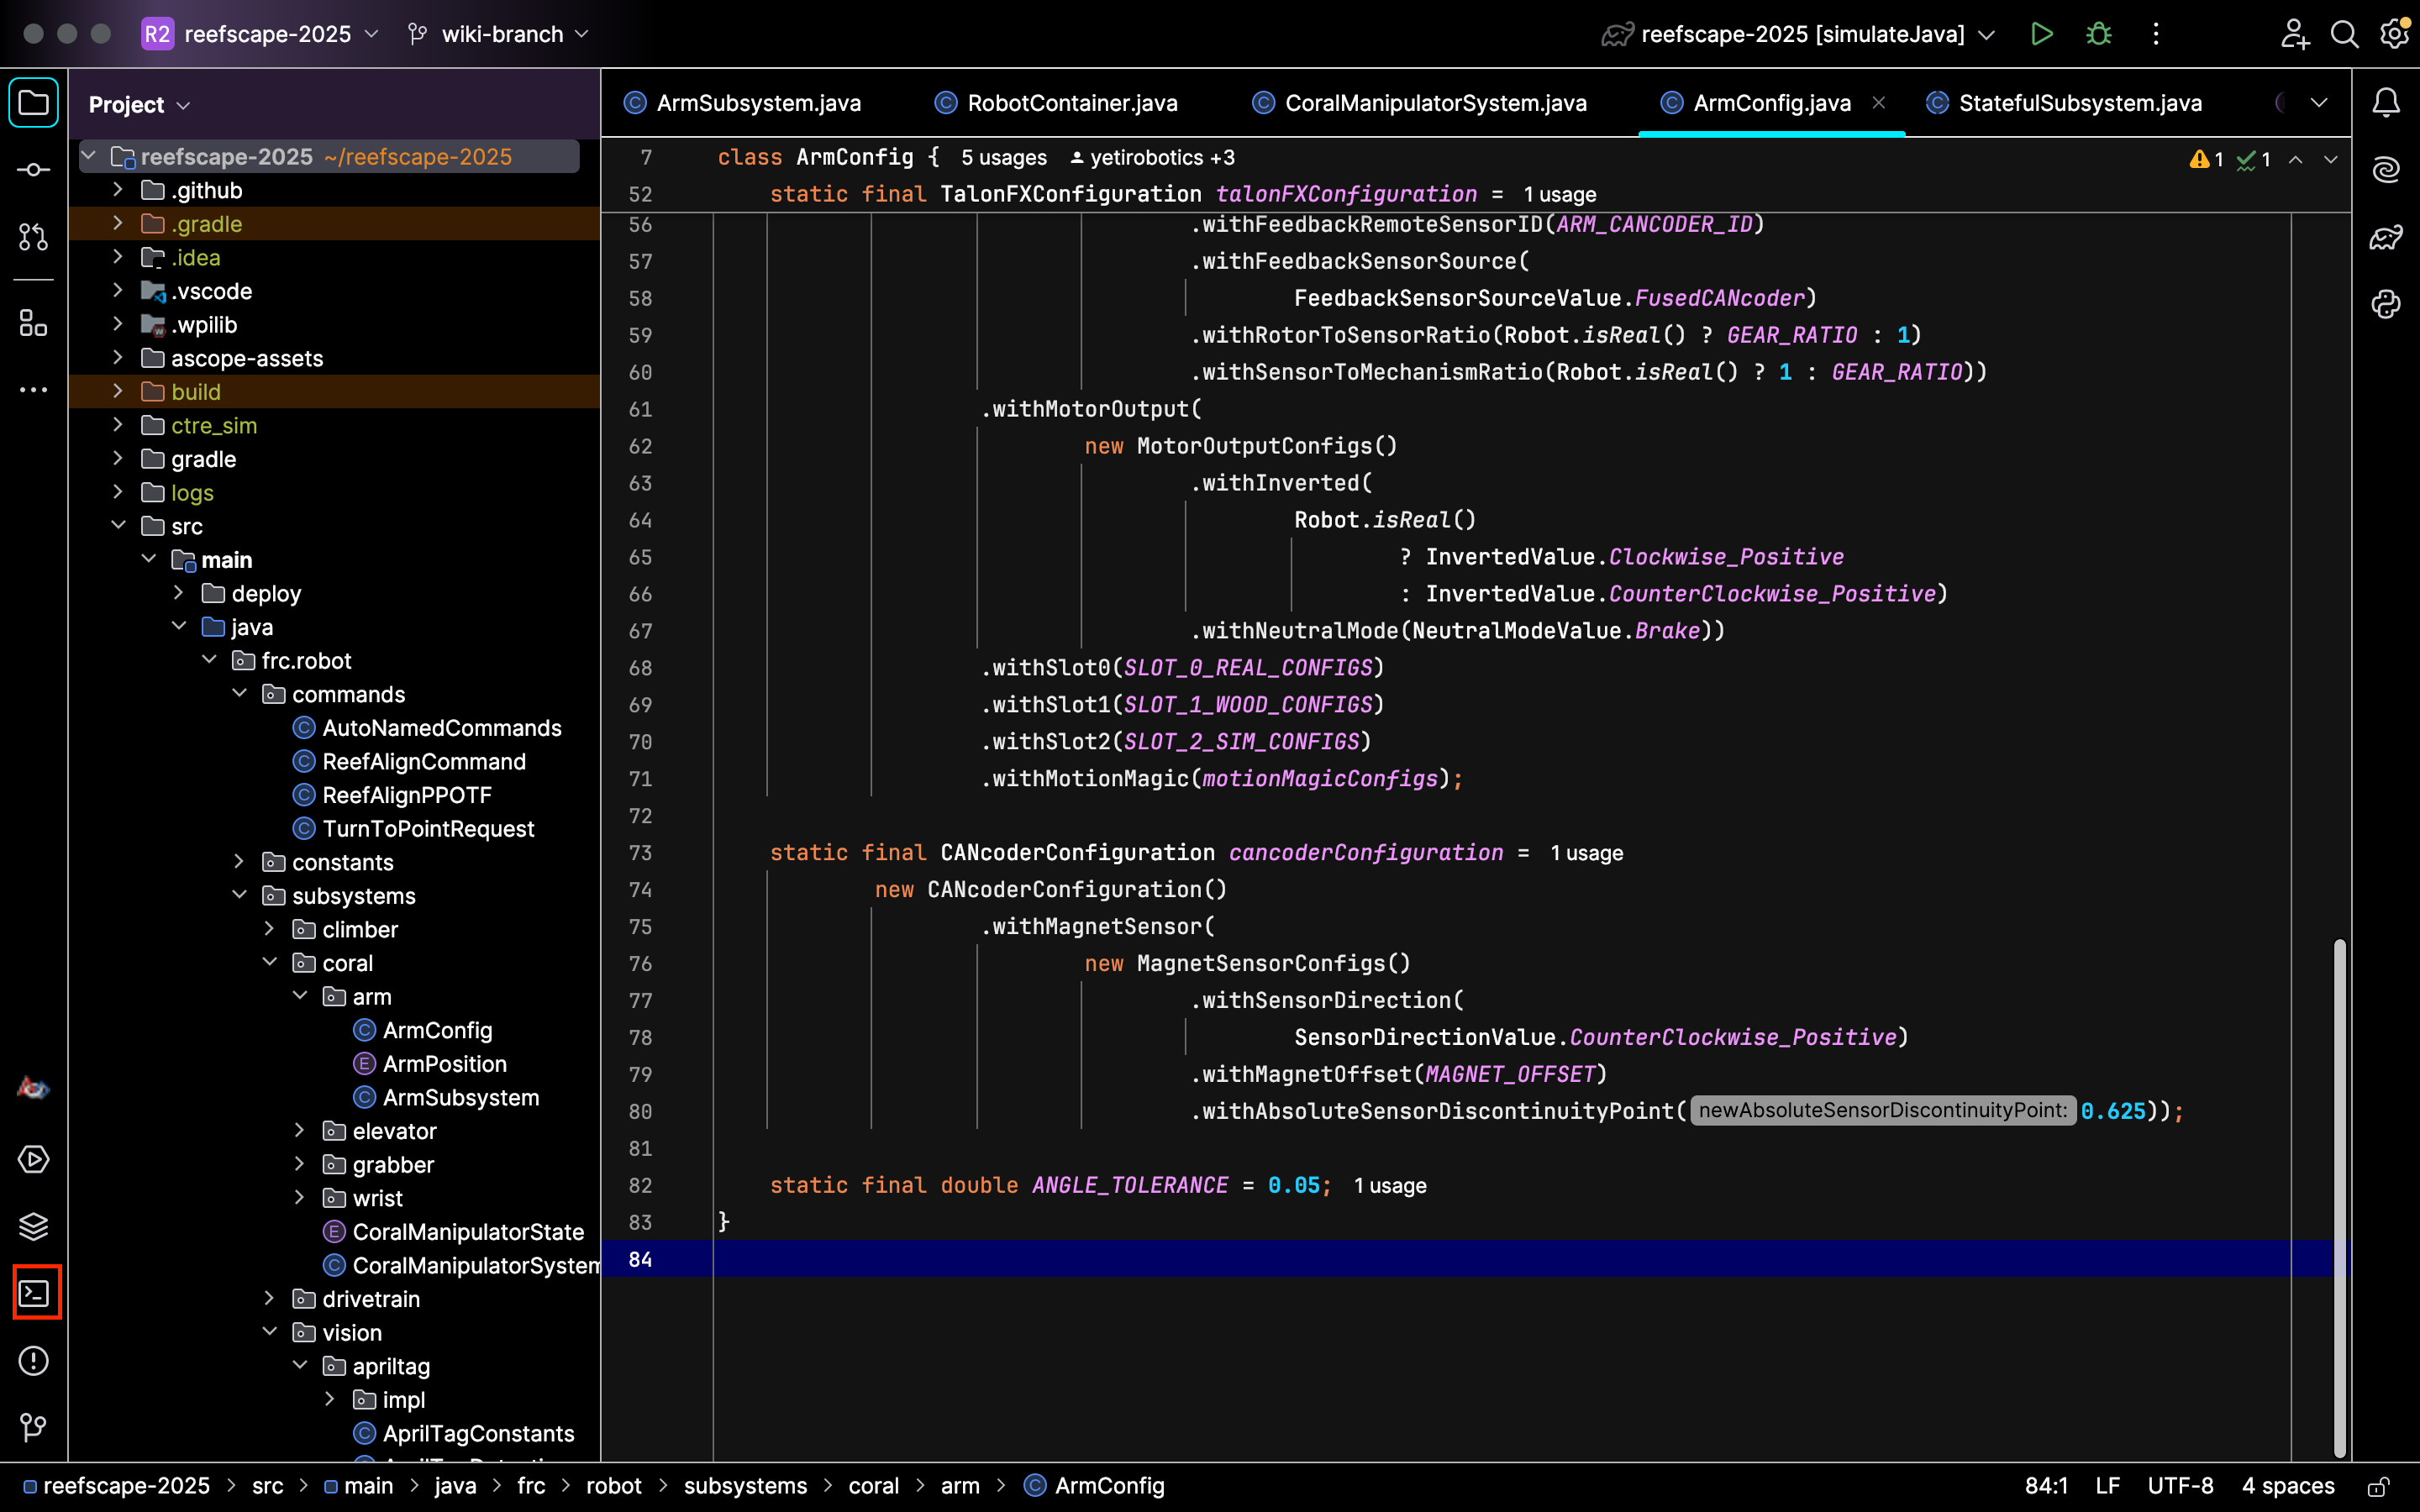
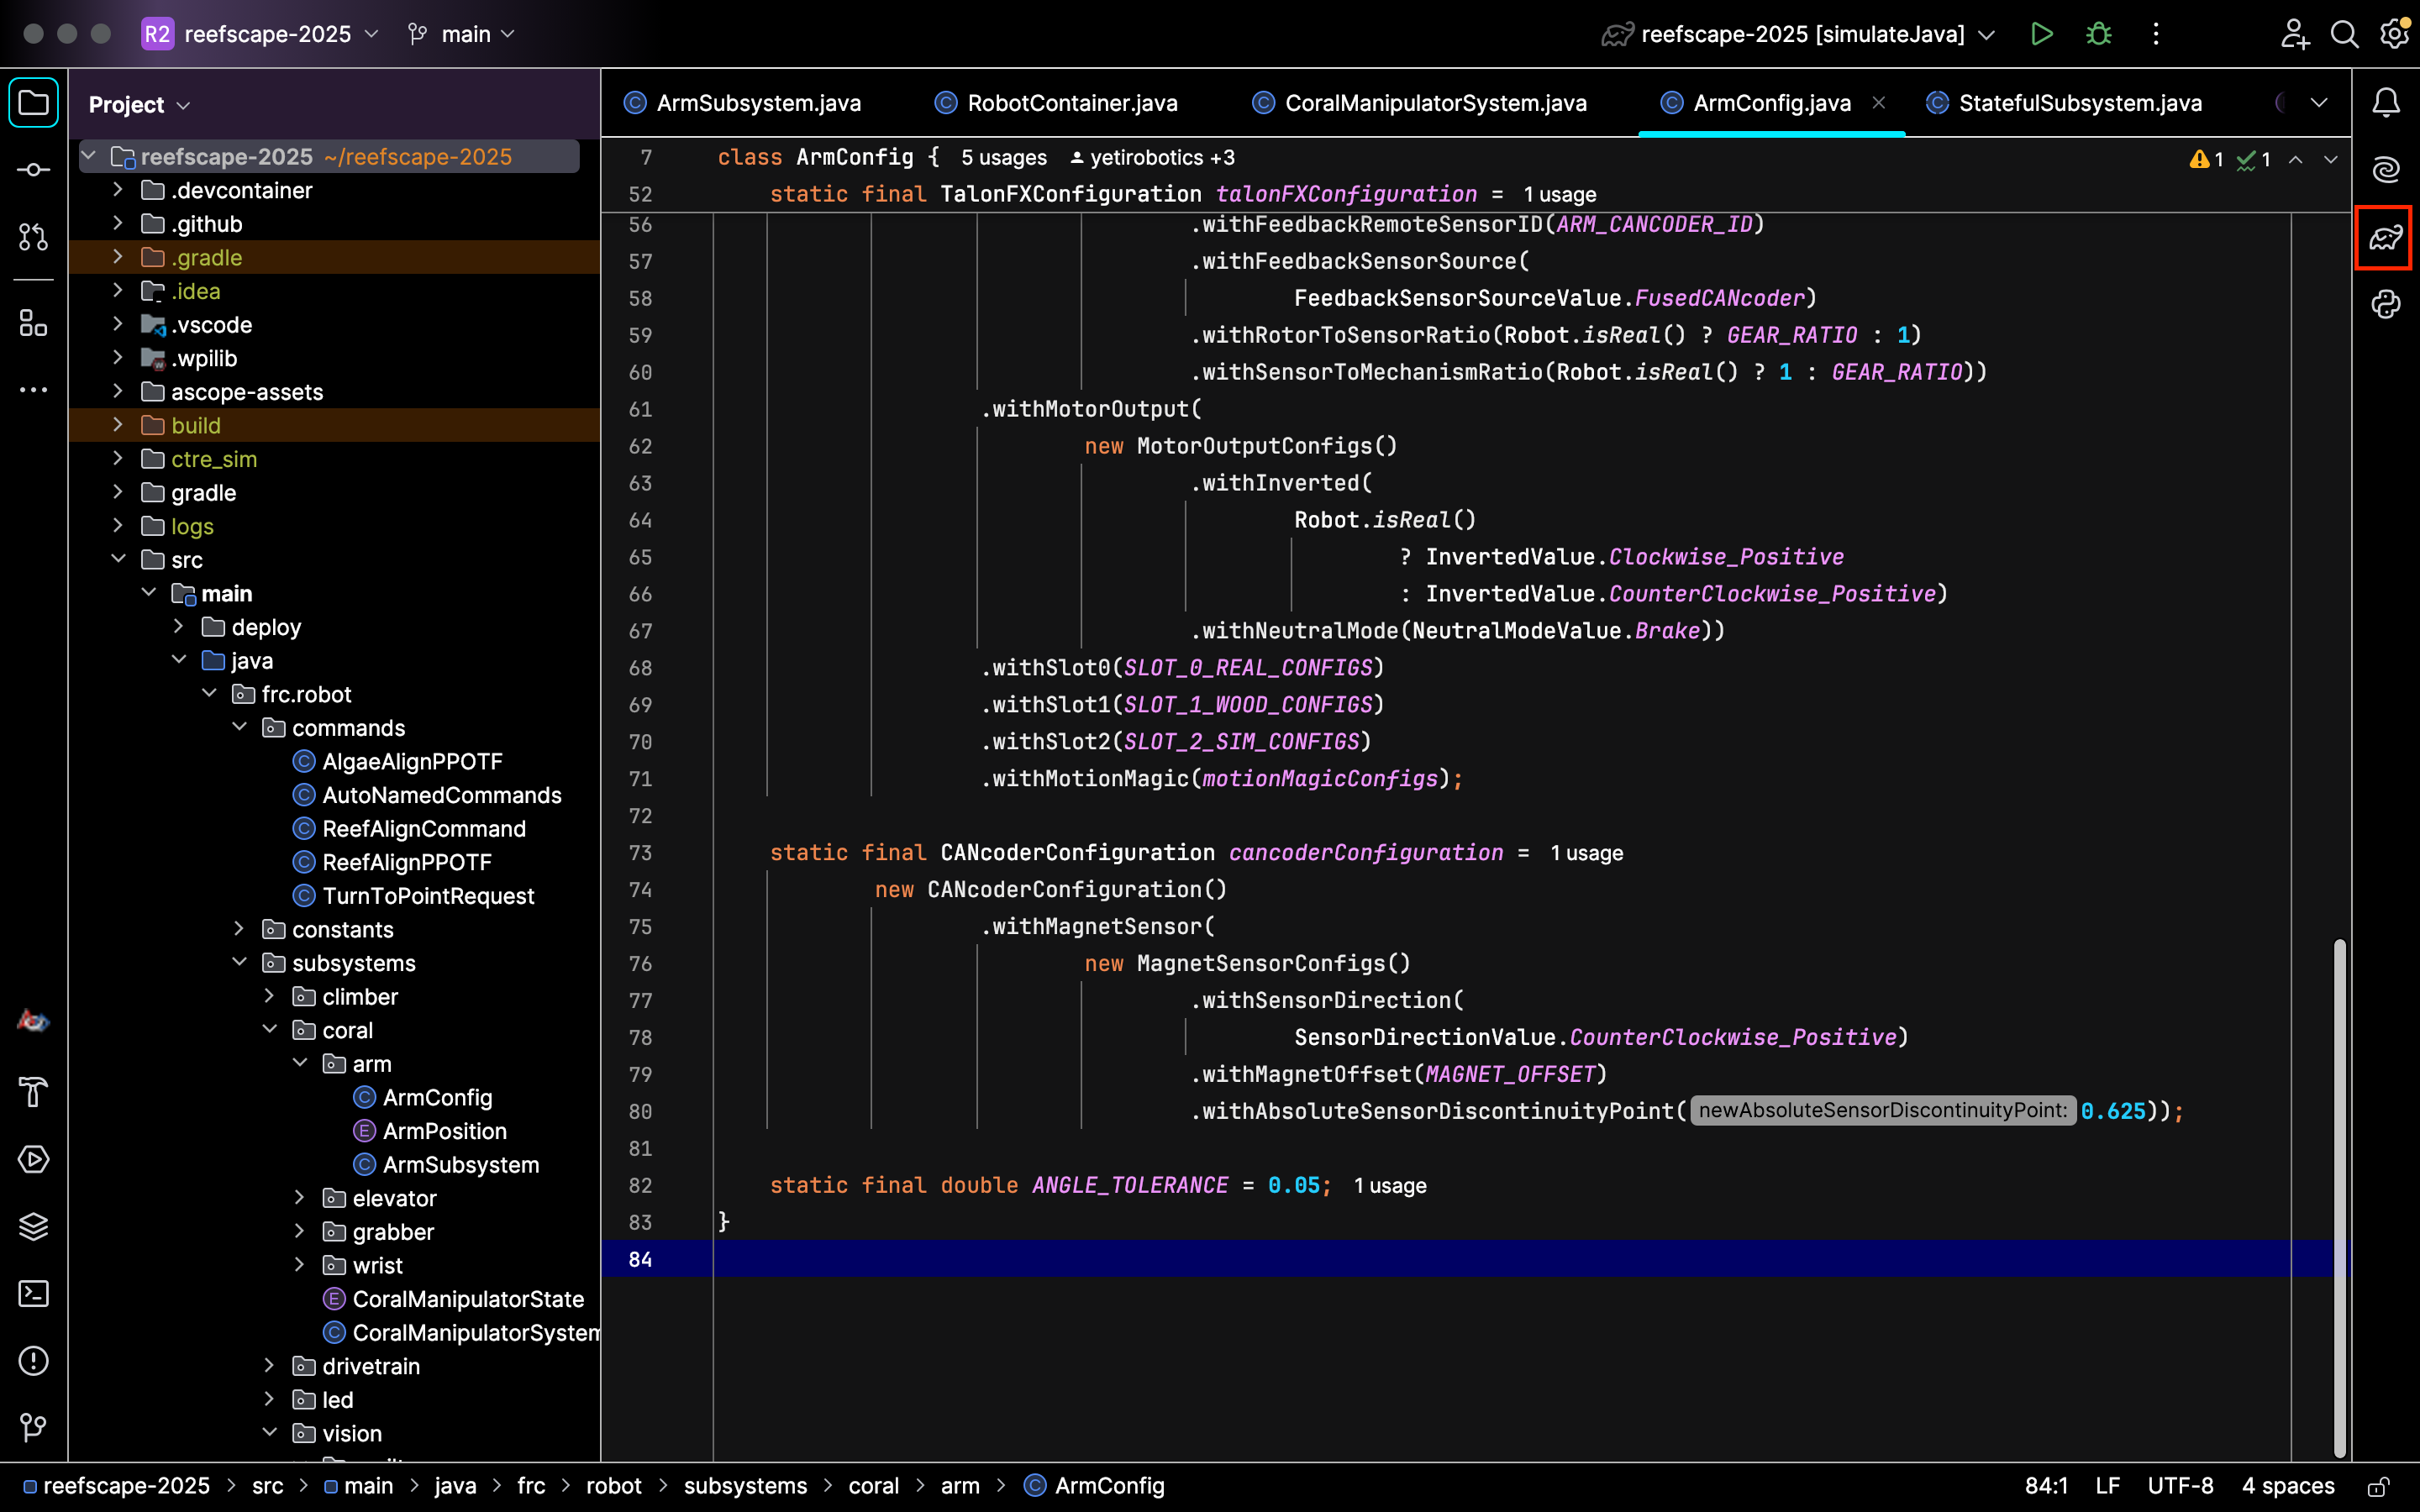
Begin by going to the RobotContainer.java file:

Then scroll to the configureBindings() method:
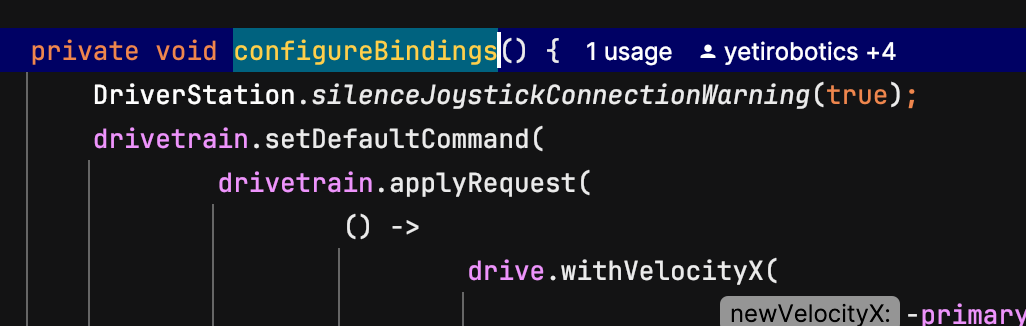
Within this method, you can scroll to the controls. They should be organized by primary and secondary controllers:
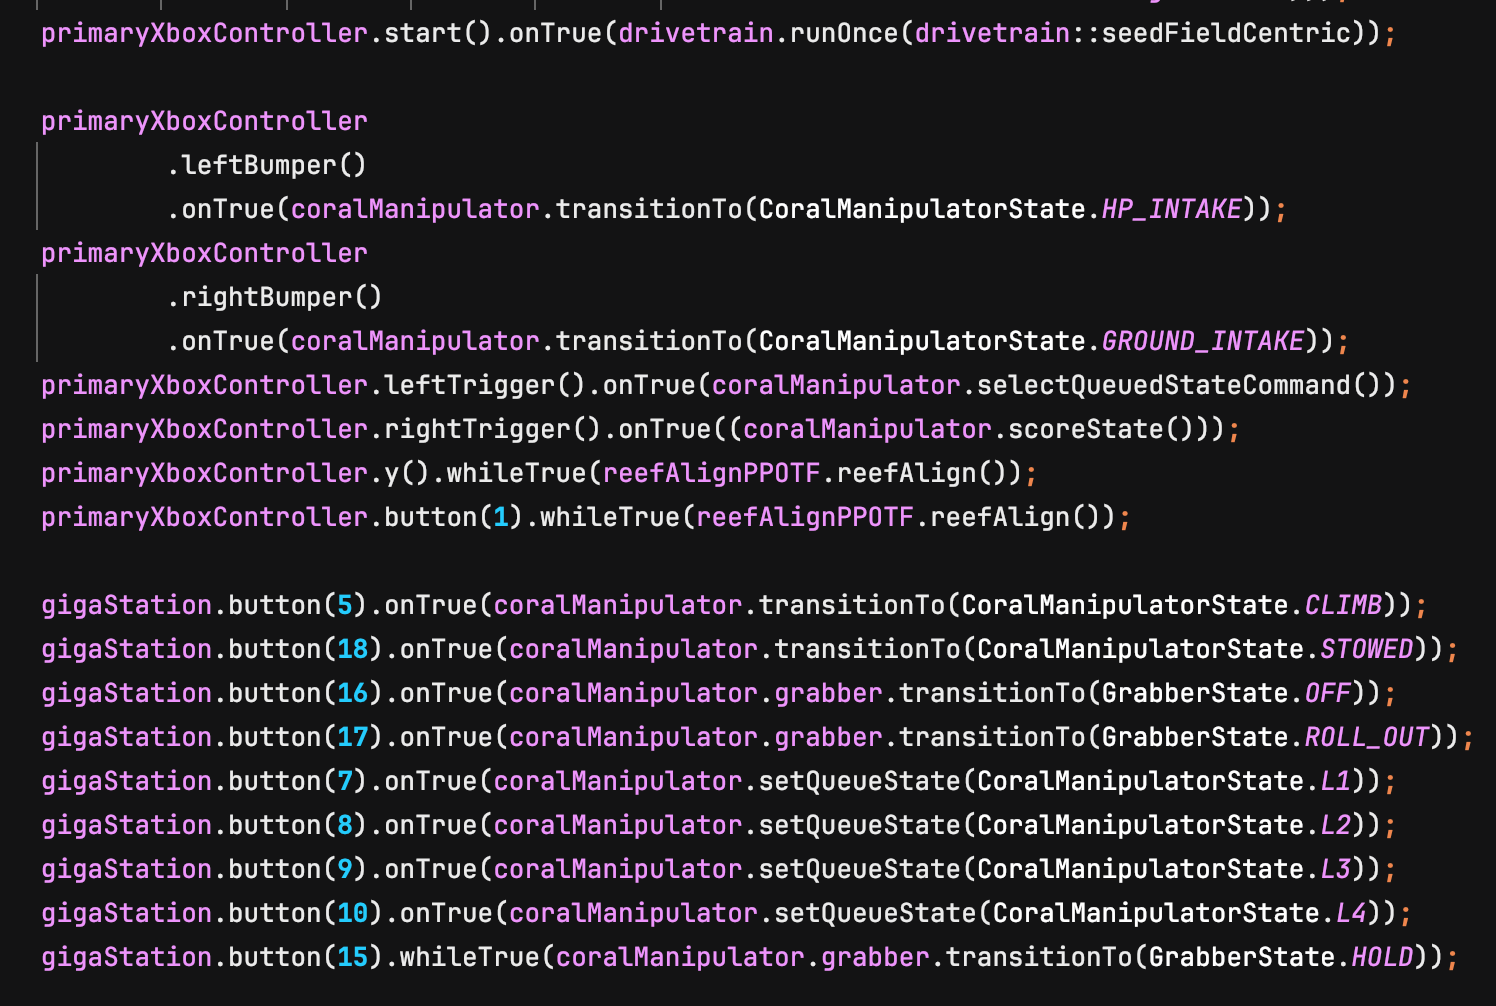
Let's go over how to read the controls.
primaryXboxController refers to the- uh... I'm sure you can guess.
gigaStation refers to the secondary's button board.
onTrue means that you have to click the target button.
whileTrue means that you have to hold the target button.
The Xbox controller buttons are fairly obvious, and the gigaStation buttons are numbered.
The commands that are triggered by the buttons are also named fairly obviously. For example, coralManipulator.transitionTo(CoralManipulatorState.GROUND_INTAKE) likely means that hitting the button linked to that command will transition the coral manipulator to the ground intake position.
Conclusion
With this in mind, you should now be able to successfully find and use controls. Happy demoing!!!
Using the Driver Station
Being able to operate the driver station (DS) is necessary to operate the robot. This will guide you through the things you need to know when using the DS at demos.
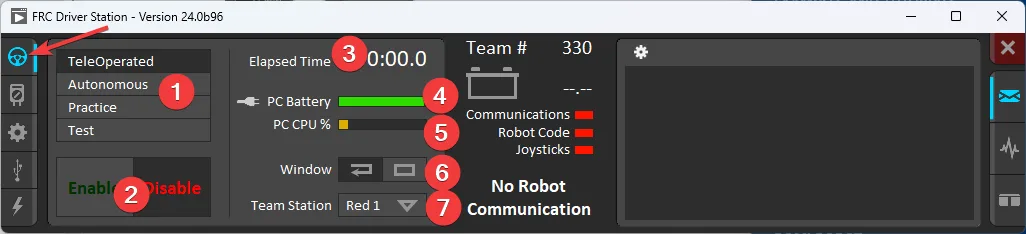
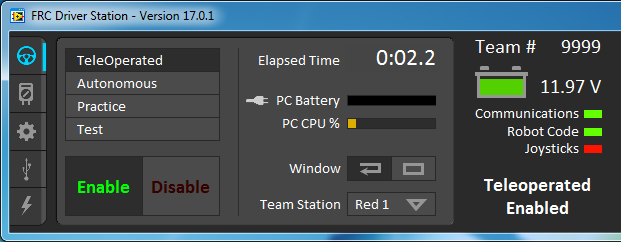
This is the operation tab. Selecting different modes on the menu at 1 will allow you to switch between them. At demos, however, you will likely only be on the TeleOperated mode for safety reasons. The only other item you need to know on this menu is 2, which allows you to Enable and Disable it whenever necessary.
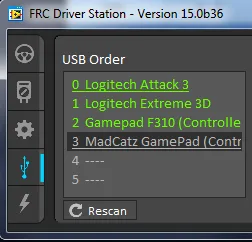
This is the devices tab. Different controllers (primary and secondary/gigastation) require different ports. You can adjust the different ports by holding a device and dragging it to the correct port. You can check what the correct port is in the code as follows:
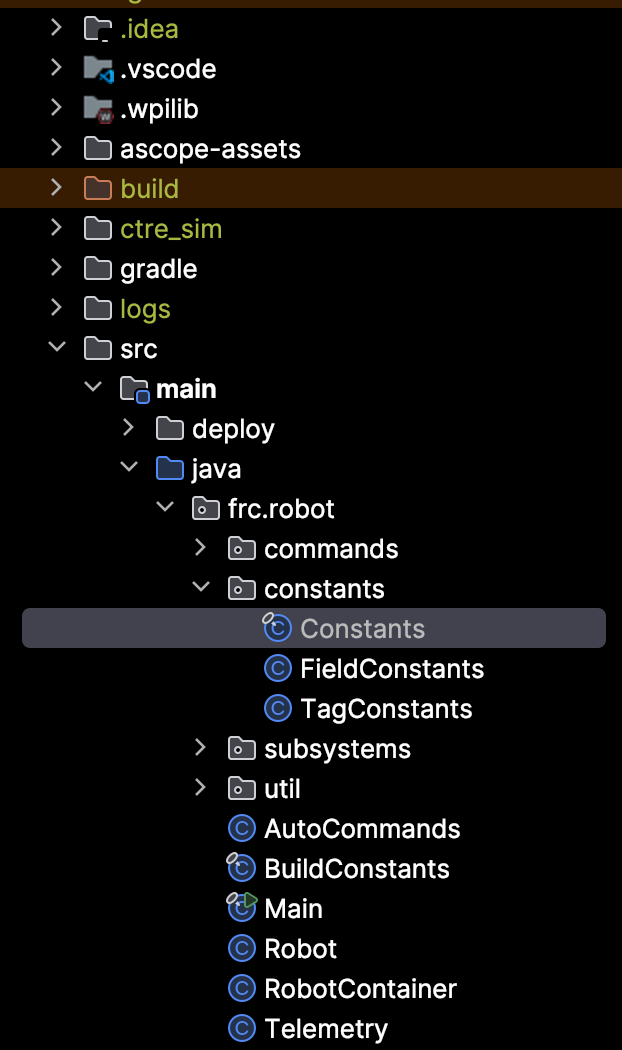
1. First, go to the Constants.java file in IntelliJ:
2. Then scroll to the point where the ports are set for the controllers:
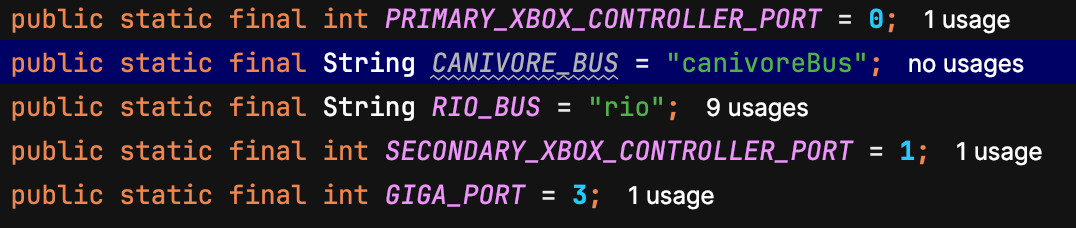
Now, you can drag the controllers to the correct port in the devices tab based on what you see in the Constants.java file. Happy demoing!
How to Robot Demo (with Kitty)
What to bring to a Robot Demo
- Kitty (duh)
- 3-4 Batteries (preferably with blue straps, makes it far easier to change battery)
- 4-5 Notes (bonus - bring a taped one and brag about how much we tested them)
- Battery Charger (usually bolted to the side of the wooden cart in pit)
- 4 Robot Carrying Straps
- Driver Station with Xbox Controller and Cord for Controller
- Extension Cable for DS plug-in
- Foam Tiles - Don't wanna destroy your venue's floors!
- Optional (but very recommended) - Wooden Dolly (square cart)
- Optional - Battery Beak (For demos, the status indicator on the charger is usually enough)
Once you get to the venue...
- Bring everything out to your spot.
- Find an outlet and plug in both your Driver Station and battery charger. You will likely need to swap batteries eventually, and the DS Laptop battery is not infinite.
Setting Up the Robot
- To lift the robot...
- Attach the 4 battery straps to the Circular attachment points on the left and right of the robot, NOT THE BUMPER PINS! There should be 2 on either side.
- Find a friend and get them to hold one side of the robot. DO NOT ATTEMPT TO LIFT THE ROBOT ON YOUR OWN.
- Call out "One, Two, Three!" before lifting.
- Go down as evenly as possible, and take it slow on the lift.
- Get a charged battery and plug it into the robot. A charged battery is either green on the charger or at 130% using the battery beak. DO NOT carry batteries by the cord at all!!!! To change a battery...
- Deploy the intake manually.
- Ensure that the battery strap (with buckles, attached to robot) is hanging outside the battery compartment on both sides.
- Slide in the battery cables up. You may have to wiggle the battery a bit to get it in, but do not hold the connector while doing this! That is what the strap around the battery is for!
- Secure the strap over the battery using the battery strap attached to the robot.
- Connect the battery to the Anderson Connector on the robot. Ensure that you hear an audible click when connecting the battery.
- Flip Intake manually back into the robot
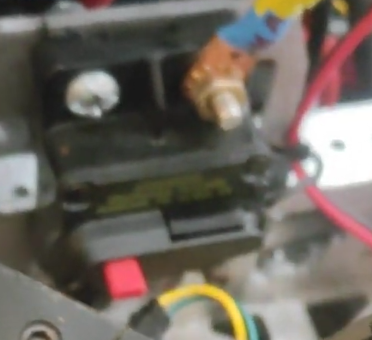
- Turn on the robot using the breaker on the left side of the robot while facing the intake (pictured below). To turn on the robot, press down on the black lever on top. To turn off the robot, push hard in on the red button. It will remain on if you don't push hard enough. You should hear a series of three beeps and the Robot Signal Light (RSL, big orange light on right side of the shooter) goes solid orange.

- Connecting to Driver Station
- Turn on computer and sign in (DS laptop should not have a password)
- Make sure your controller is plugged in.
- Launch "FRC Driver Station", application should look something like this:

- Open your Wi-Fi settings, look for a network called "3506-Kitty" and connect to it (NOTE: It will usually take a minute or two after turning on robot before the network appears, be patient).
- Go to the USB Devices Tab and change the Xbox Controller port to 1. Use this if you don't know how to do that: https://wiki.yetirobotics.org/books/demos/page/using-the-driver-station
- Your robot is now ready to drive!
Driving the Robot
The most important thing when driving the robot is, you guessed it, SAFETY! Be incredibly careful while driving near people, take it slow, and if you do not have any driving experience, understand that the robot is a 125 pound killing machine in the wrong hands.
To enable the robot (allows the robot to be controlled), click the "Enable" box in the FRC Driver Station application. A successfully enabled robot should have the Robot Signal Light (RSL) repeatedly blink.
To disable the robot, (disables all controls on robot so it won't move), press the "Enter" key on the keyboard of the Driver Station. Should anything go wrong with the robot that could pose a safety issue, disable immediately. Also disable if any people want to look at the robot closer.
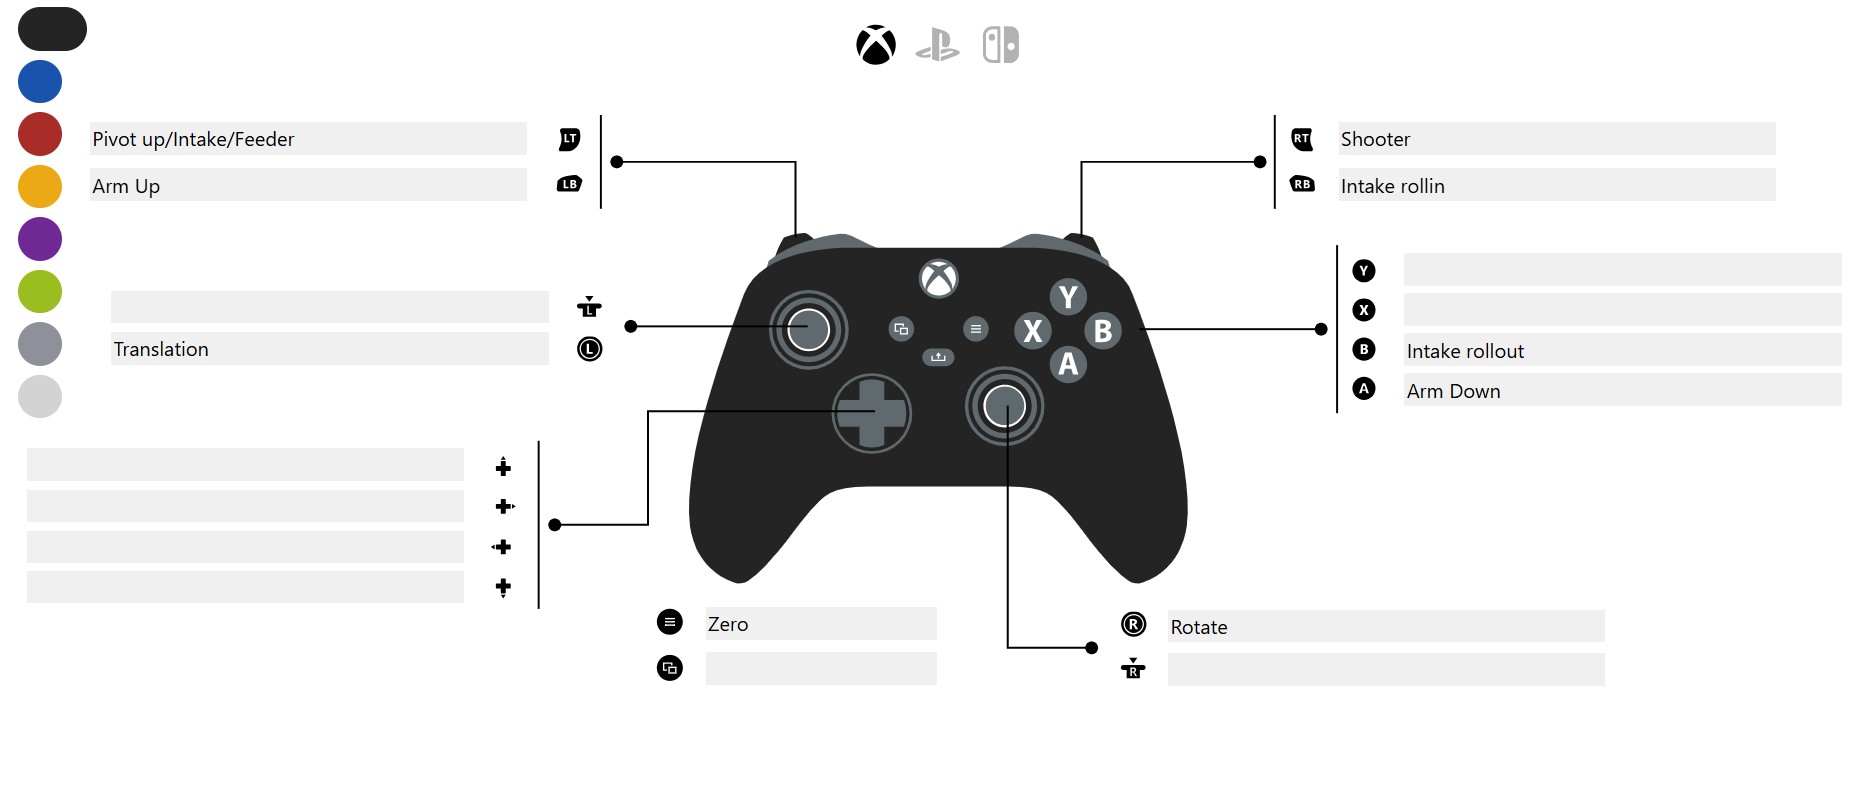
Secondary controls are labelled using plate on top of the ten buttons.
- Zeroing the robot - "Zeroing" defines which direction the robot considers to be forward.
- Turn the robot such that the Shooter is facing forward
- Push the ≡ Button on your controller.
- Shooting for speaker (doesn't have to be at speaker, can just be used for a long shot.)
- LB on Primary to deploy intake
- Hold RB on Primary to spin intake rollers
- Drive over note or feed note while holding RB (If limelight is connected, should flash)
- Handoff occurs automatically
- LT to lock on to speaker and adjust pivot position
- ~1 Second later, RT on Primary to fire
- Amping
- LB on Primary to deploy intake
- Hold RB on Primary to spin intake rollers
- Drive over note or feed note while holding RB (If limelight is connected, should flash)
- Handoff occurs automatically
- Hit A to raise elevator and angle shooter.
- RT on primary to amp.
- Double click X ~1 second later to return to starting position.
- Shuttling
- LB on Primary to deploy intake
- Hold RB on Primary to spin intake rollers
- Drive over note or feed note while holding RB (If limelight is connected, should flash)
- Handoff occurs automatically
- Hold Y to aim at shuttle target and adjust pivot position
- ~1 Second later, RT on Primary to fire
Some Talking Points
- Talk your audience through how the note travels through Kitty, and explain the buttons you use to do it while demoing speaker or amp.
- Explain how swerve drive works
- Each wheel turns and moves independently of the others, allowing it to strafe and rotate independently while maintaining good traction.
- "Fancy Shopping Cart"
- ~20 ft/s top speed
- Explain about our vision system
- Camera called Limelight allows us to judge our position using Apriltags (Like a QR Code) to line up shots accurately
Common Issues
- Robot shaking when driving, moving slower, not shooting, popping in and out of controls, etc.
- This is called Browning Out, and means that your battery is low and must be changed.
- The battery indicator on the Driver Station app will also turn brown when this happens.
- This is called Browning Out, and means that your battery is low and must be changed.
- Controls not responding when robot is enabled
- First thing to check is USB tab in FRC Driver Station (fourth tab down on the far left), if controller disconnects, may have to refresh and make sure that Xbox controller is detecting. Else, ask someone.
- Check that the controllers' USB ports are correct: https://wiki.yetirobotics.org/books/demos/page/using-the-driver-station
- Other issues - don't be afraid to reach out to someone who might know!
Controls Layout Stash
Contains the bindings for all of the robots that we use for demos.
Kitty
Our 2024 robot, Kitty, was truly epic. This bot took us all the way to world champs in Houston, where we played as Captain of Alliance 6 on the Newton Division. Though this robot was decapitated at one point, it's truly a gem of a bot.
Drive it with care!
Beluga
Beluga, affectionately called Belly, was our 2025 robot. This robot lasted to the very end of qualification matches in the Galileo Division at world champs. Powder-coated with a slick black finish, it was certainly a machine to look at and to drive. Though at times the umbilical cord was somewhat combustible, it was quite an epic robot.
Drive it with care!