Motors
All you need to know, on the electrical side, about Kraken Motors.
- Right Angle PCB wiring
- Using Dissection of a Kraken motor to Troubleshoot
- Step by step how to take the X60 apart
Right Angle PCB wiring
What are WCP Right Angle Kraken PCBS?
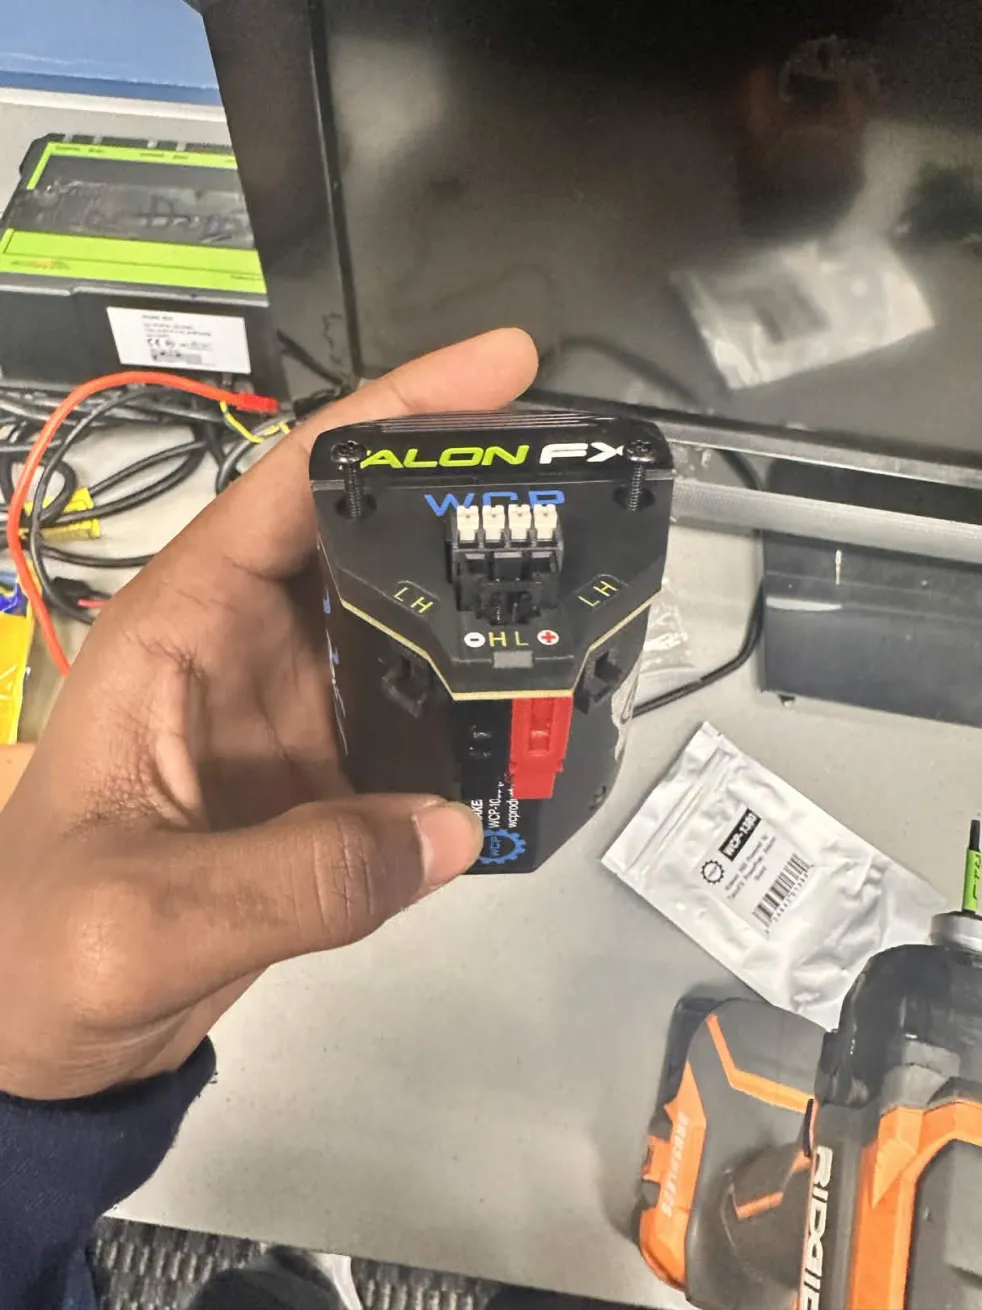
The WCP Right Angle Kraken PCBS (TalonFX PowerPole Adapter Boards), are an alternative wiring solution to the regular wiring of a Kraken Motor.
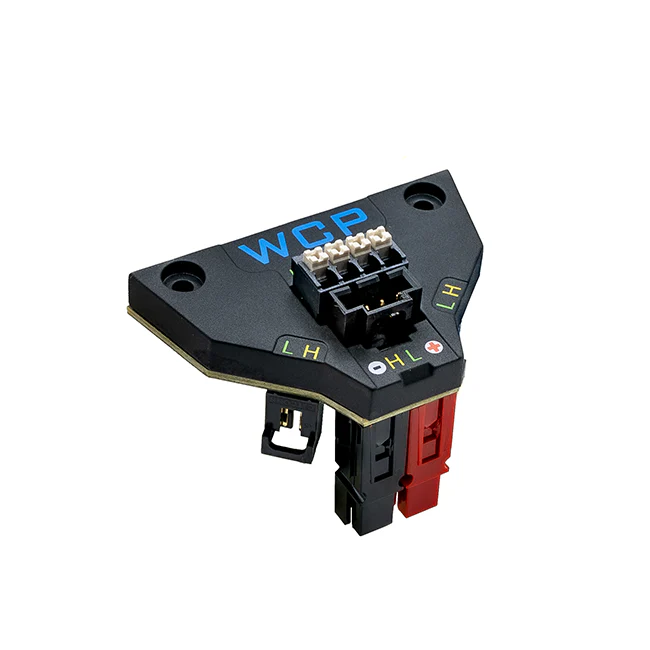


*As you can see, they change the route of both the CAN and Anderson connectors to a right angle, helping in cases where a right-angle solution is needed for wire routing.
What's included with the PCB?

*The PCB comes with the PCB, the cover, and the screws to secure them.
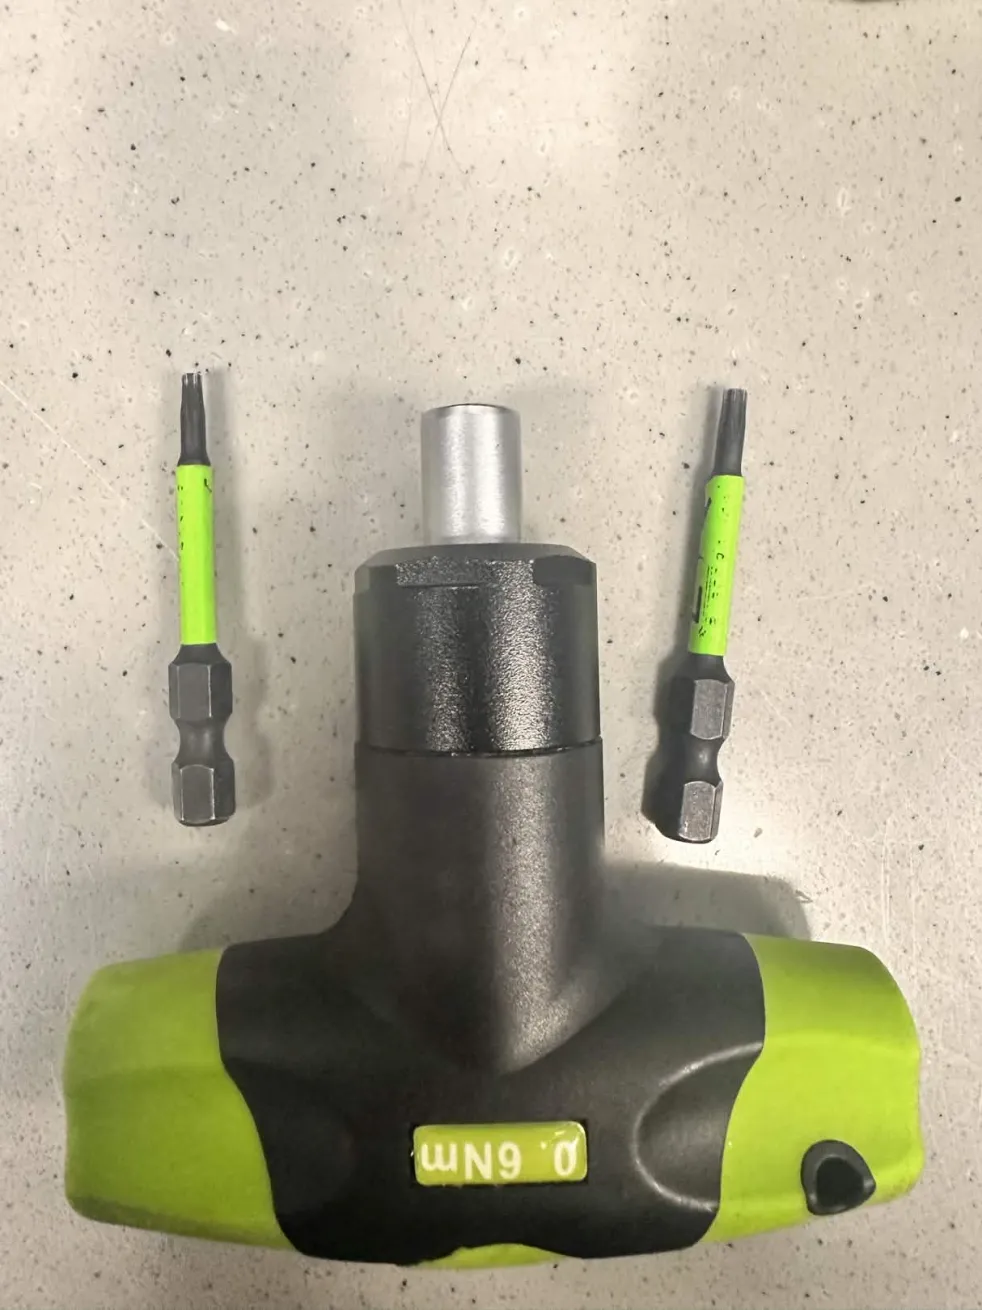
How to install the PCB
The first step is to get the correct screwdriver and bit.
Skip these steps if you're wiring a completely new motor:
If your motor has a cover, unbolt the two screws of the cover
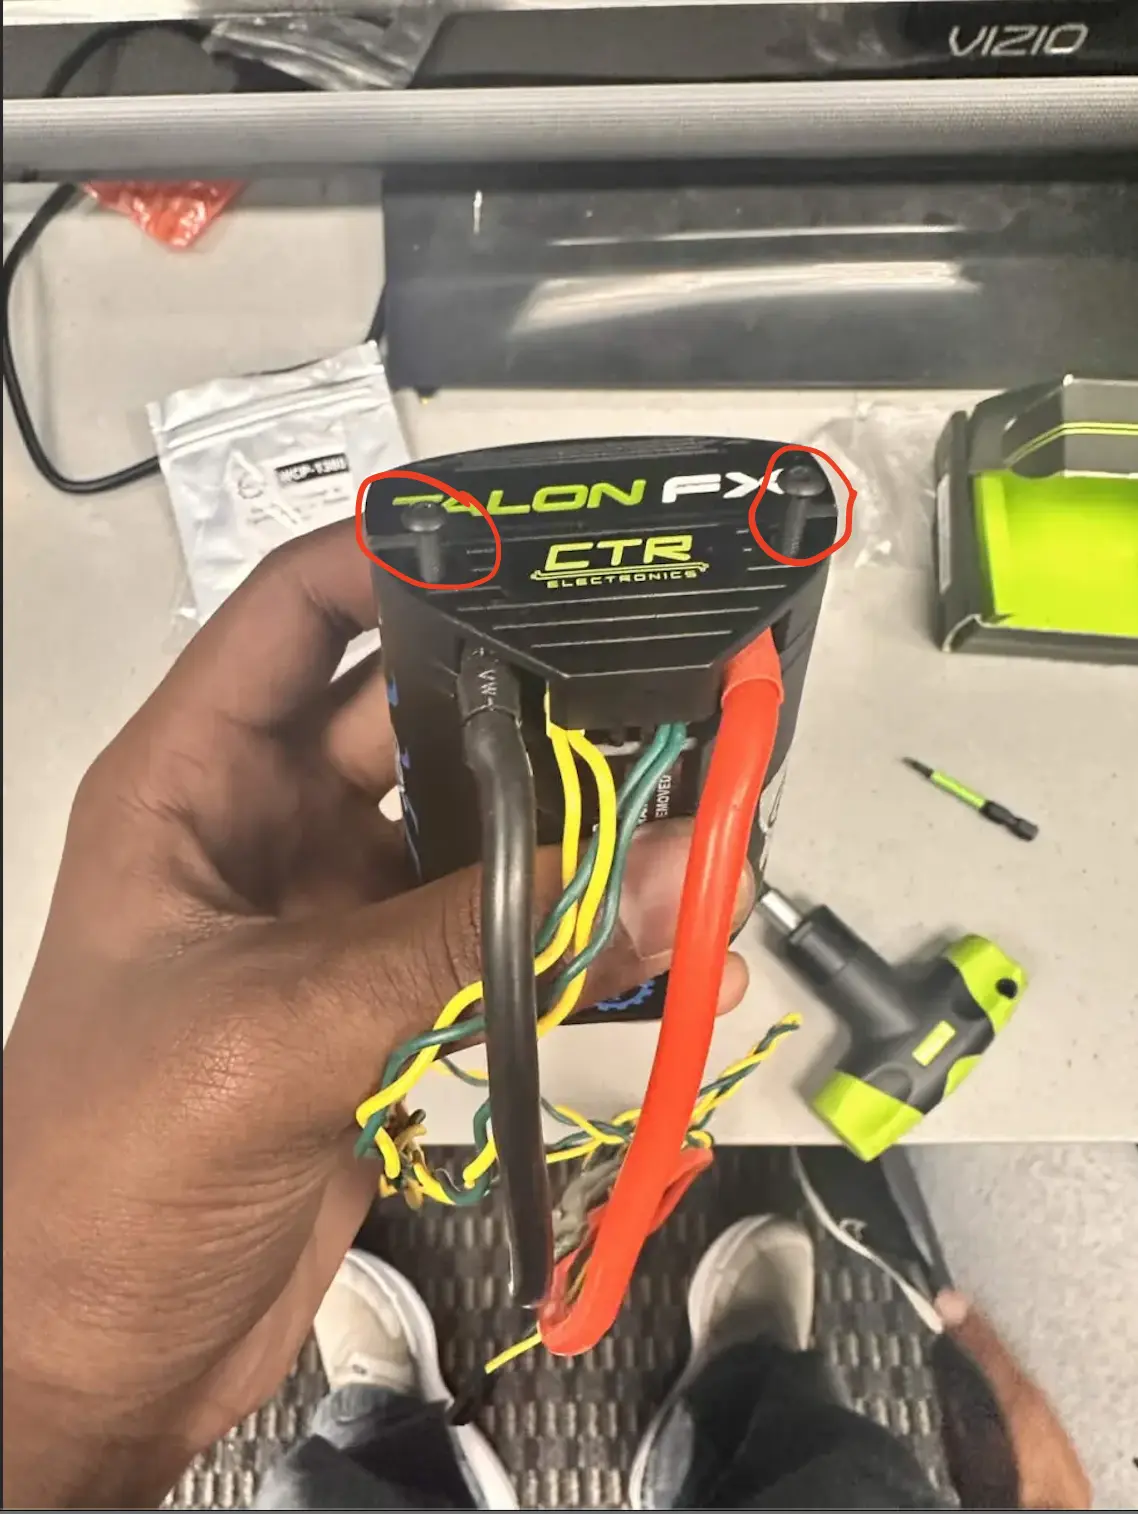
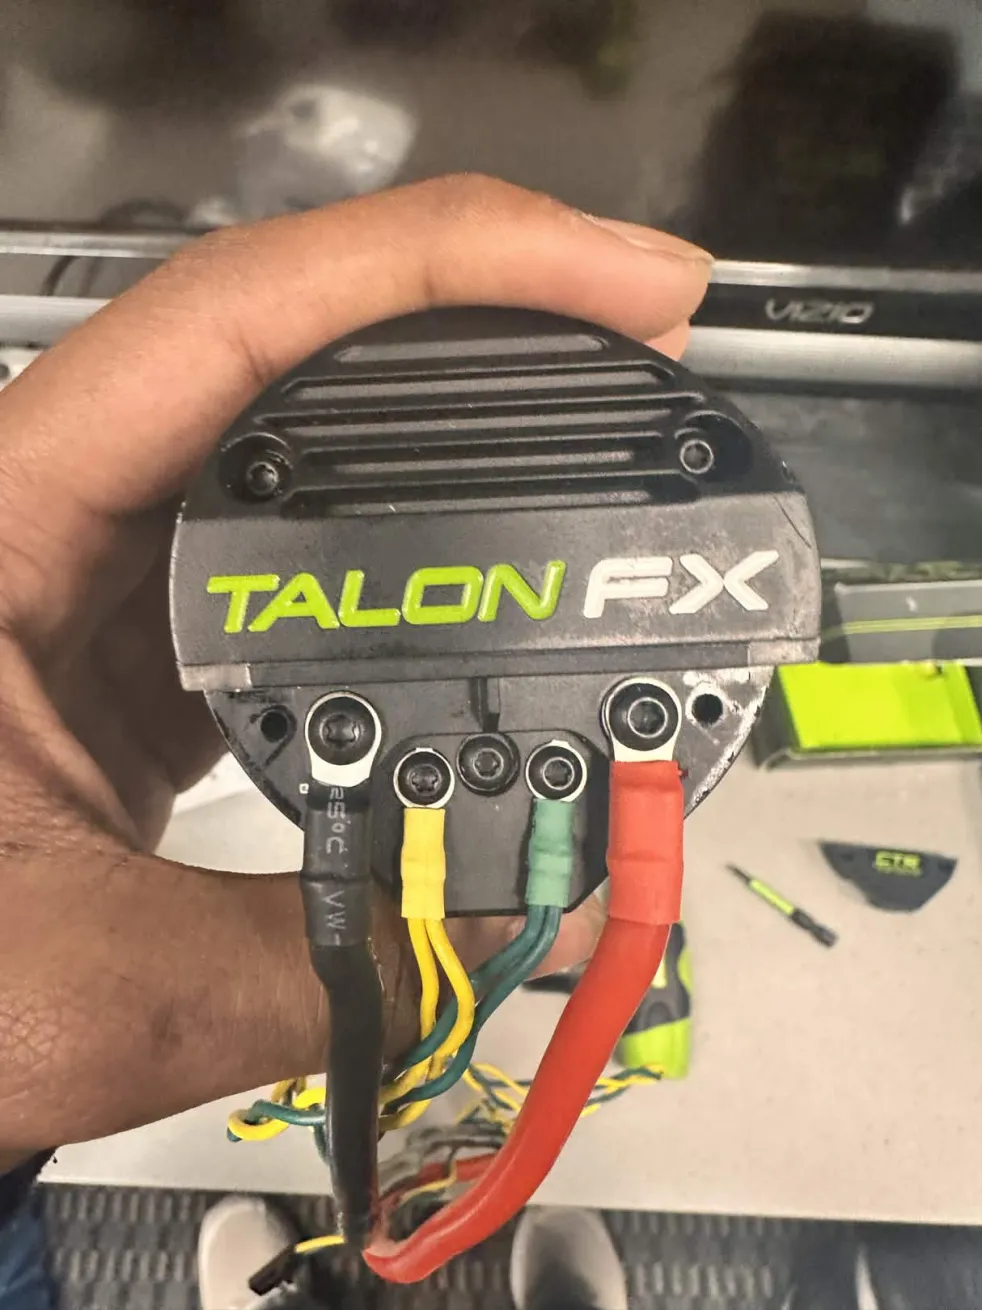
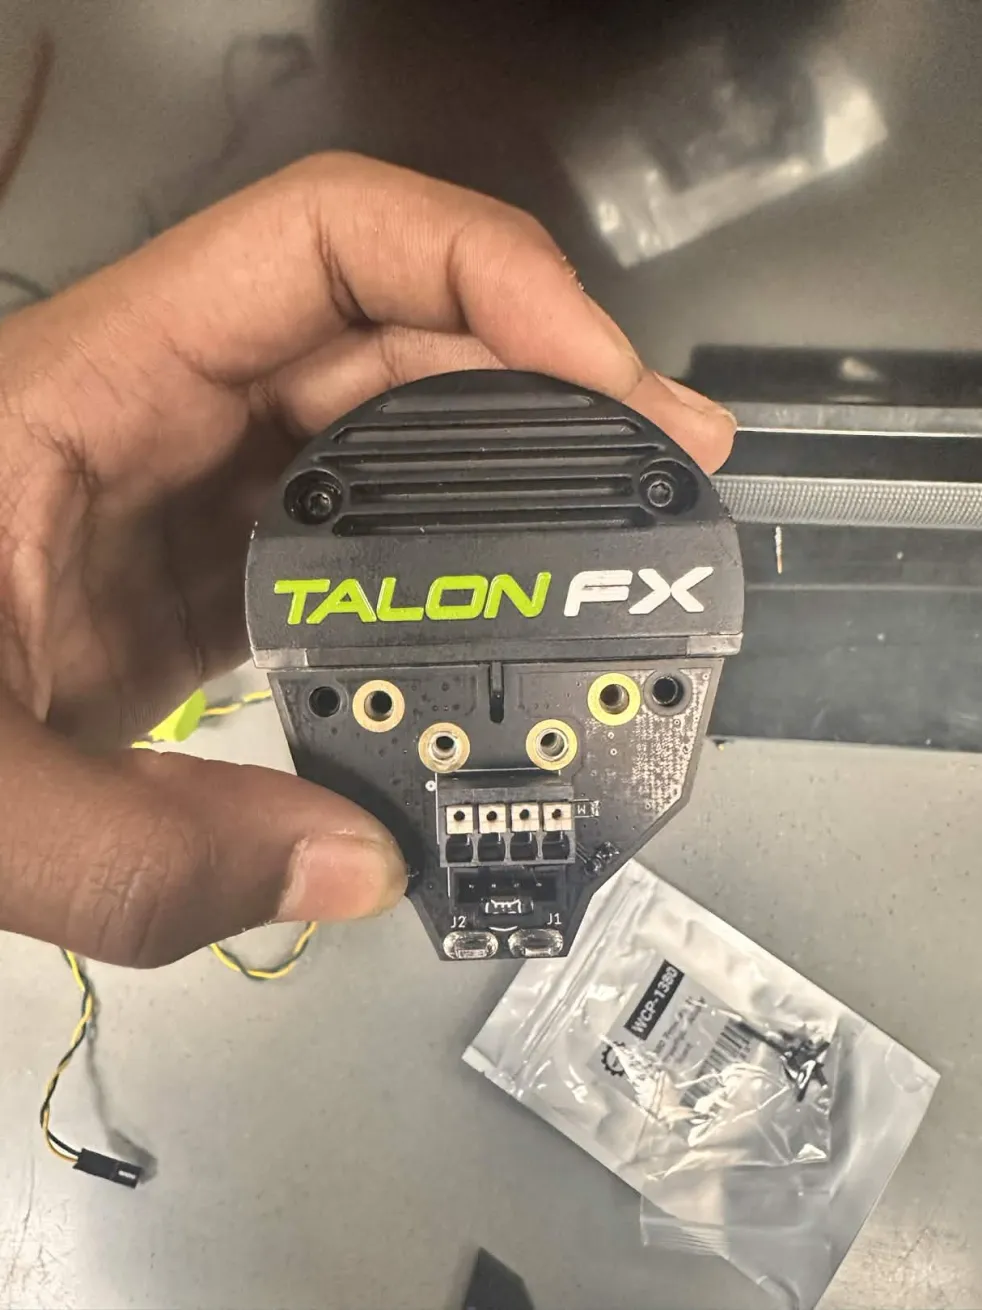
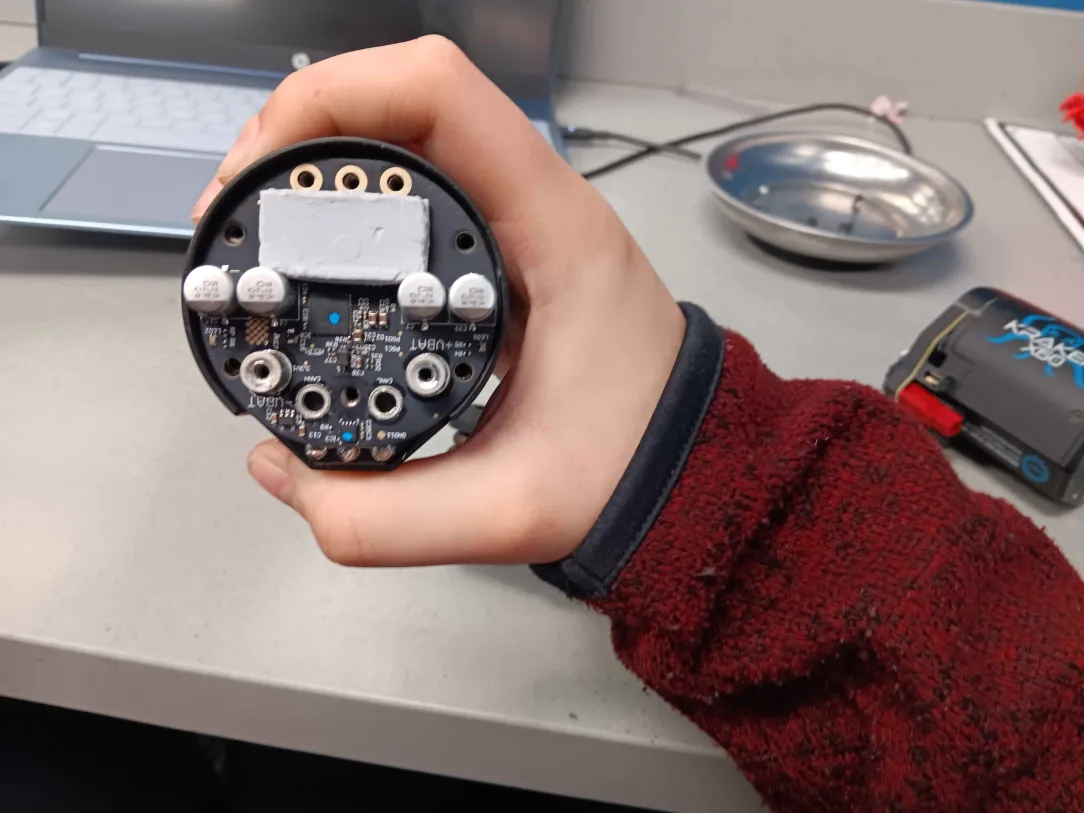
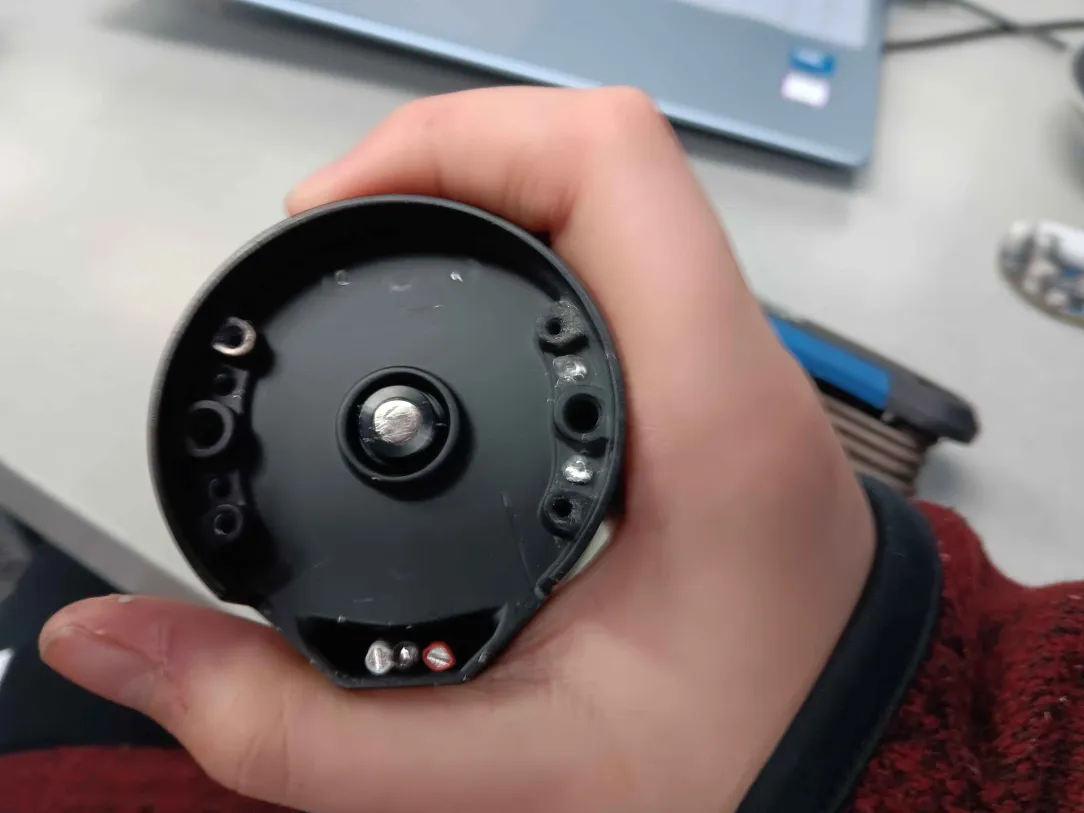
Once you remove the cover, It should look like the image above.
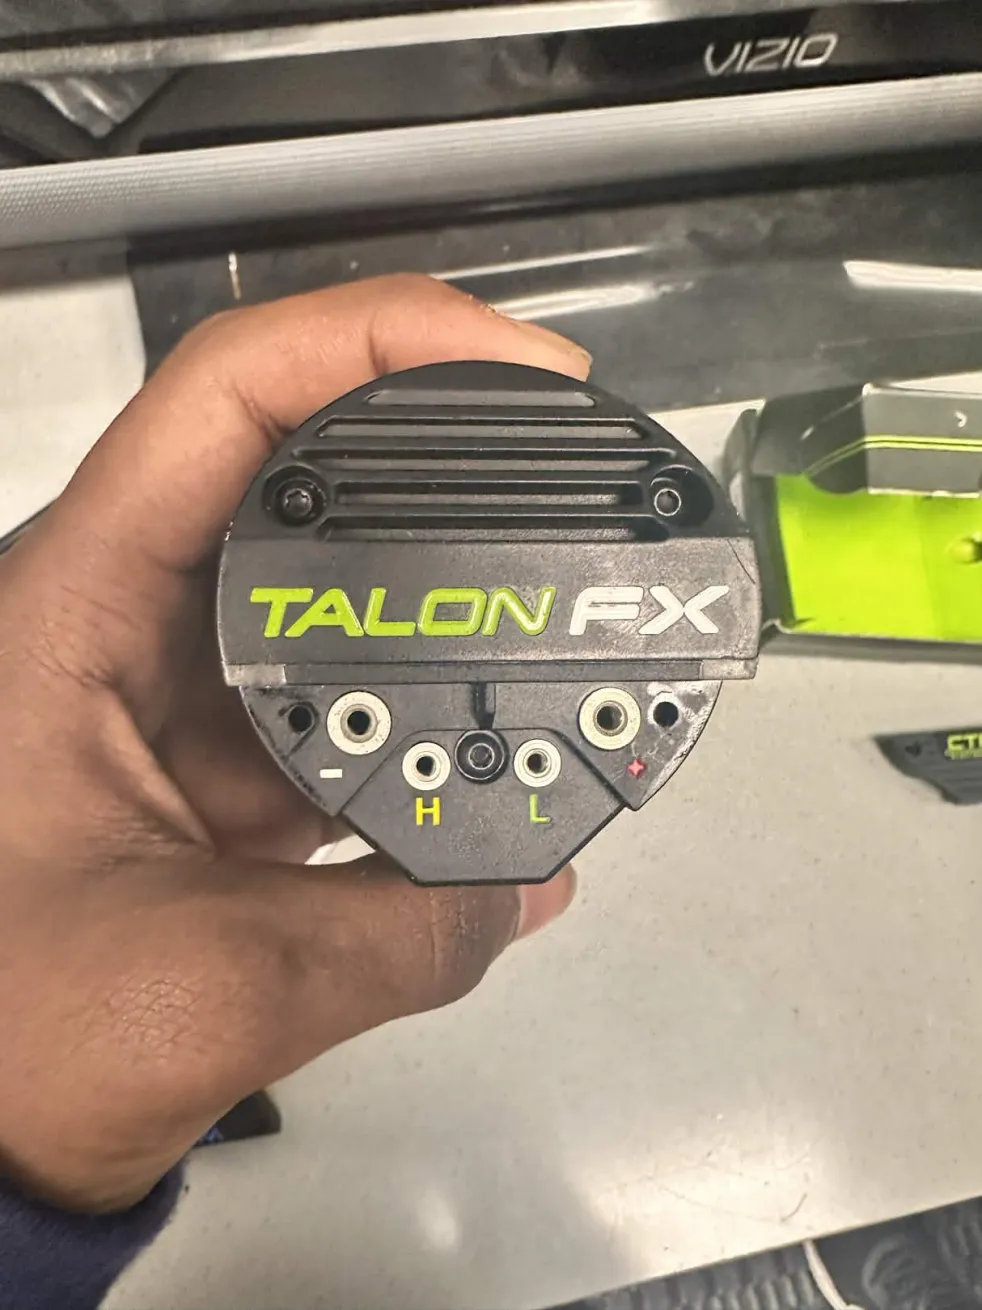
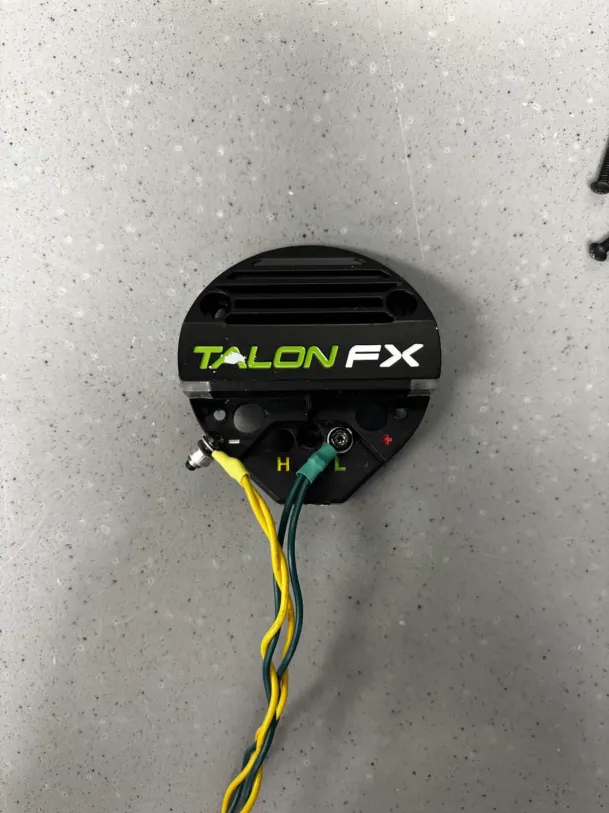
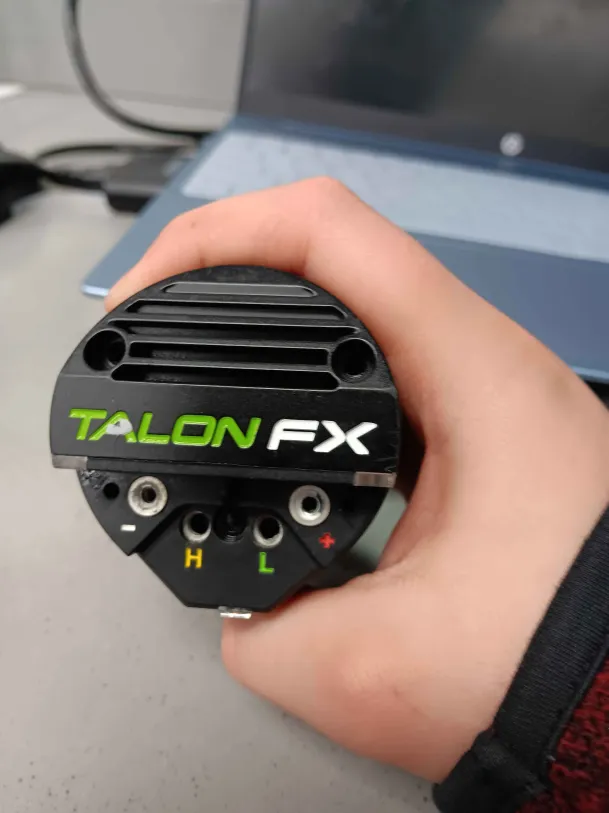
Then unscrew all the screws that clamp the ring terminals for all the wires (CAN and Power), which should look like the image above, 4 empty holes (-, +, H, L).
PCB Installation
ALWAYS USE THE SCREWS THAT COME WITH THE PCBS - Anish Mallepally, (2026)
Take the PCB, and align the holes on the PCB onto the holes on the Kraken Motor.
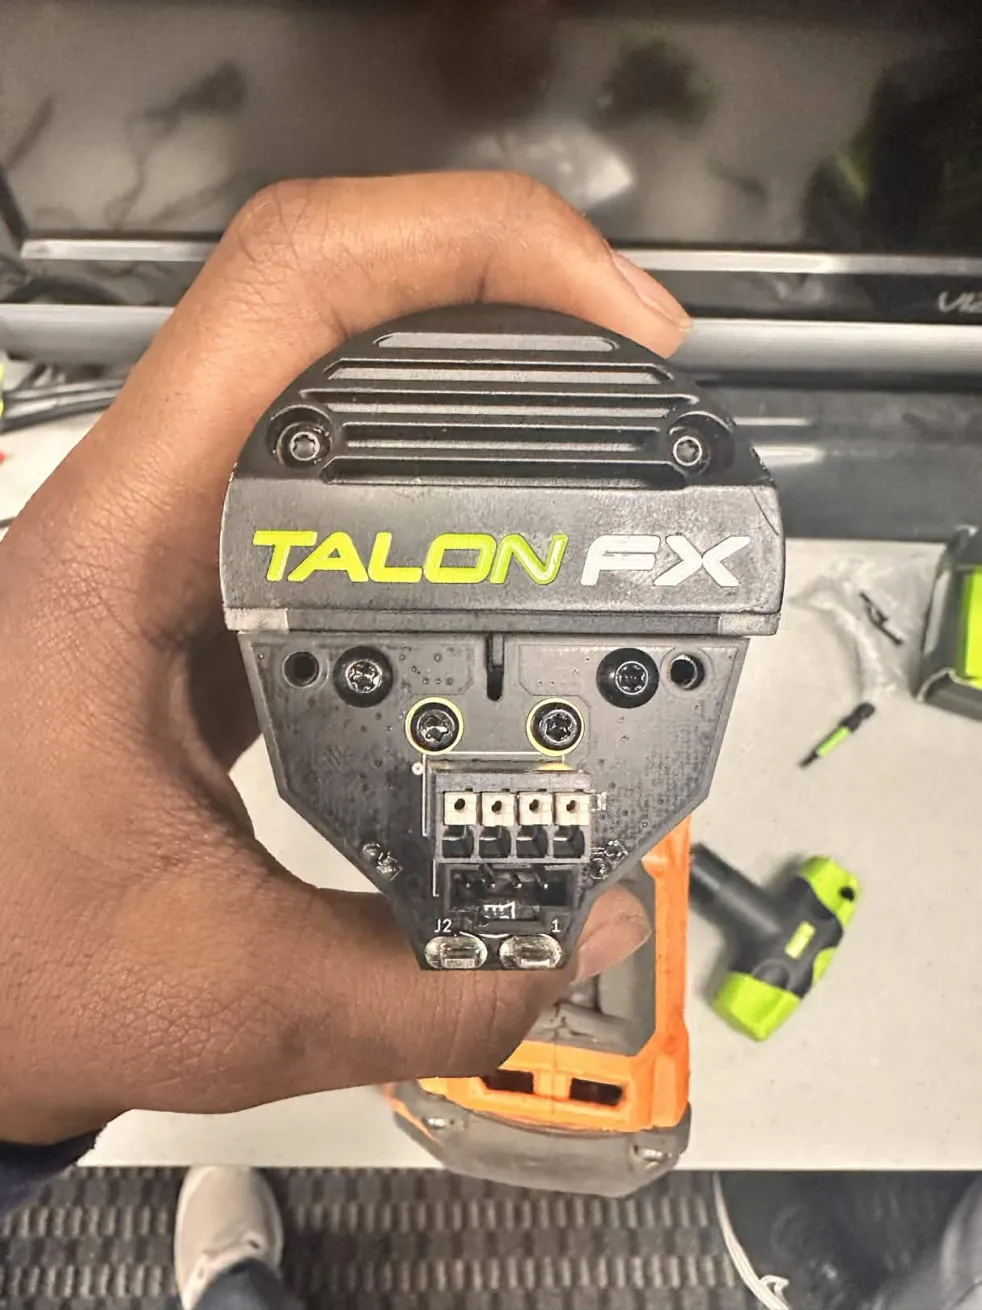
Screw in the holes, and make SURE to use LOCTITE®
Finally end it off by screwing in the cover, DON'T use LOCTITE® here.
And there you have it, a fully finished TalonFX PowerPole Adapter Board, or a WCP Right Angle Kraken PCB.
MEDIA
Here's an official WCP Tutorial of PCB Installation:
https://youtube.com/shorts/RKLAPSY0UjY?si=c9G2TtTBBfqGsSln
Anish's Tutorial:
Kraken PCB Wiring by Anish
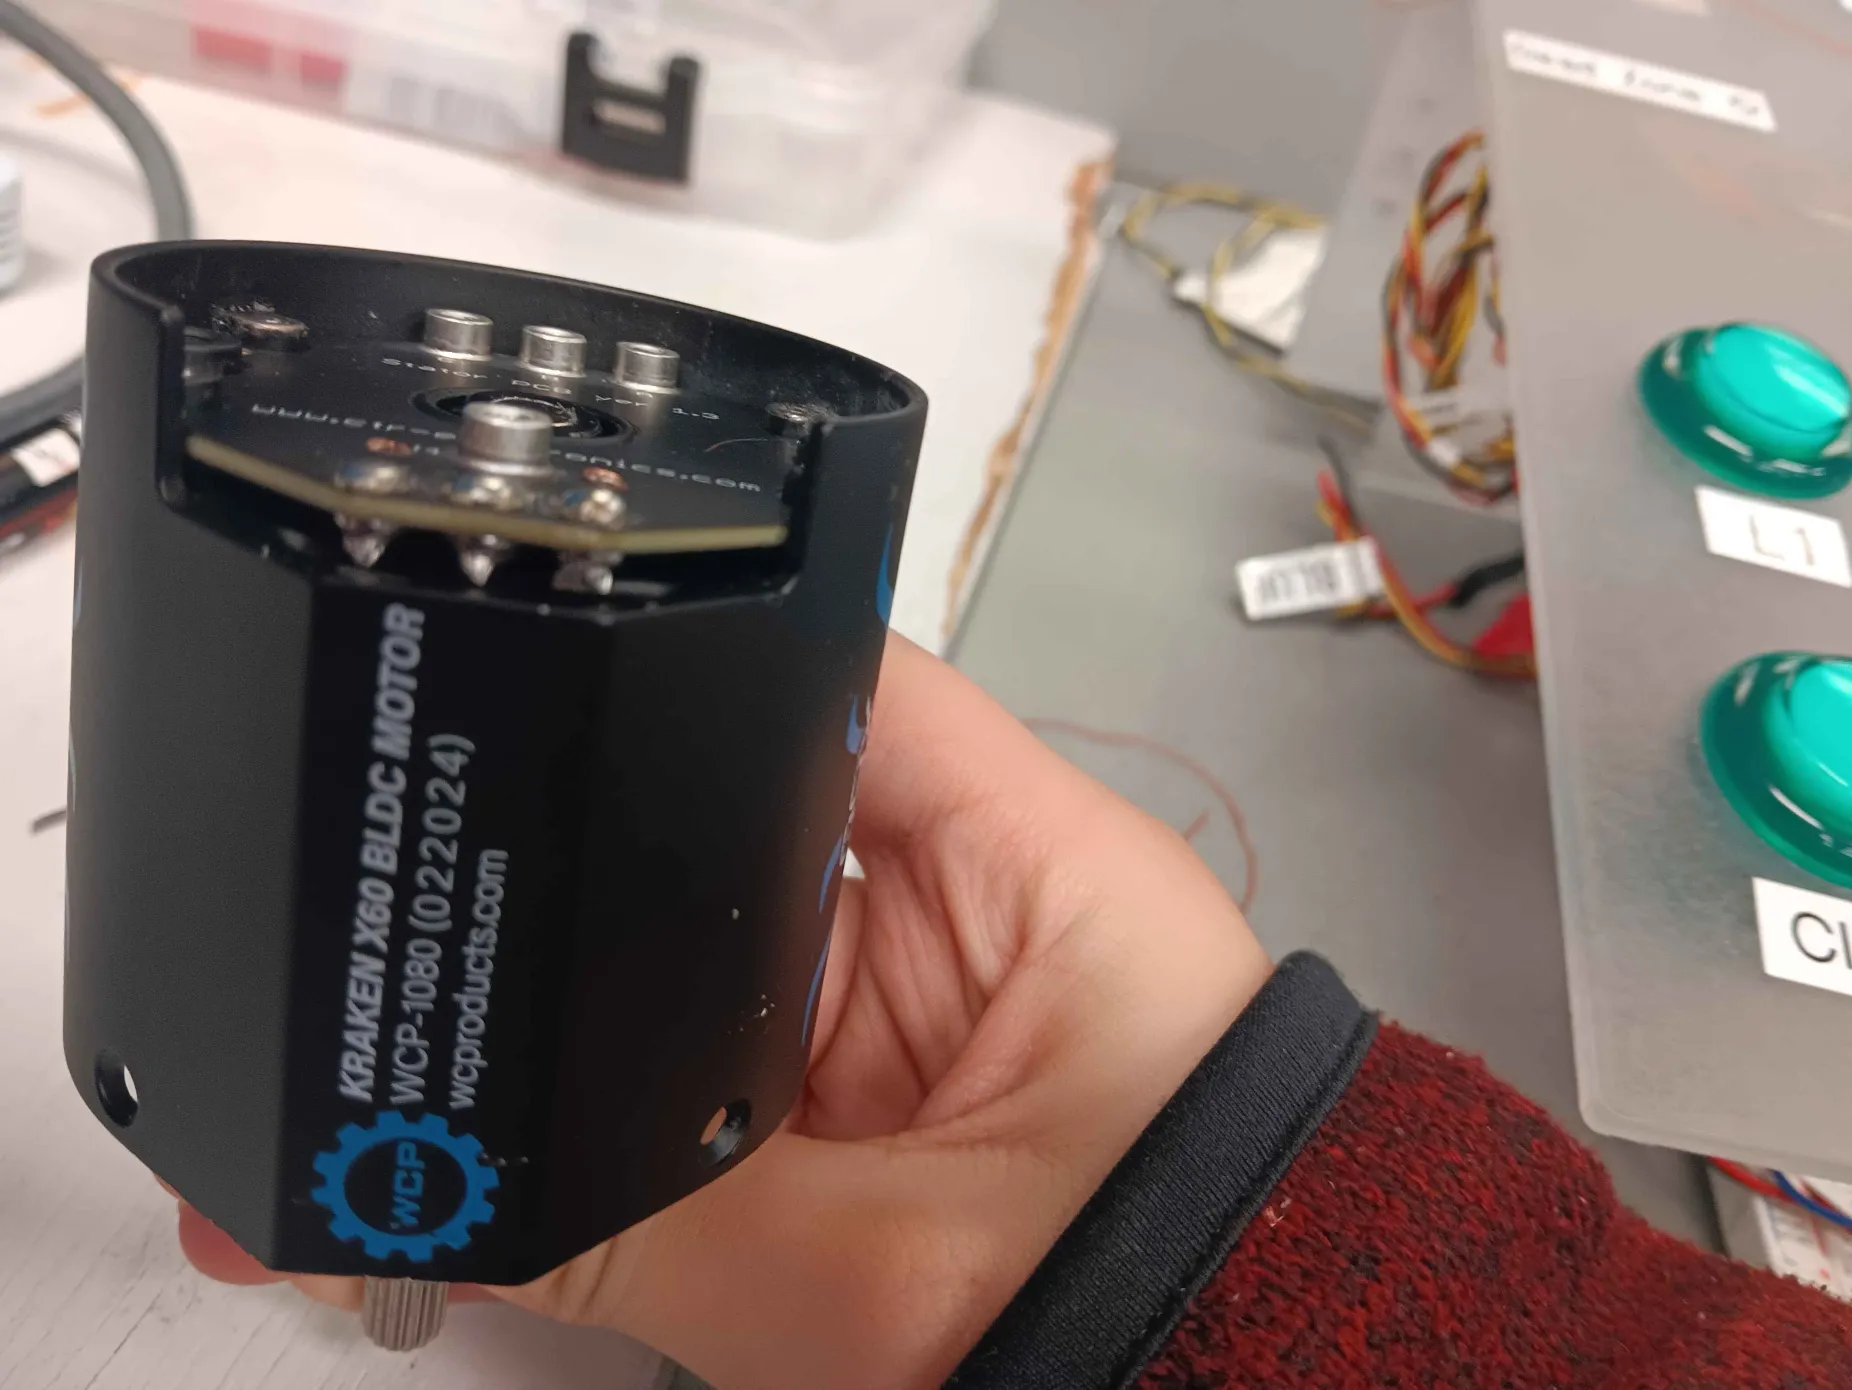
Using Dissection of a Kraken motor to Troubleshoot
Using Dissection of a Kraken motor to Troubleshoot
Major things that can go wrong on a kraken motor that need dissection:
-
Power wires get off soldering
-
Stator PCB is broken
-
TalonFX board is broken.
-
Can Screws fall off
-
Power Screws fall off
-
The stator coils are burnt (overheated motor)
Can Screws fall off
The stator PCB is broken (for example the PCB cracked, screw holes got stripped,wires between the pcb and the colis broke, etc...)
Step by step how to take the X60 apart
DO NOT DO THIS UNLESS THE MOTOR IS IN A UNFIXABLE CONDITION OR BROKEN
Step 1
Take the 2 housing screws, the 4 wire screws and the 3 TALON FX screws that has on it (one is between the can wires)
Step 2
Once the cover comes off you will see the TALON FX with 7 screws take them out and the talon fx will come out
Step 3
You will now reach this this has 4 screws in our case 2 of the were fine and the other 2 were striped so we had to drill in the screws, once you take them out there is something that has to be done that requieres sniping 3 wires is the wires under the soldering wich the motor will be complety screwed uness you find a way to fix it
Step 4
You will reach this point if you did everything correctly you do not have to do anything in here
Step 5
Now you will have