Upgrading Repositories
This chapter will guide you on upgrading old repositories from previous season to match all the new changes with WPIlib for the current season. By doing this, we can still run old robots using relatively unchanged code even if the Rio has been flashed to a newer image.
Downloading the Latest VS Code Version
Downloading the Latest Version
If you don't already have the latest version of VS Code installed yet, download it from here: https://visualstudio.microsoft.com/downloads/
After downloading it, it'll open an instance Visual Studio Installer. Click through all of the pages and don't change any of the default stuff. Once if finishes installing, it will appear alongside and other versions you already have.
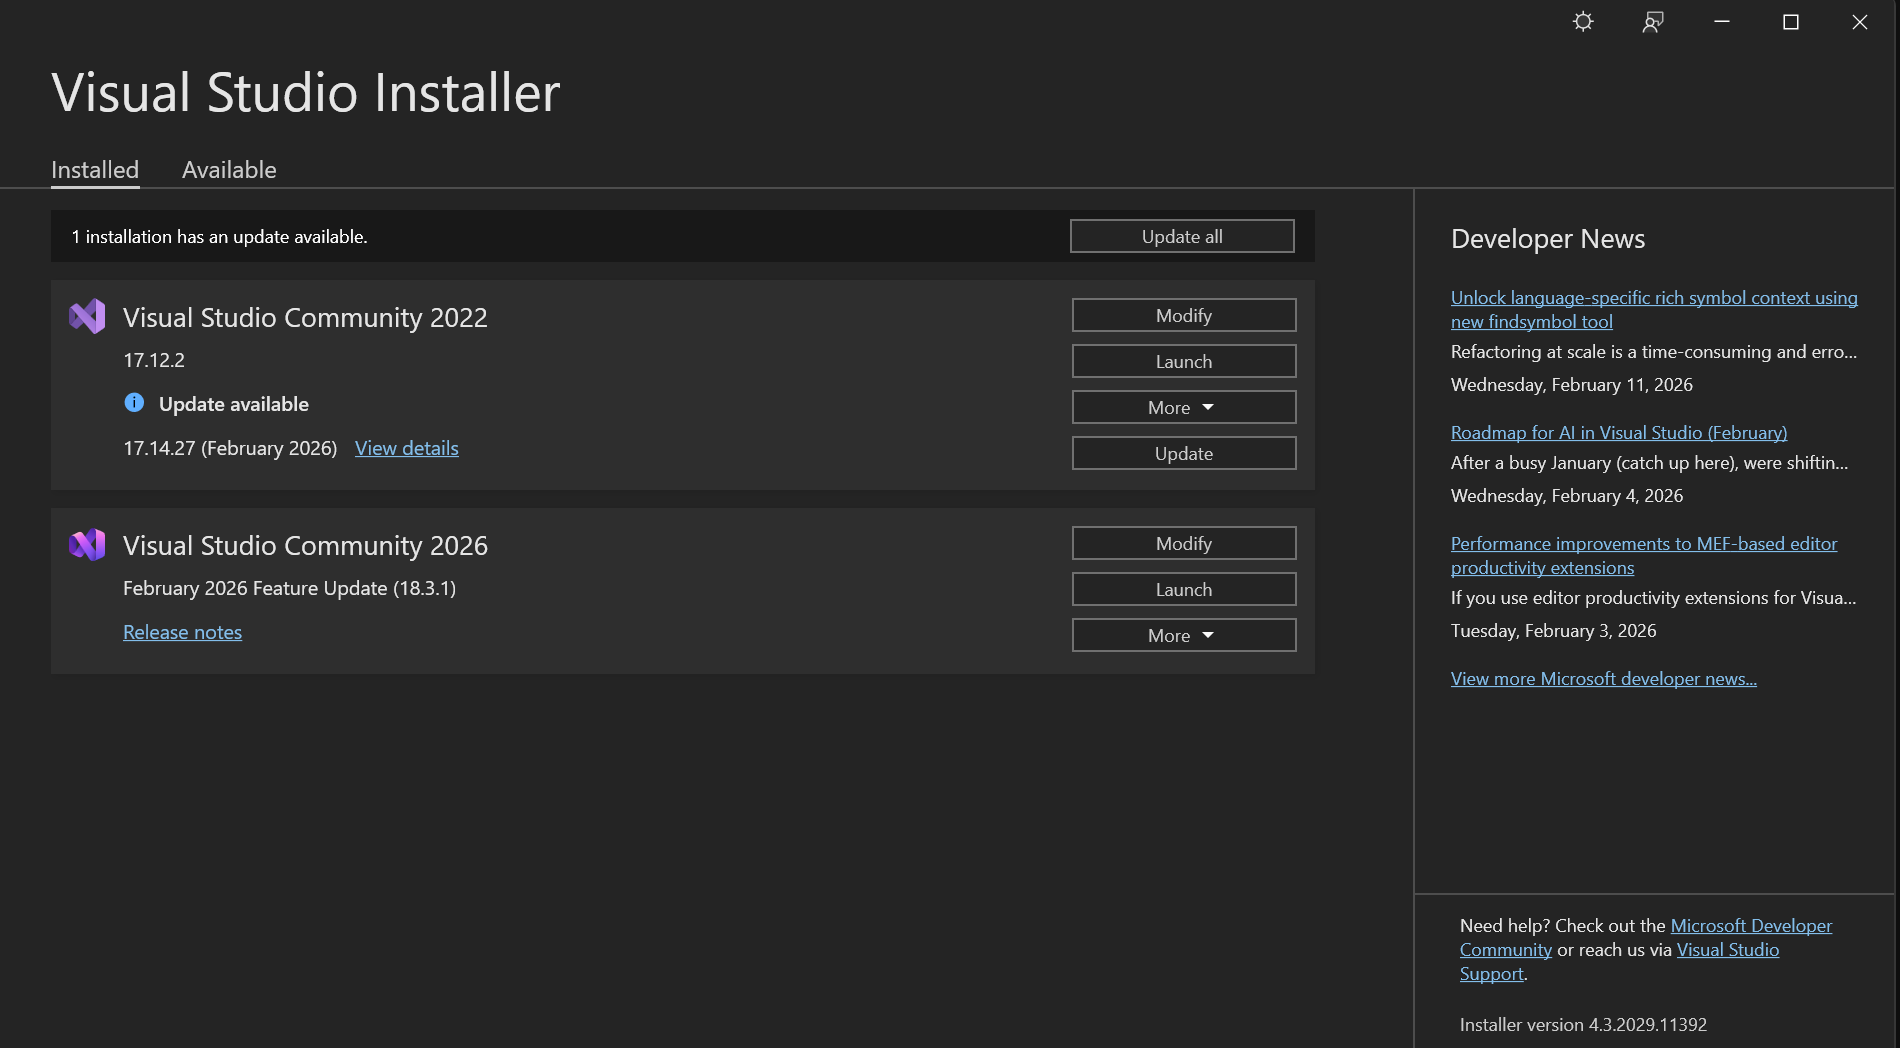
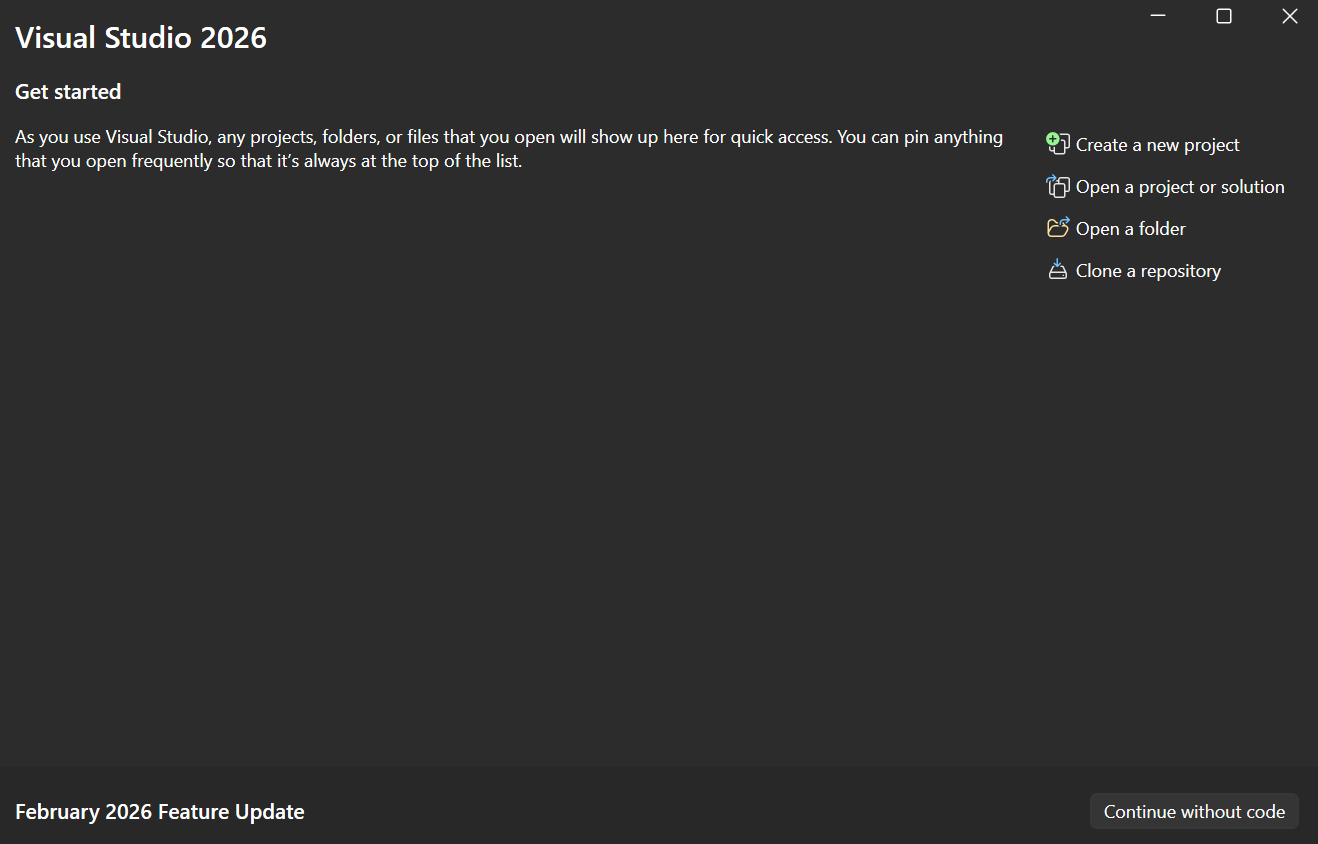
After clicking Launch, it'll prompt you to sign in, and choose Sign in with GitHub. Then, click Clone a Repository
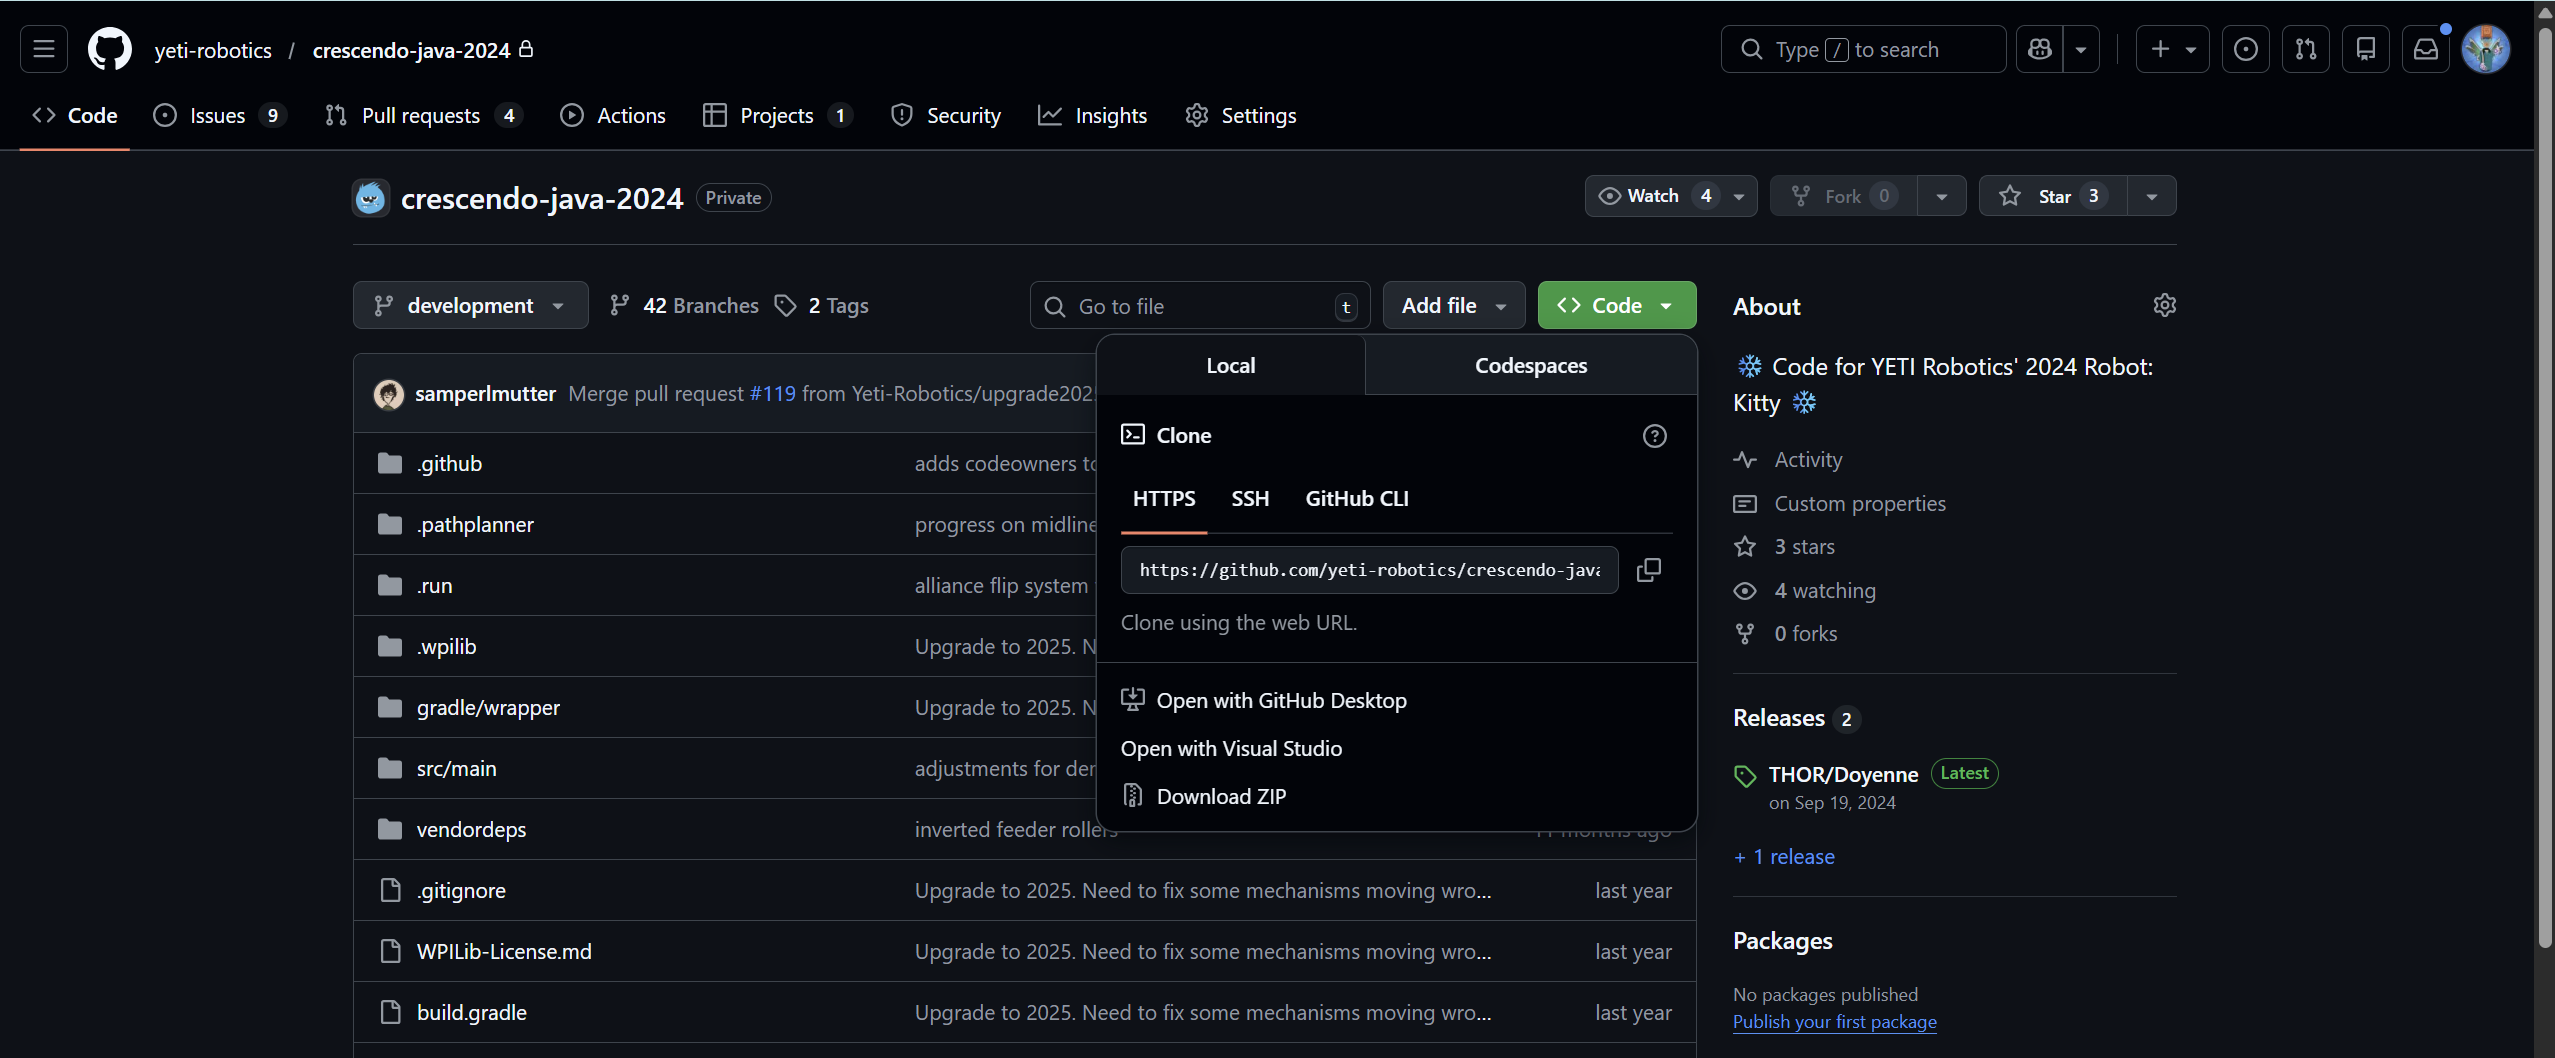
Go to the GitHub repository you are upgrading. Click Code, then copy the HTTPS link and paste it back in Visual Studio.
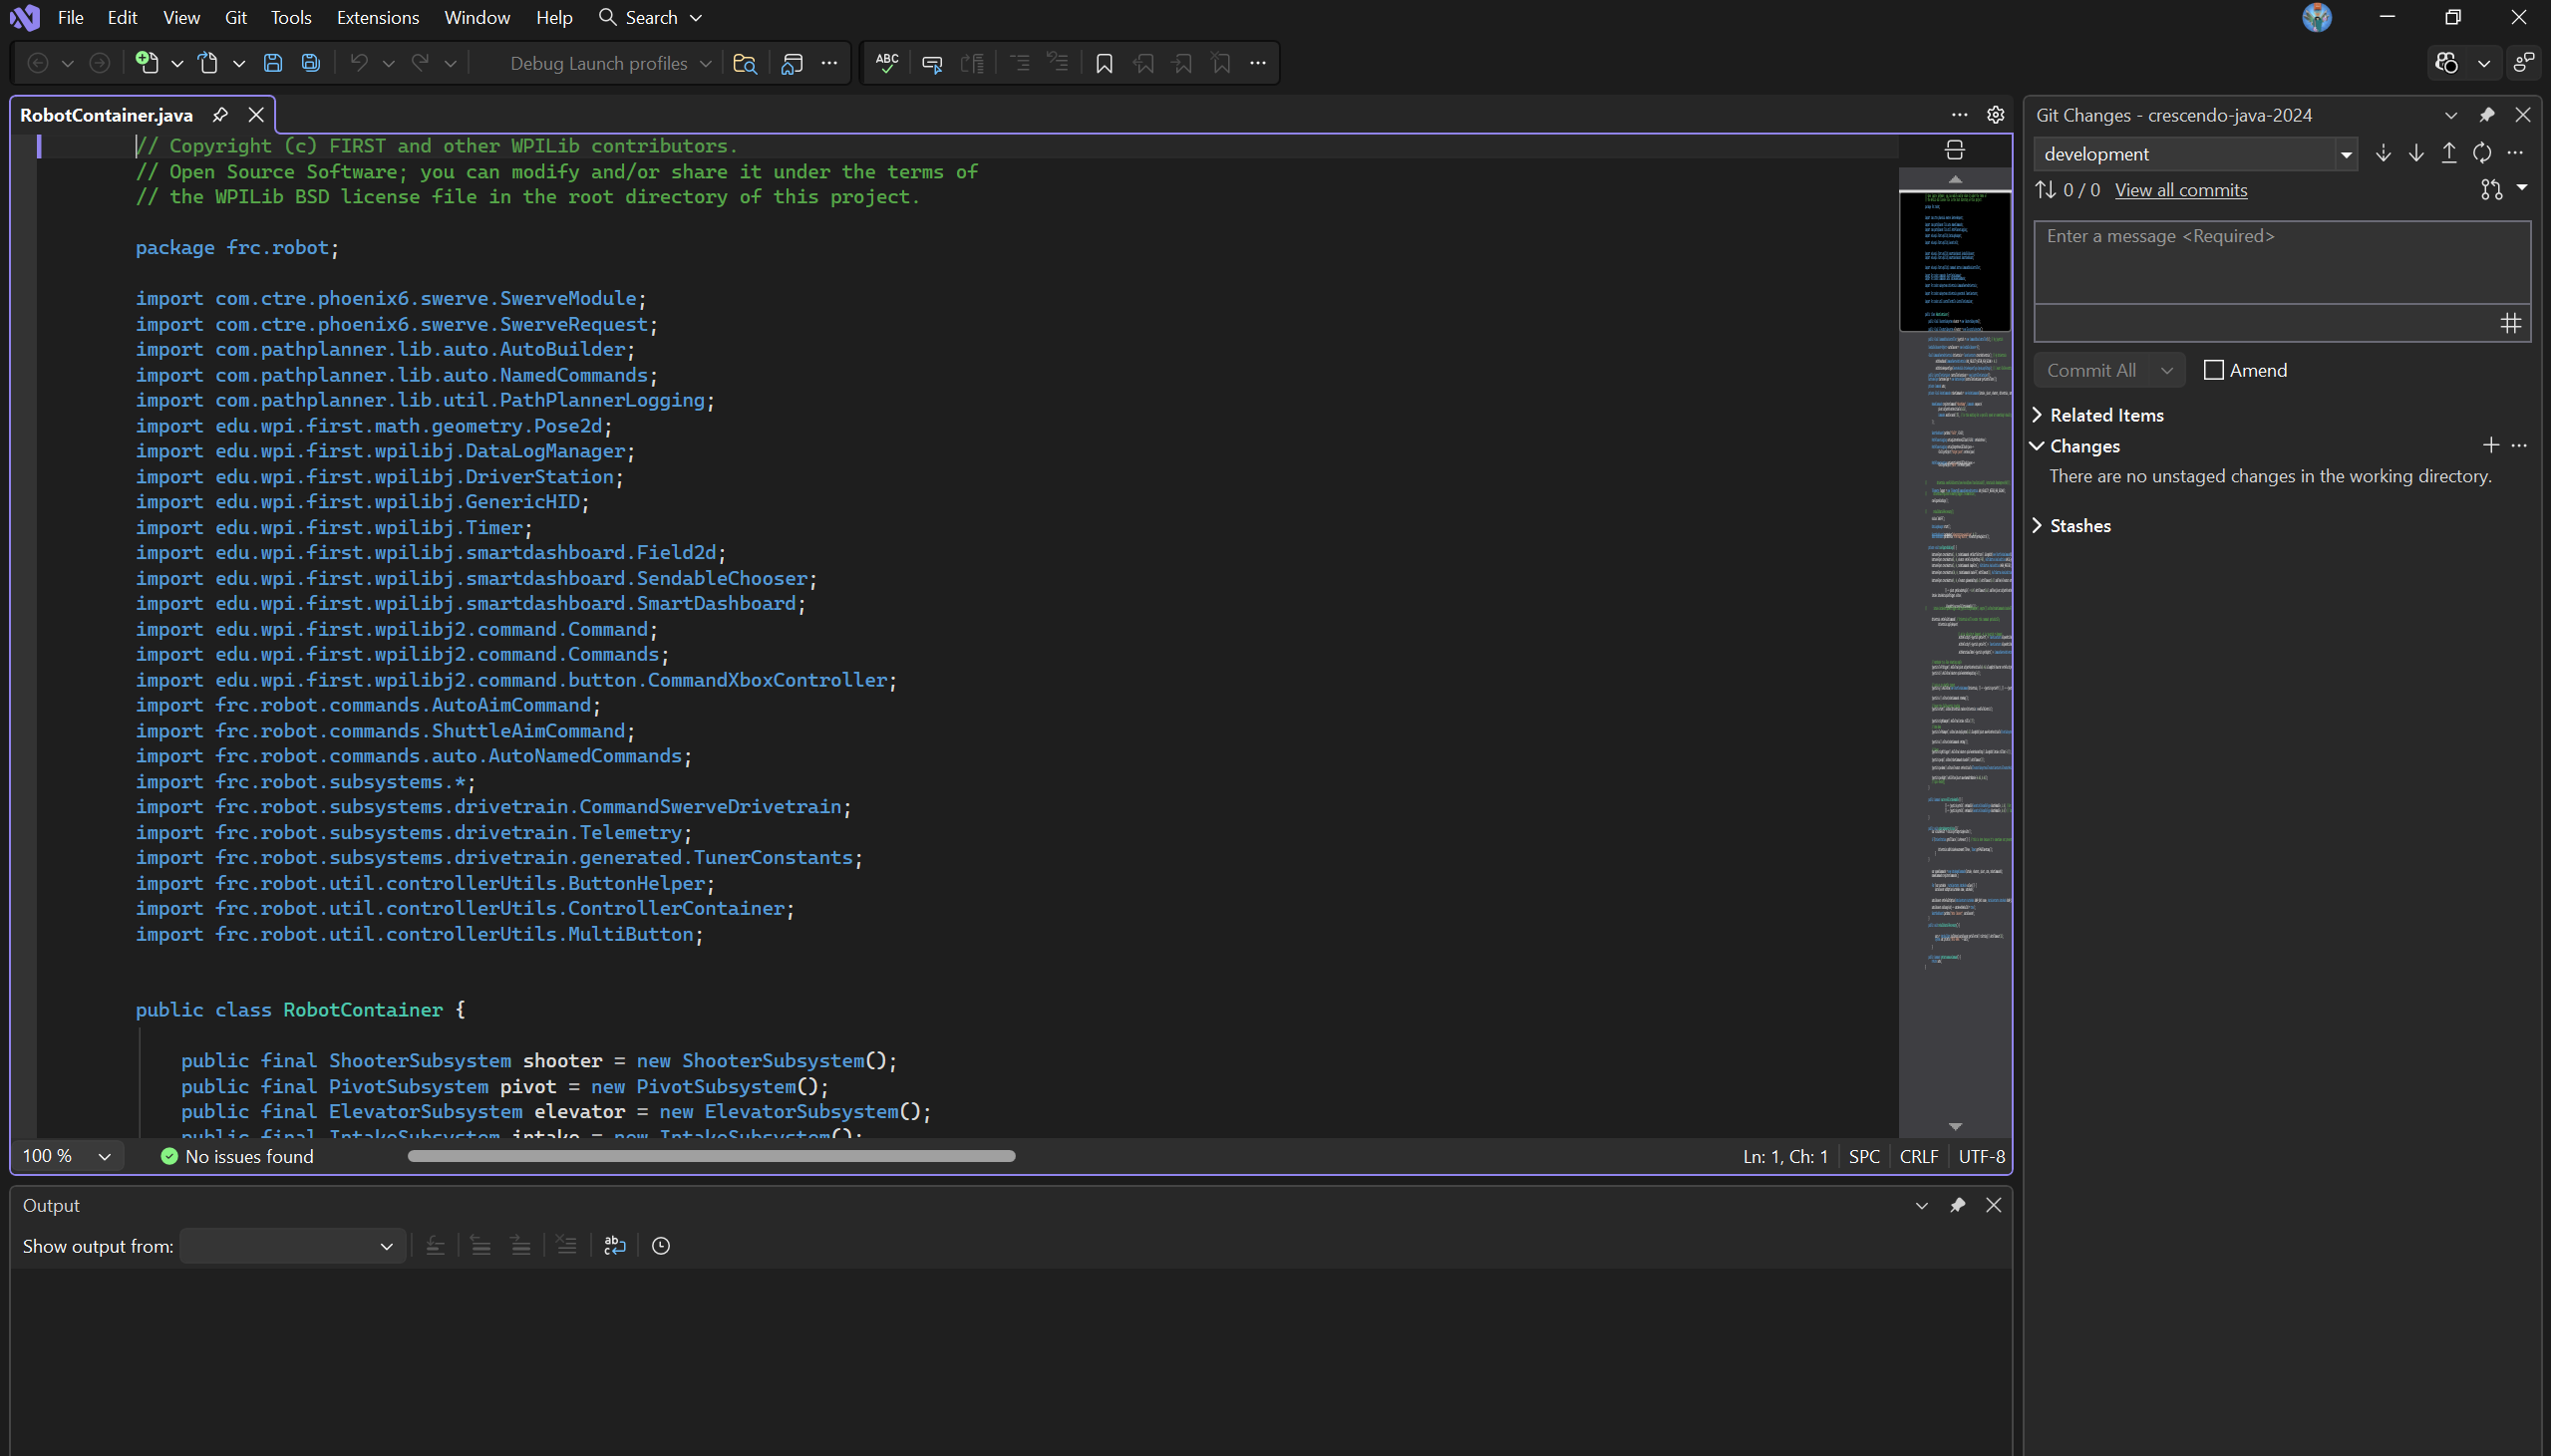
Once the repository is cloned, it should look like this in VS Code.
WPILib Extension Download
WPILib Extension Download
The VS Code Extension Marketplace doesn't natively come with the WPILib extension. Search up "WPILib Installer" on your browser of choice. Then, install the latest version and click on the .iso file in your recent downloads.
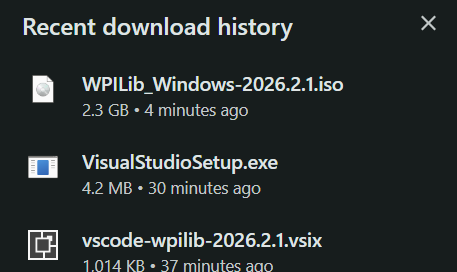
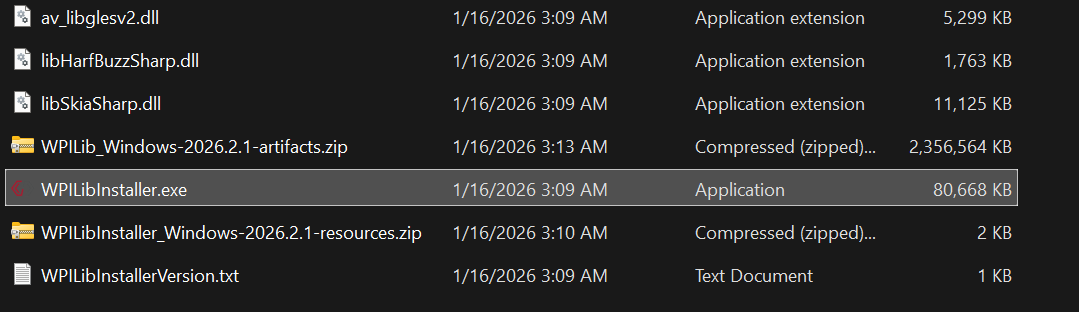
This will take you to your File Explorer, and then double click on WPILibInstaller to run it. Click More Info -> Run Anyway if your computer gives you a warning.
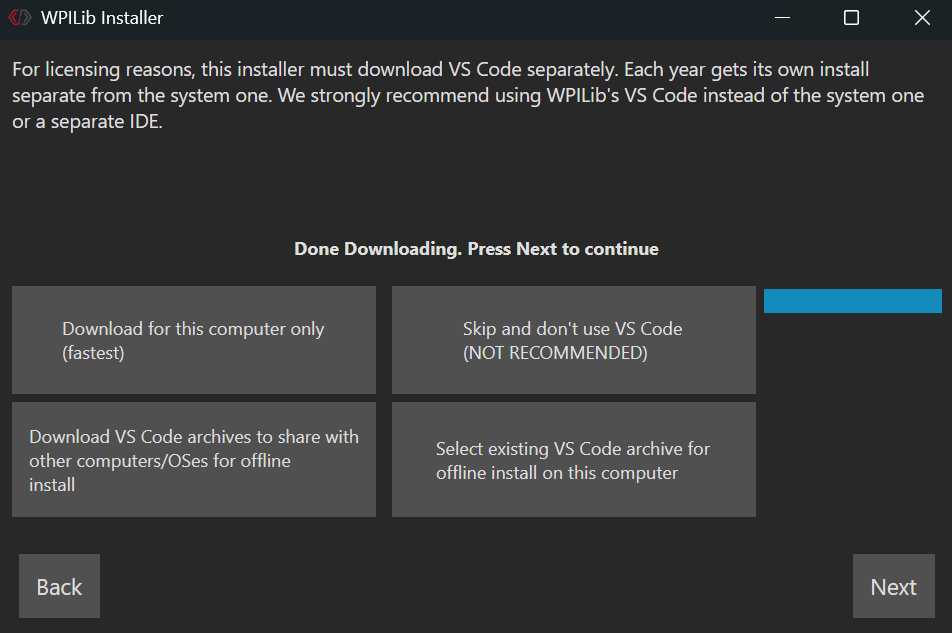
When you get to the following screen, click on "Download for this computer only" and this will begin installing the VS Code extension. Continue with the rest of the installation.
Make sure you close any apps that are using any WPILib stuff before doing this step
After it tells you that you are finished and you click on the Finish button, open the Start Menu (or its equivalent on Mac) and search up VS Code.
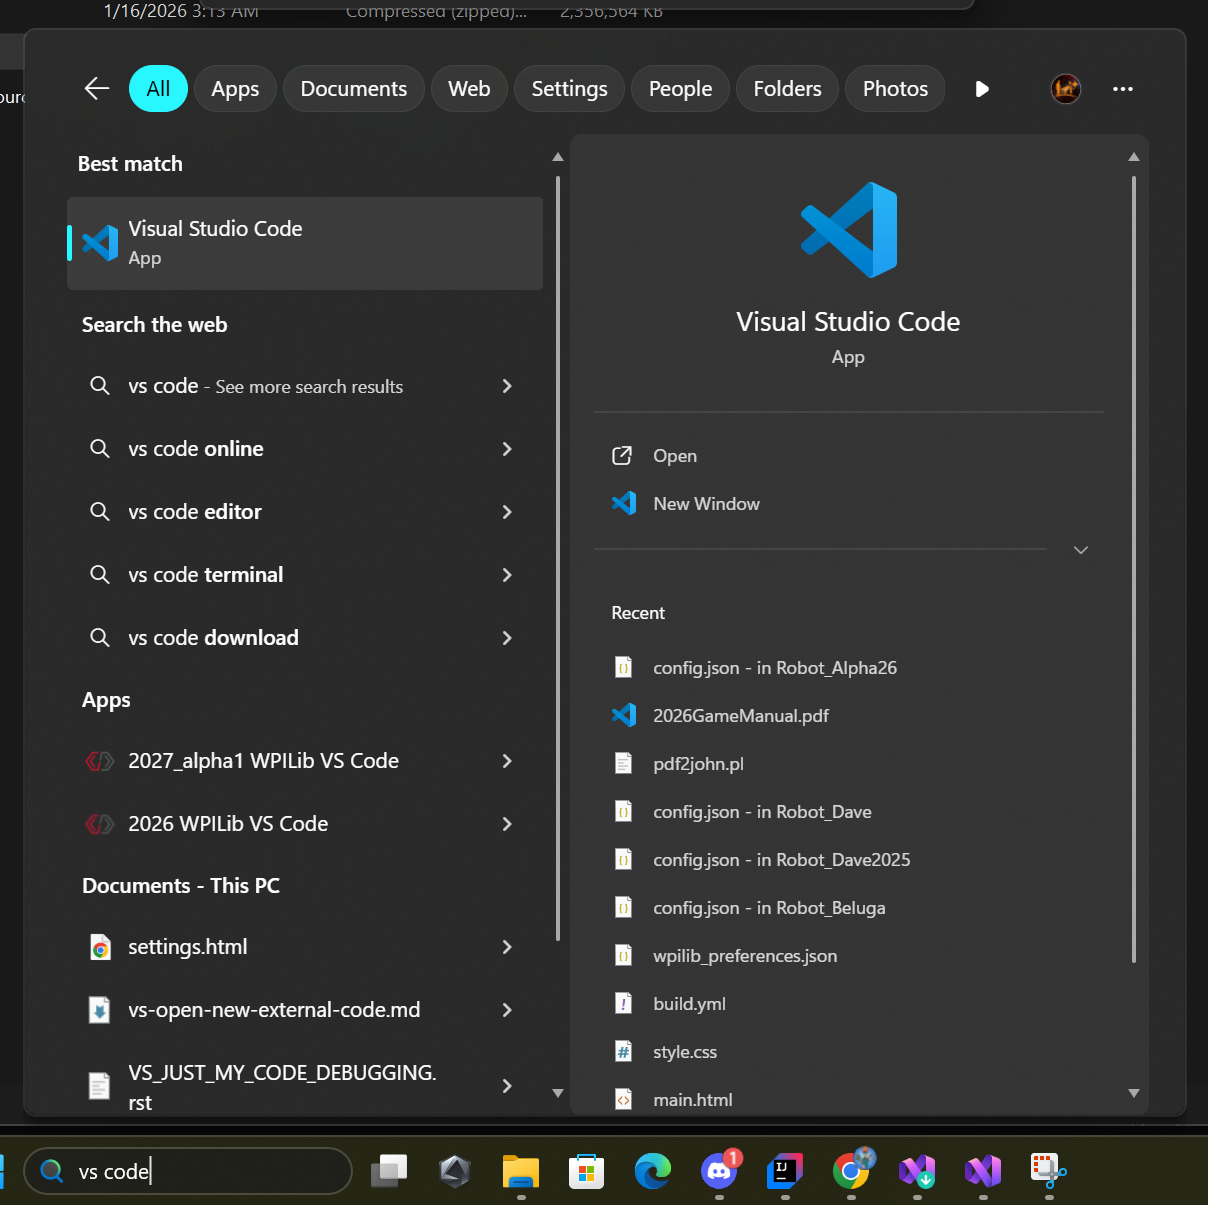
You should see a file named "[Year #] WPILib VS Code". Click and open it. At the bottom, click the Mark Done button.
Replacing the Old with the New
Actually Replacing the Old Repositories
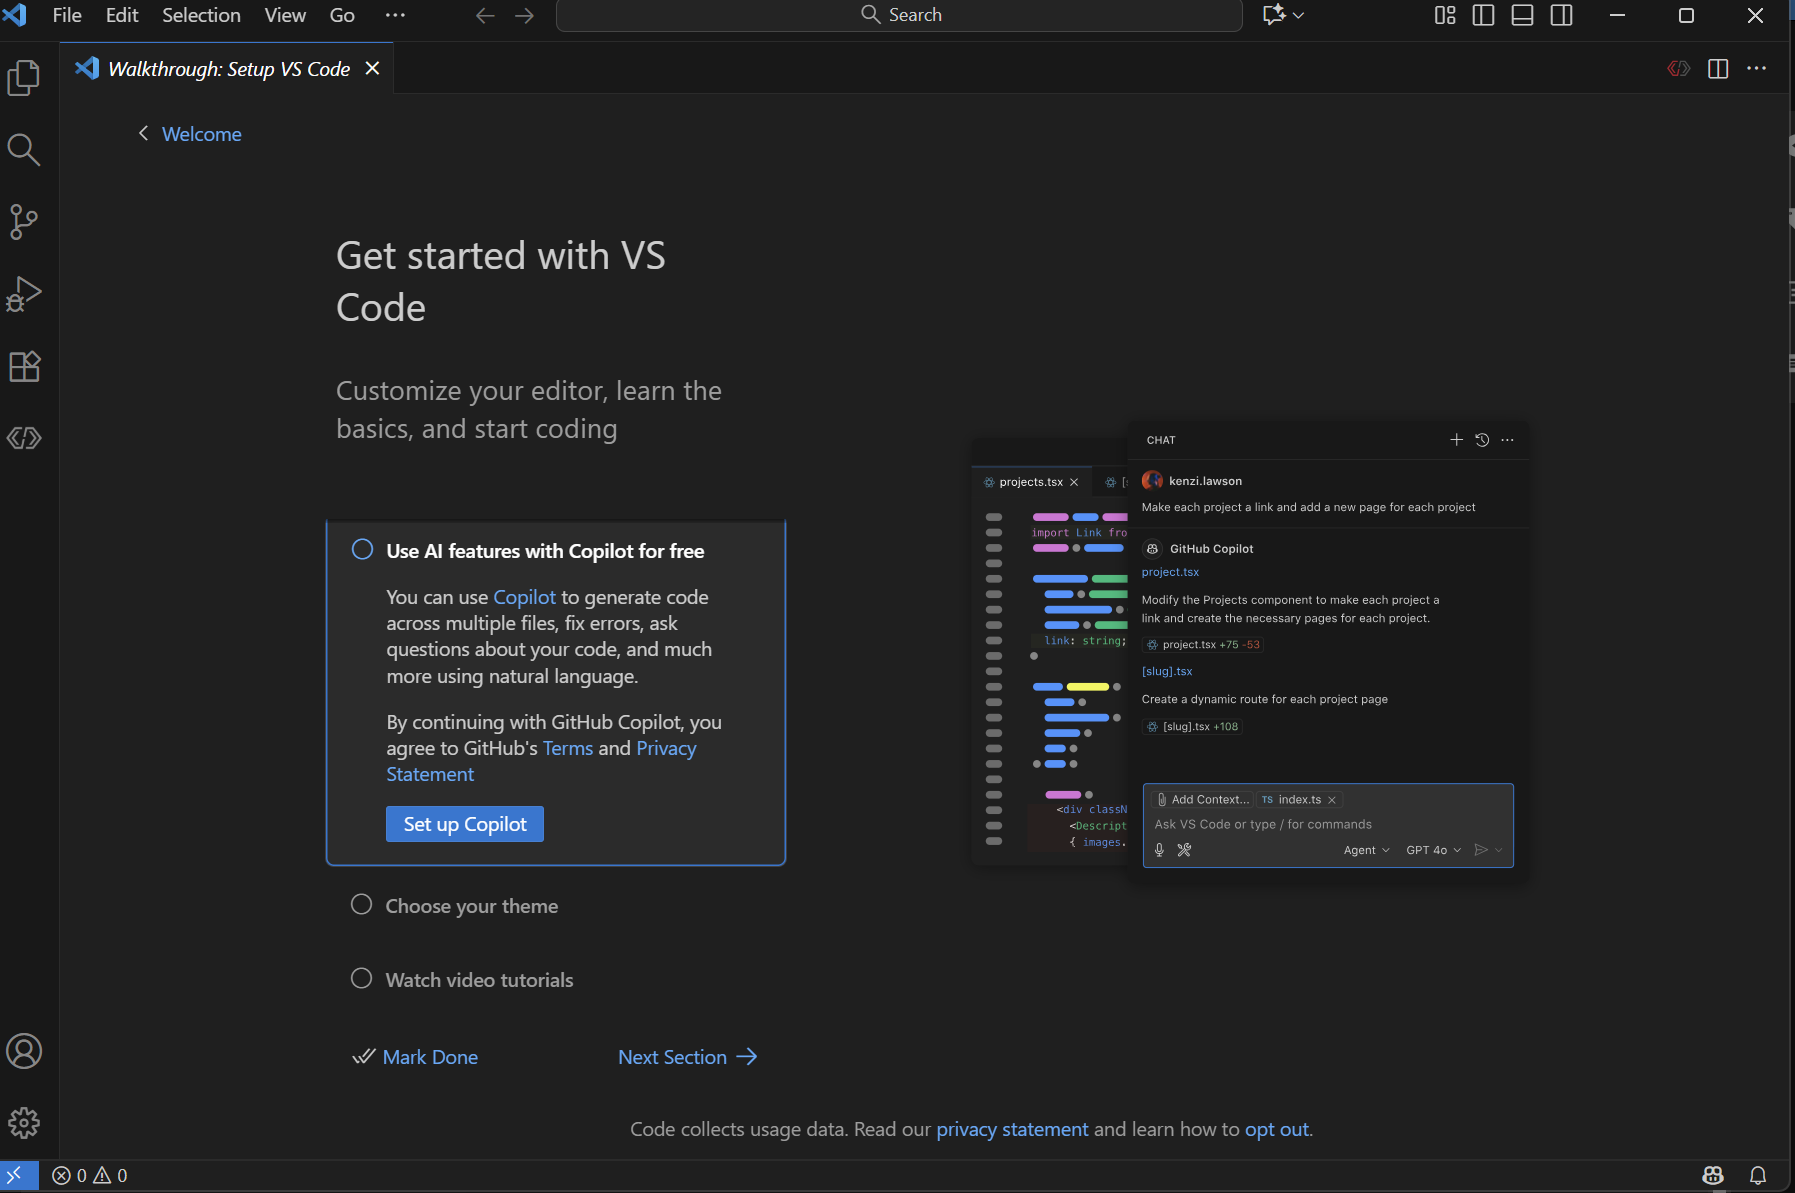
Here, click on Clone Git Repository, and follow steps from the previous chapter to copy the HTTPS link and authorize VS Code access to your GitHub account.
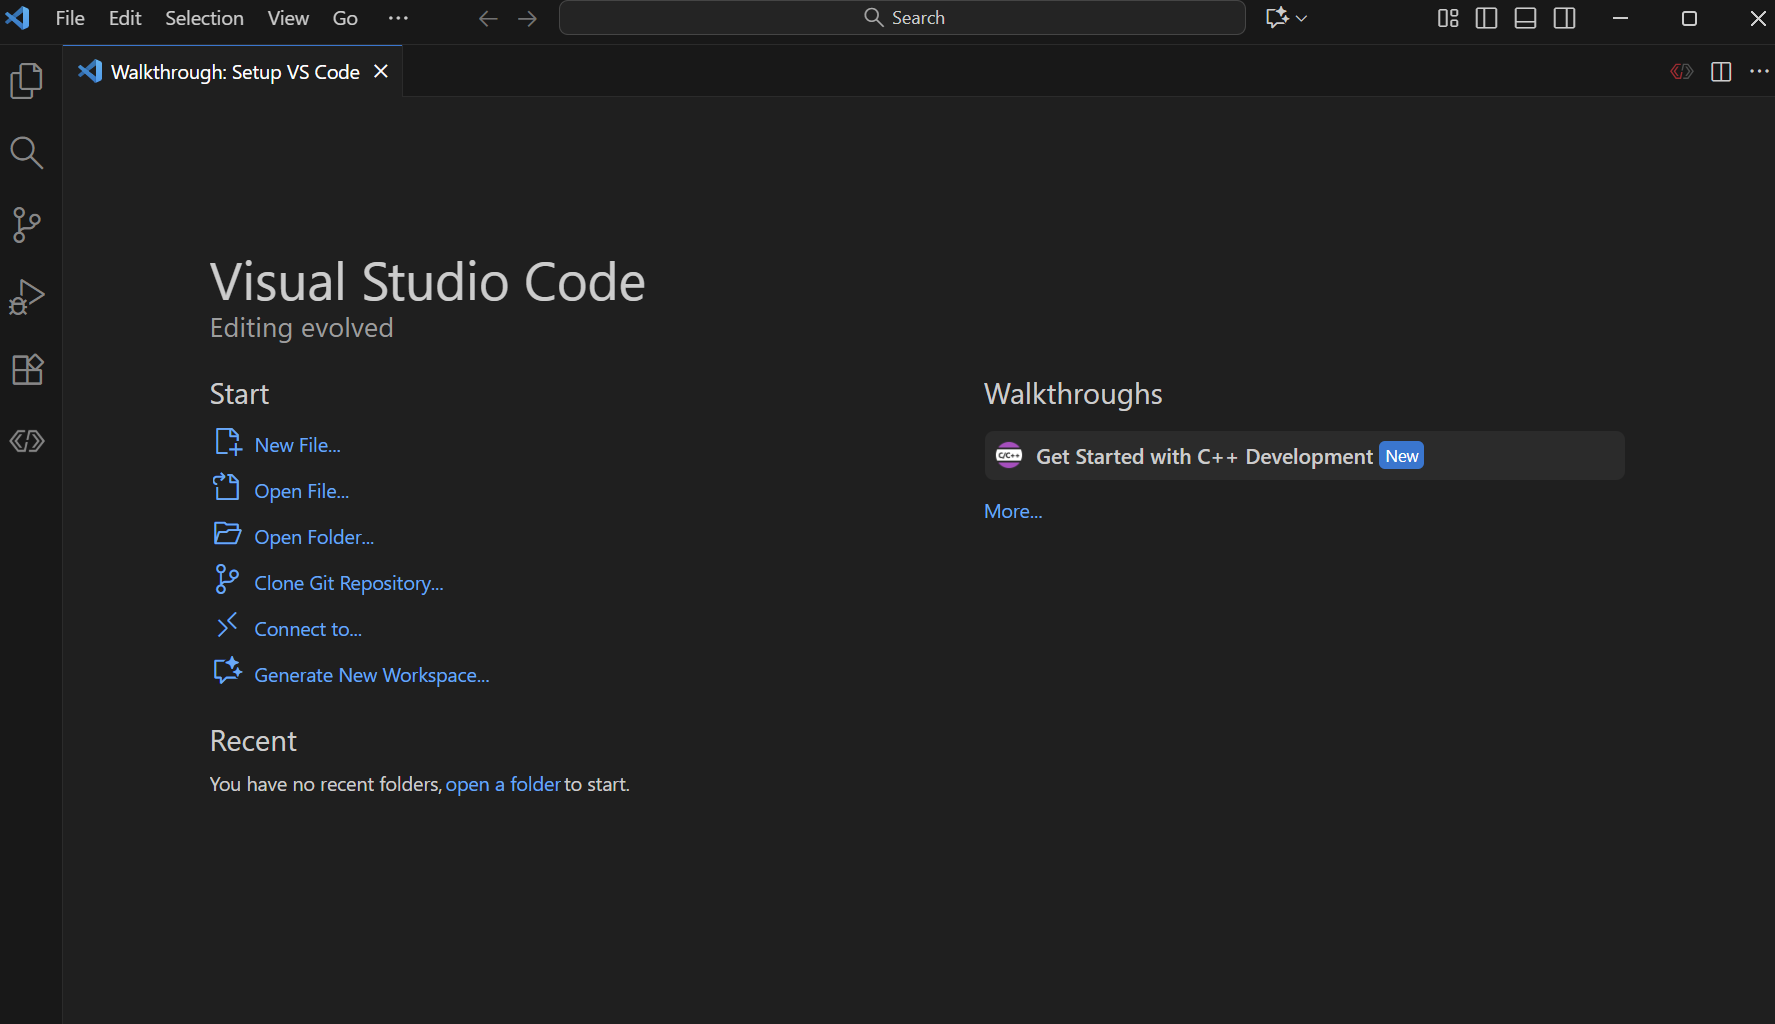
Then, you'll see this in the search bar, and select the repository you are upgrading.
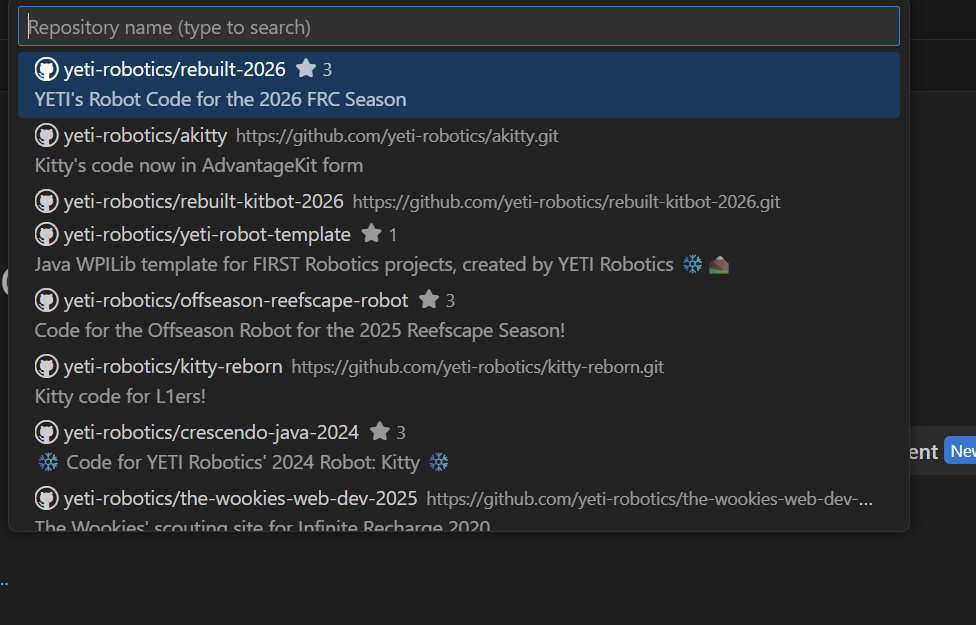
Once you select a target destination folder in your computer (I saved mine in Documents), you'll get a pop-up asking you if you want to upgrade the repo to the current year. Click yes (obviously lol).
Once you do, it should auto fill out all the fields. The new Project Name for the repository will have an "-Imported" at the end of its name. Then, click Import Project and watch the magic happen.
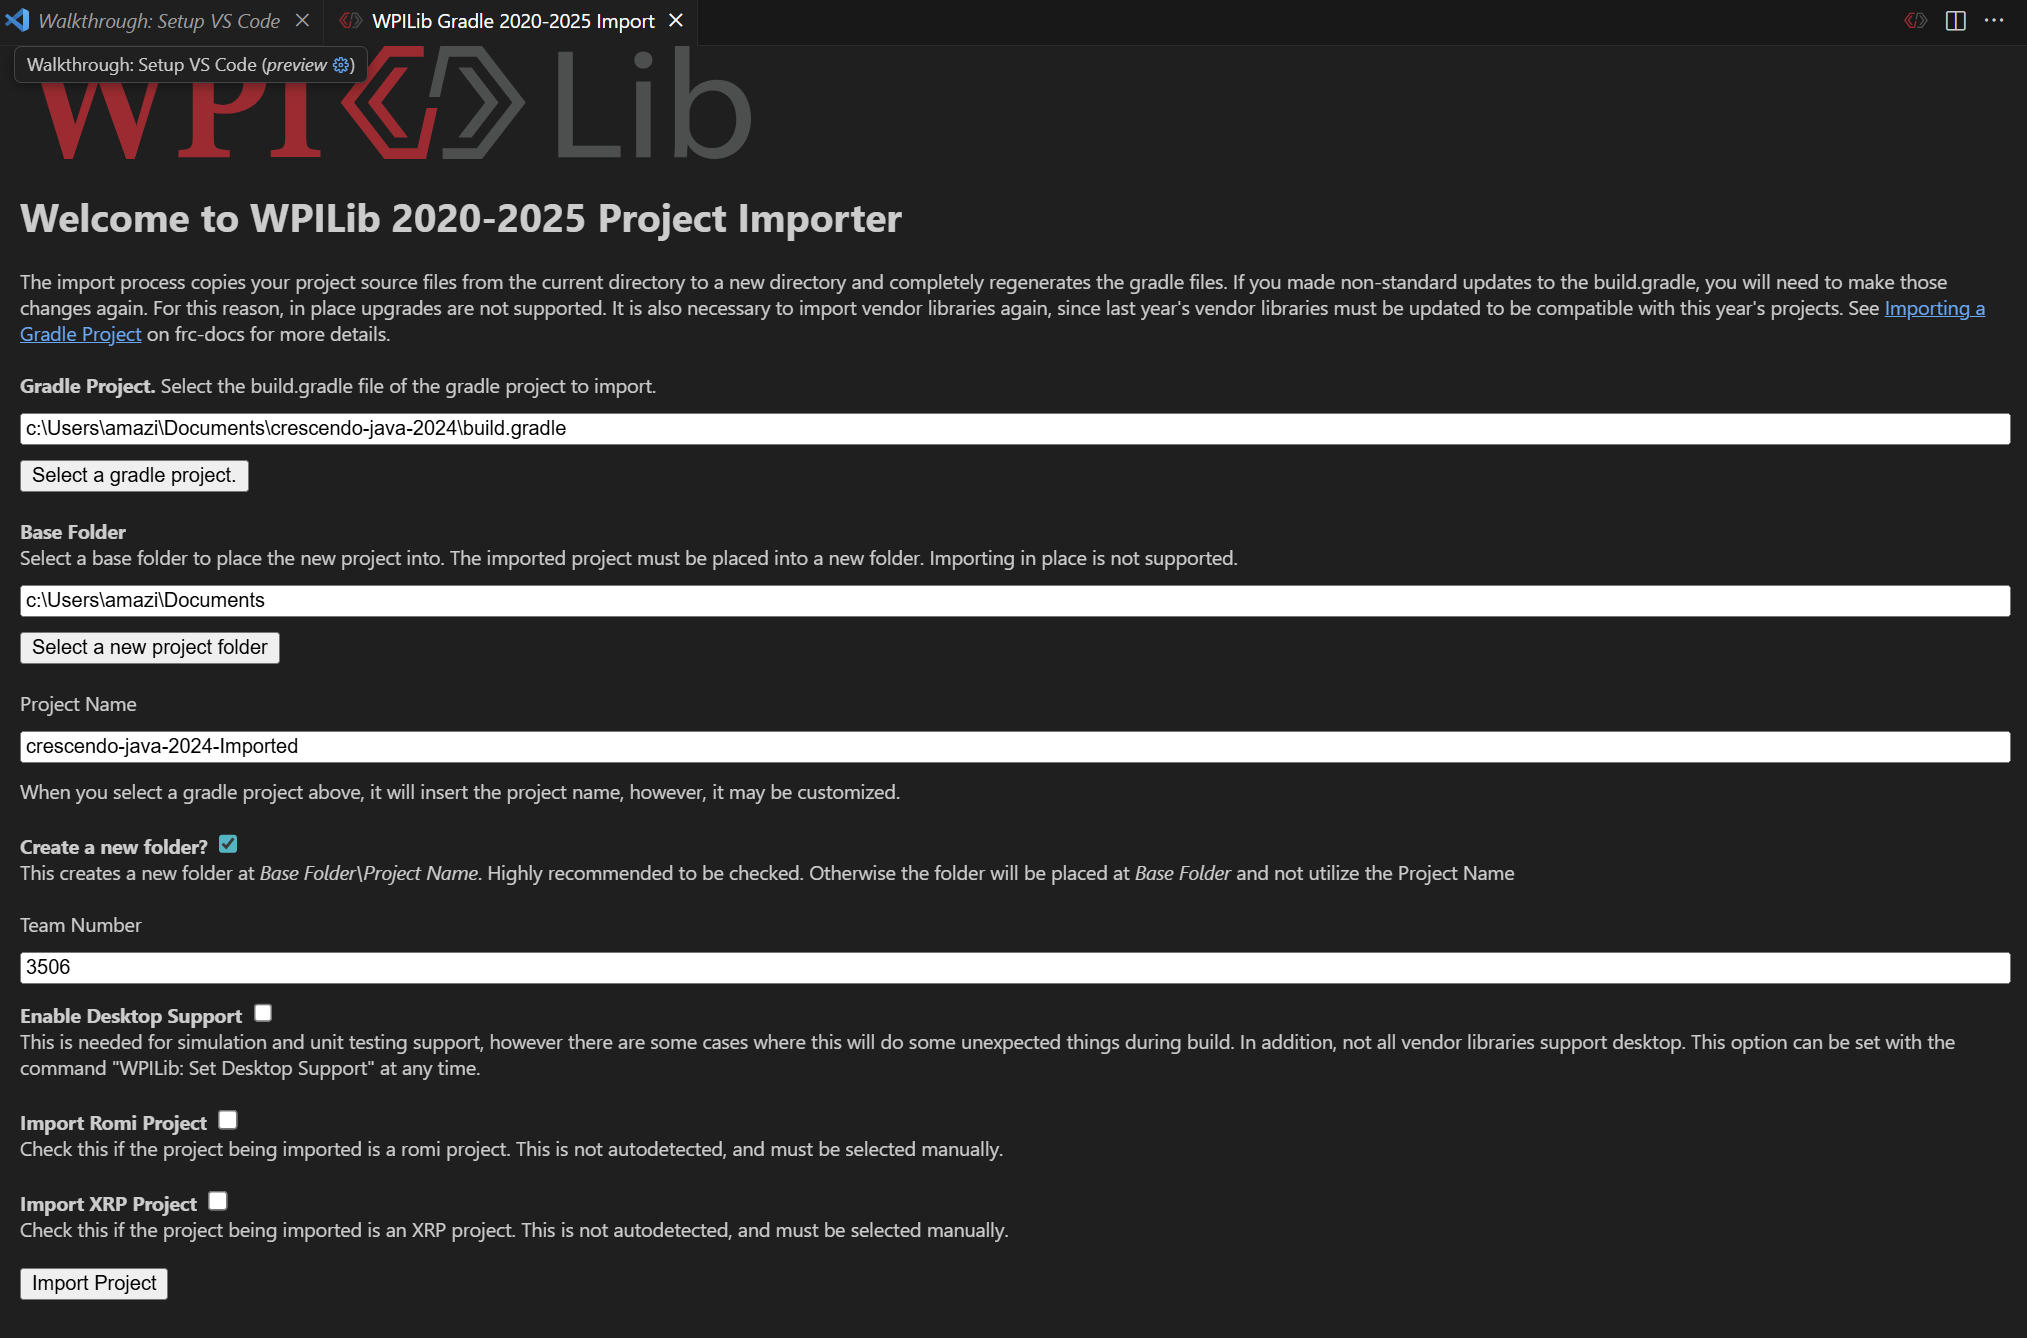
Once the project has finished upgrading, open the repository in your File Explorer.
You will get a bunch of errors in the VS Code project, but don't worry, it's fine.

CTRL (or Cmd) + A to select all the files in the "-Imported" repo, and then paste all those new files into the old repo. Click Replace after you paste the files to replace all the old files. To find the old repository in the File Explorer, right click the project name, then Open In -> Explorer
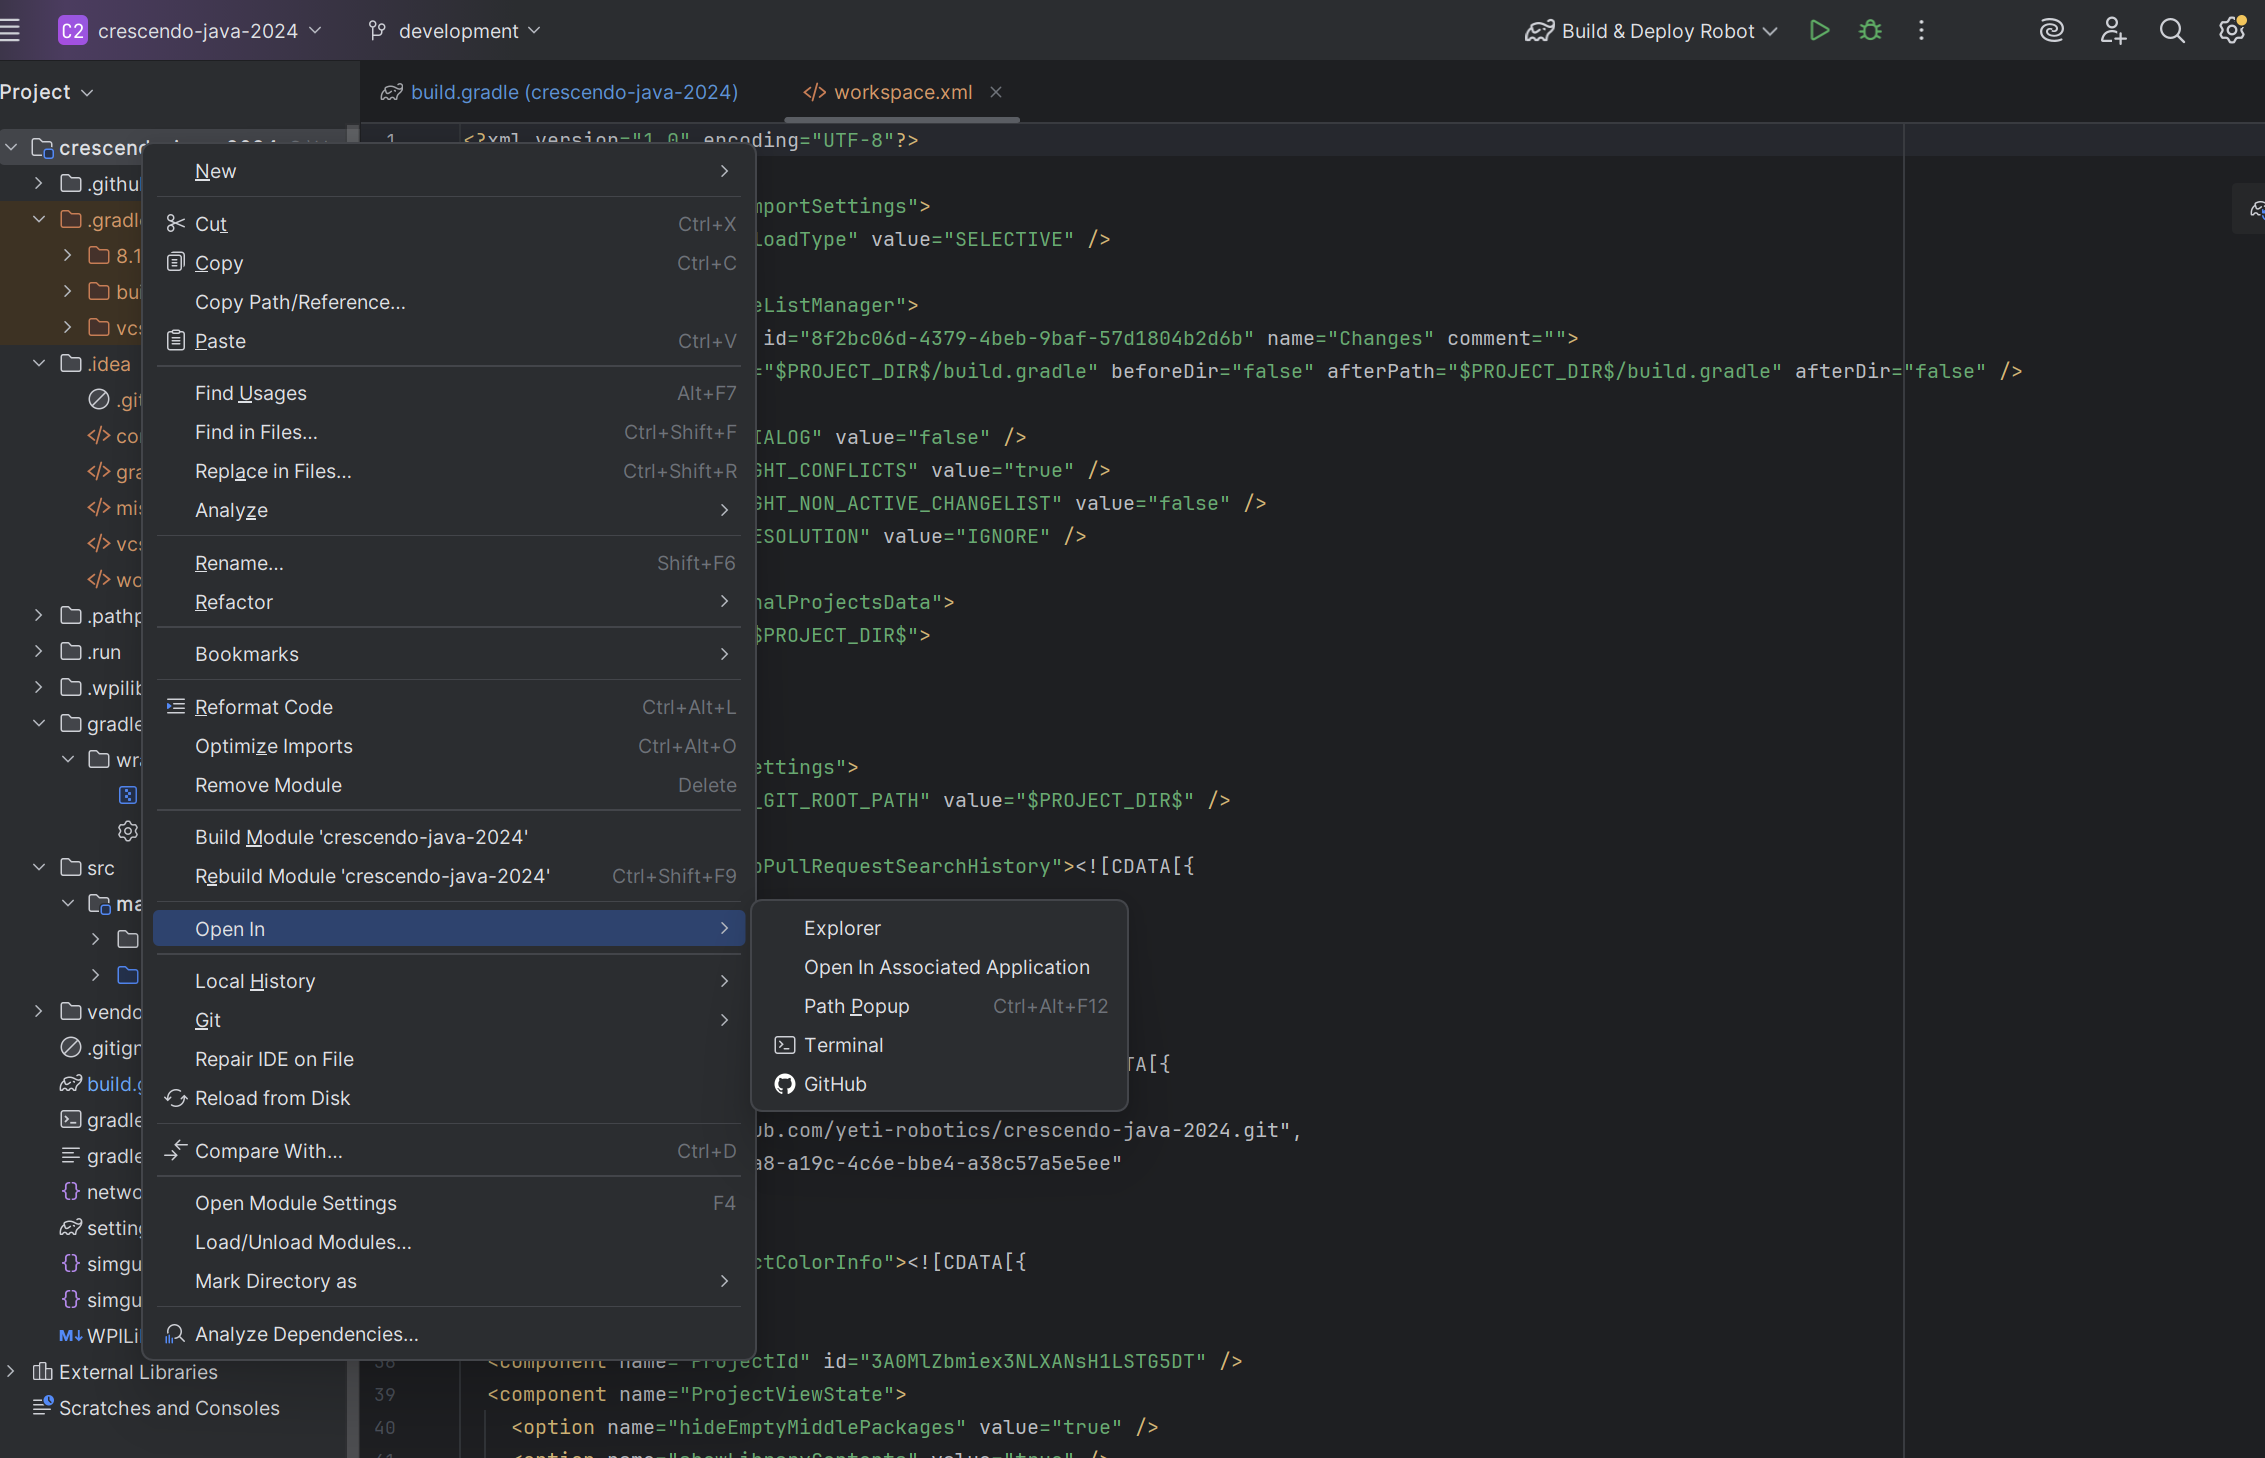
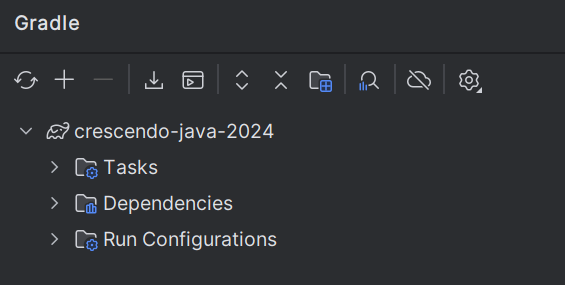
Once you paste all the files into the old repository, reload the gradle and you'll see a couple errors with the VendorDeps.
You have to upgrade all old VendorDeps into 2026 by copy and pasting from the team's new repo. (Such as Rebuilt for 2026 upgrade).
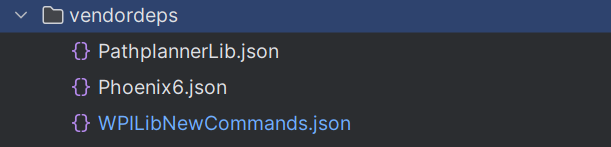
Once you copy/paste the new VendorDeps, reload the gradle again and it will build properly!!
You might have to update deprecated code with new code depending on how old the repo was
Commit your changes, push, and create a PR!