Anderson Crimp
Anderson/Powerpole Connectors


Great for anything that inputs/outputs power on the robot 10-20 AWG
(Powerpole Starter Kit - AndyMark, Inc)
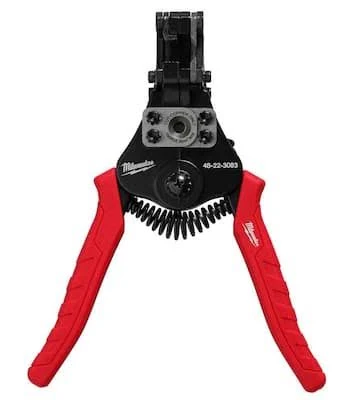
We typically use this wire stripper on the correct section for the specific Anderson gauge.
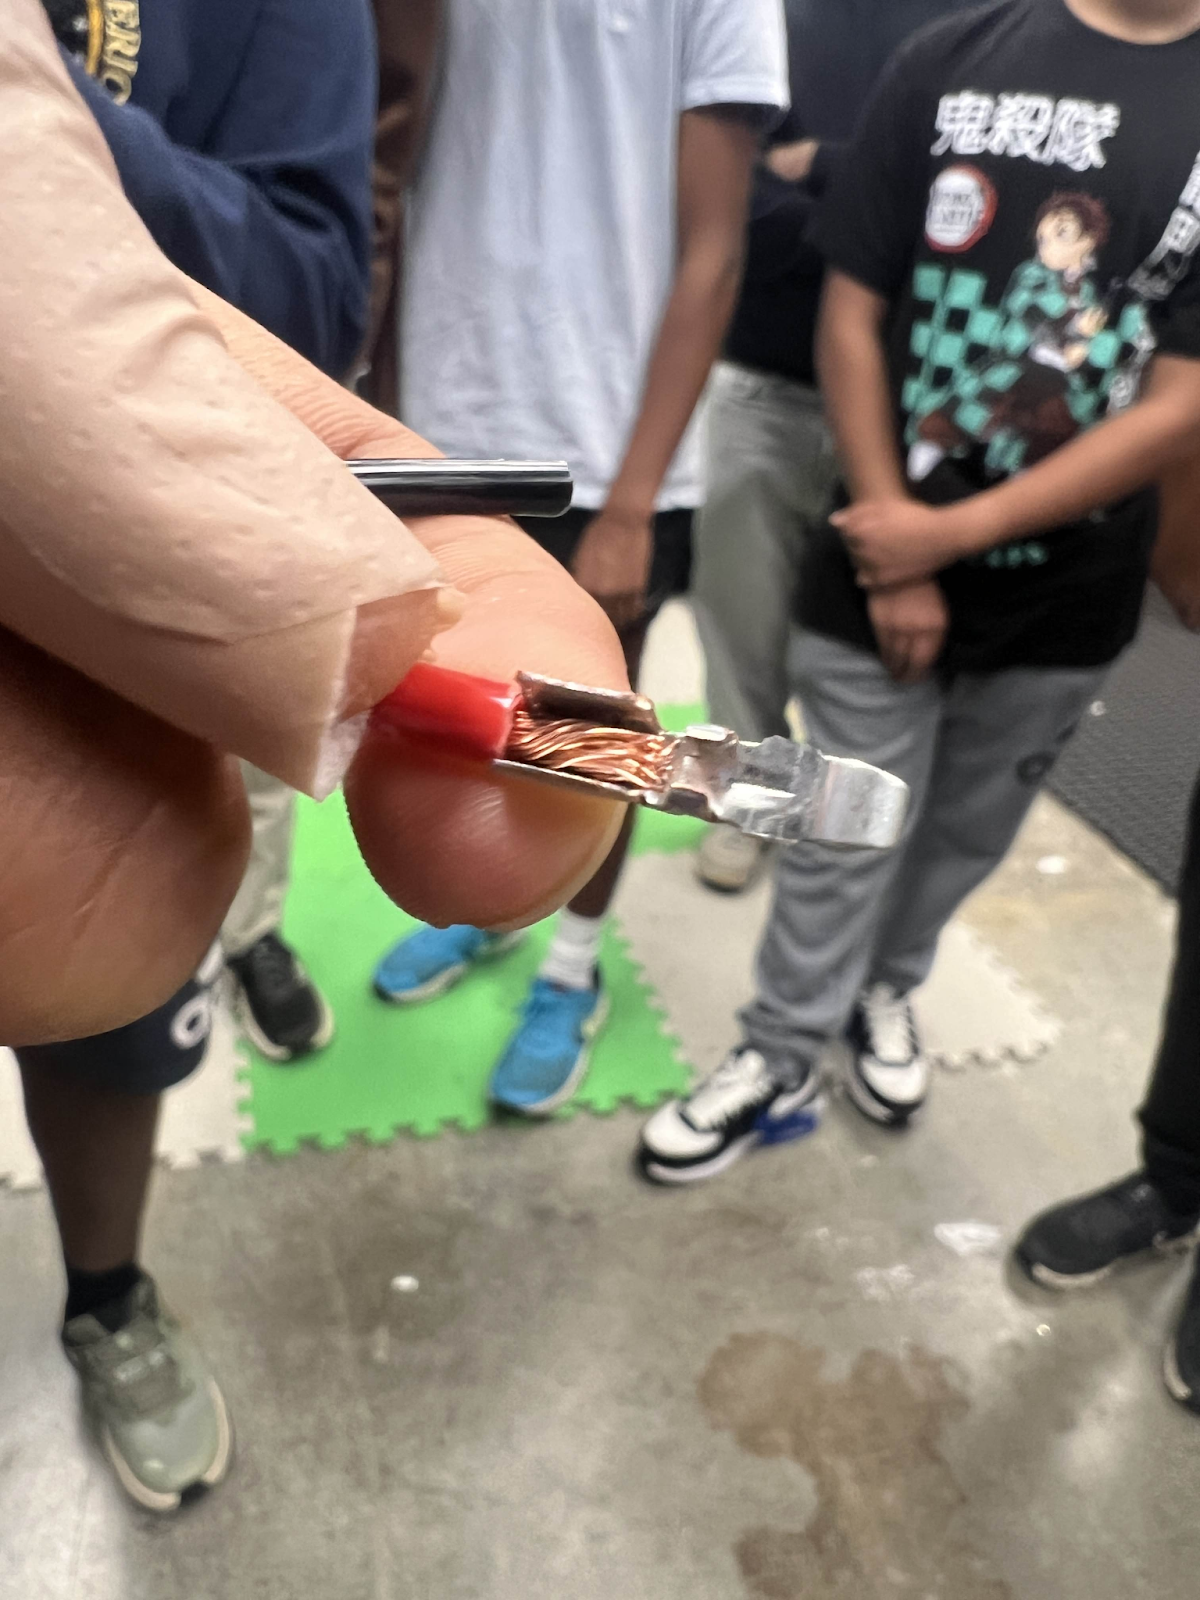
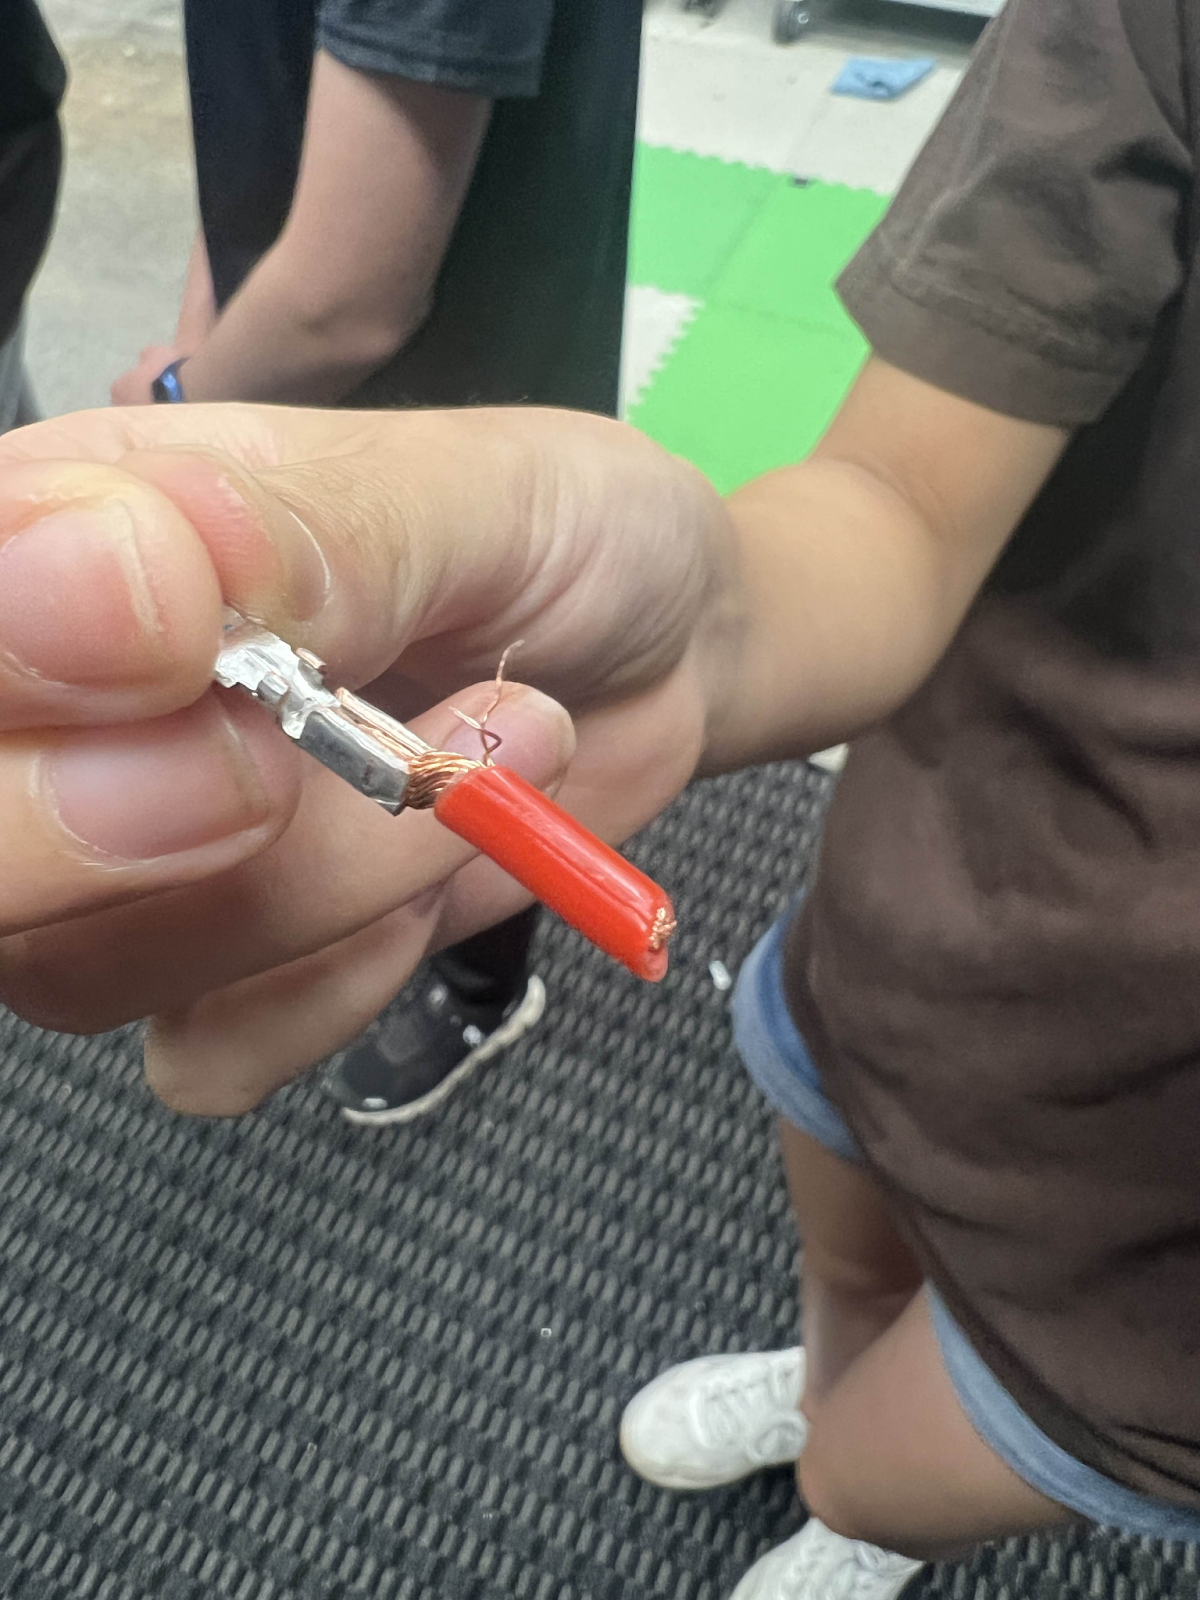
Once the wire is stripped, you want to prepare your Anderson crimp for the copper conductor.
It should be something like this:
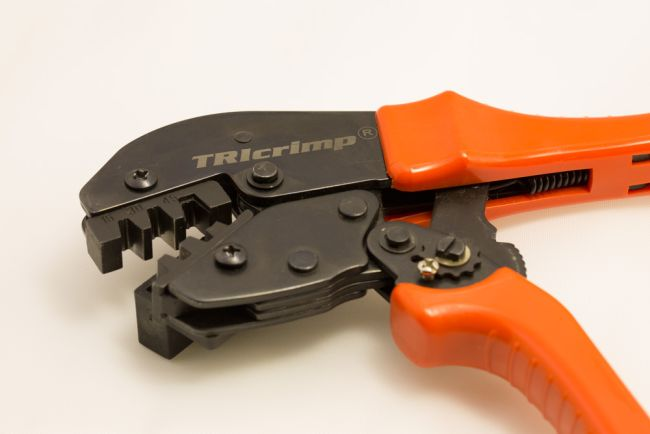
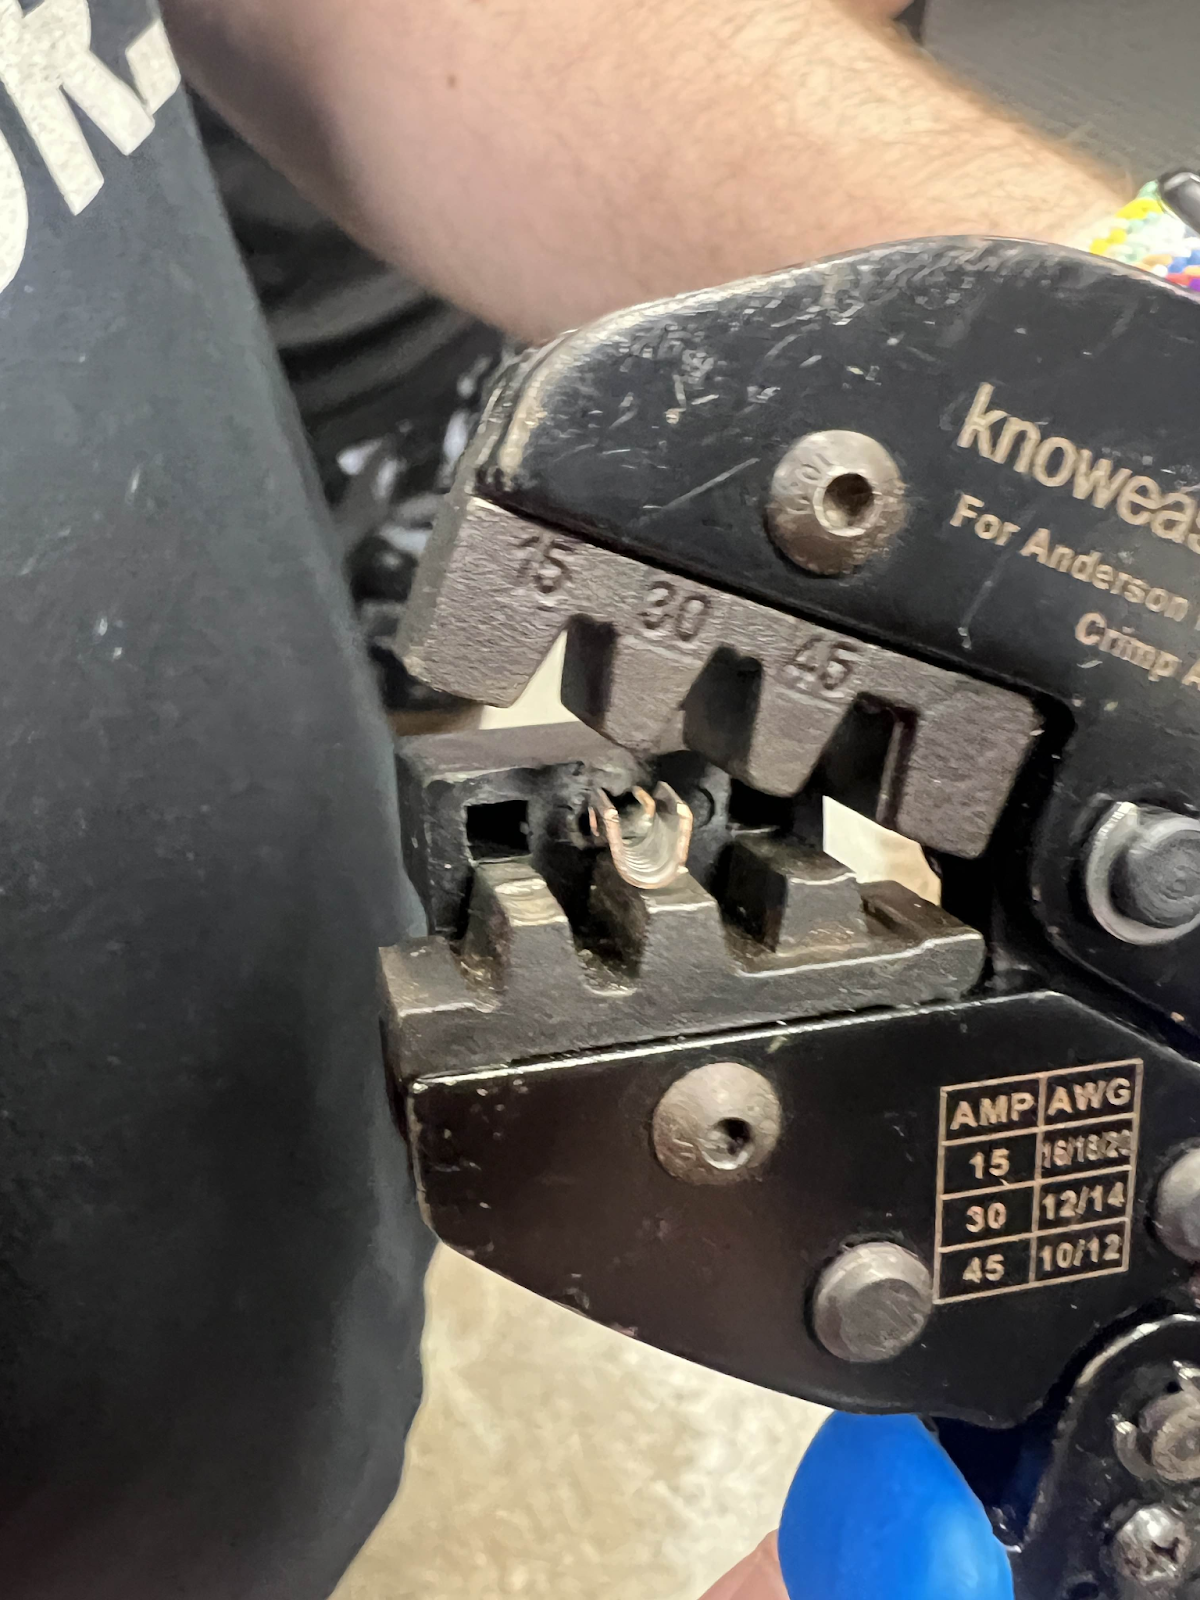
From there, you want to take your Anderson wire crimper and put it into the middle setting (30).

Note: Our team has used mainly the middle setting for our wiring, though we have noticed less durability past 22 AWG
FinishedIn Result!assist to your crimping of Anderson crimps, some electrical students on our team have adopted the method of “prefiring” which includes putting the crimp inside the crimper and then inserting the wire. Any method of crimping is fine as long as the wire is completely inside the crimp, the crimp does not have any insulation inside, and the crimp is inside the crimper during the time of connection.
Note: Prefiring is a method that can execute poorly is misaligned, be sure to use what is comfortable but effective for you
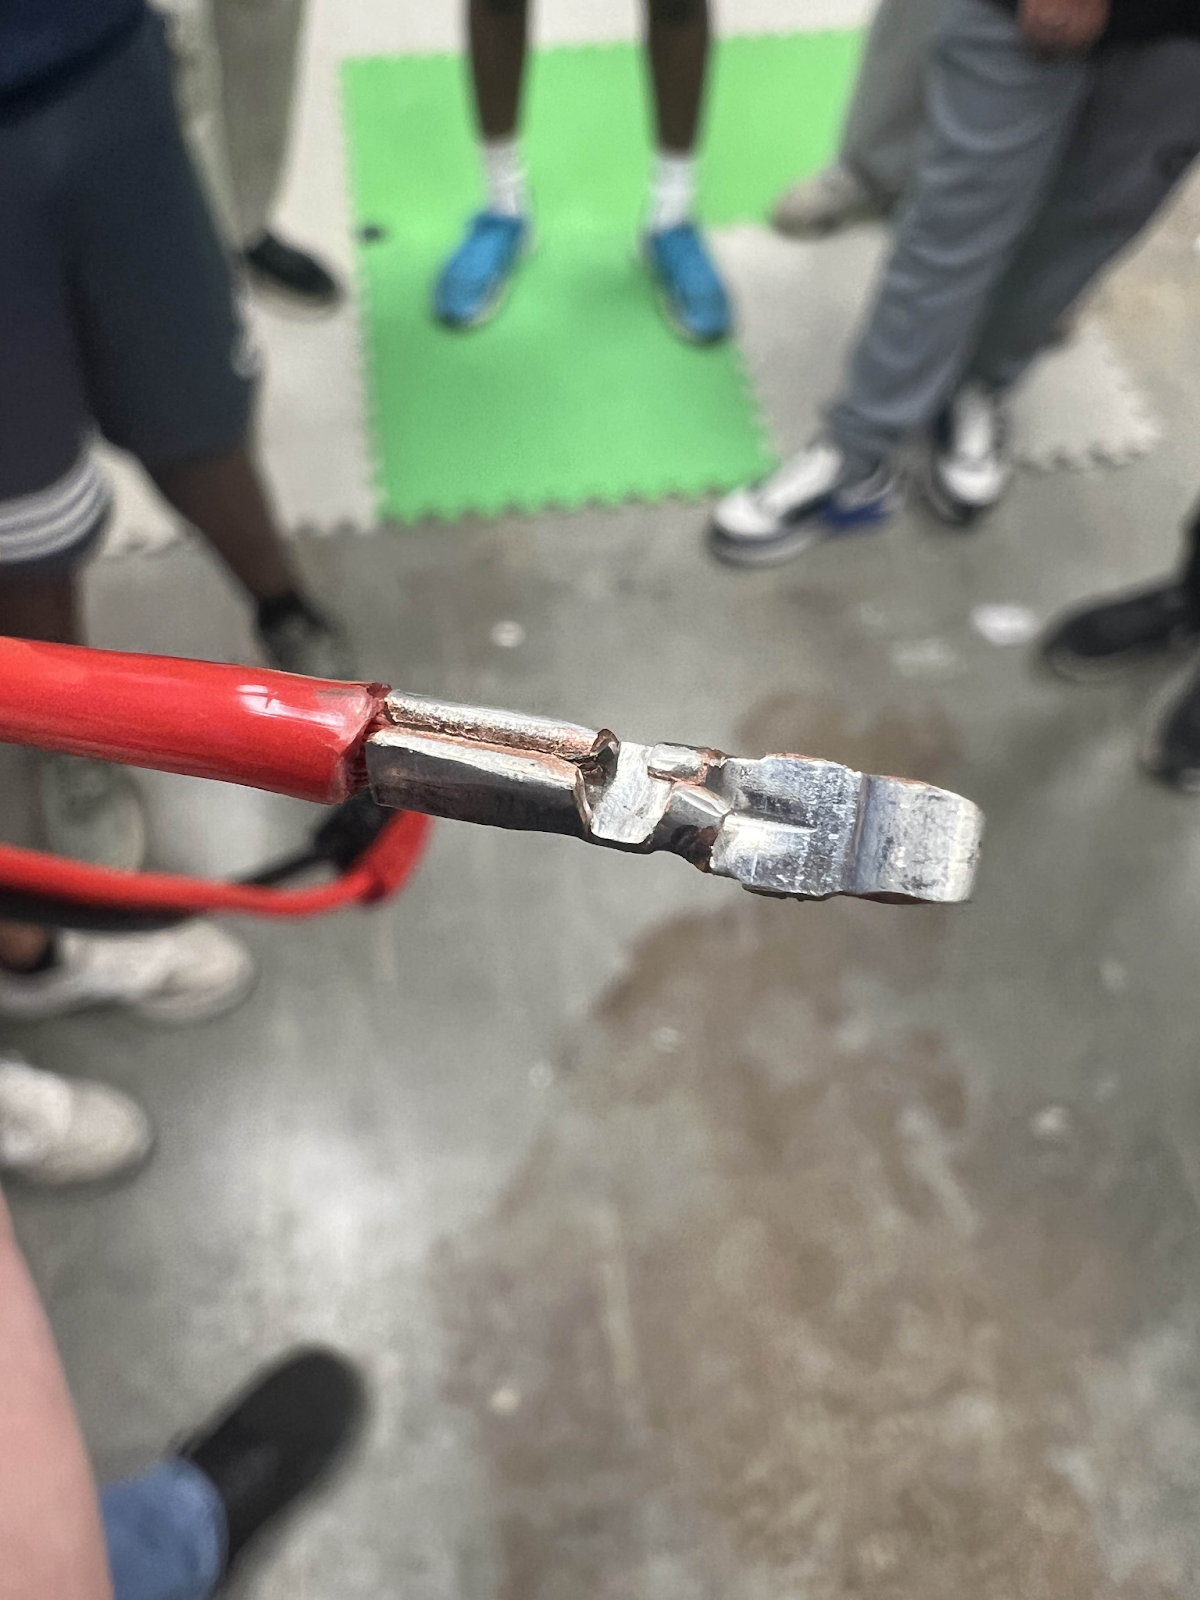
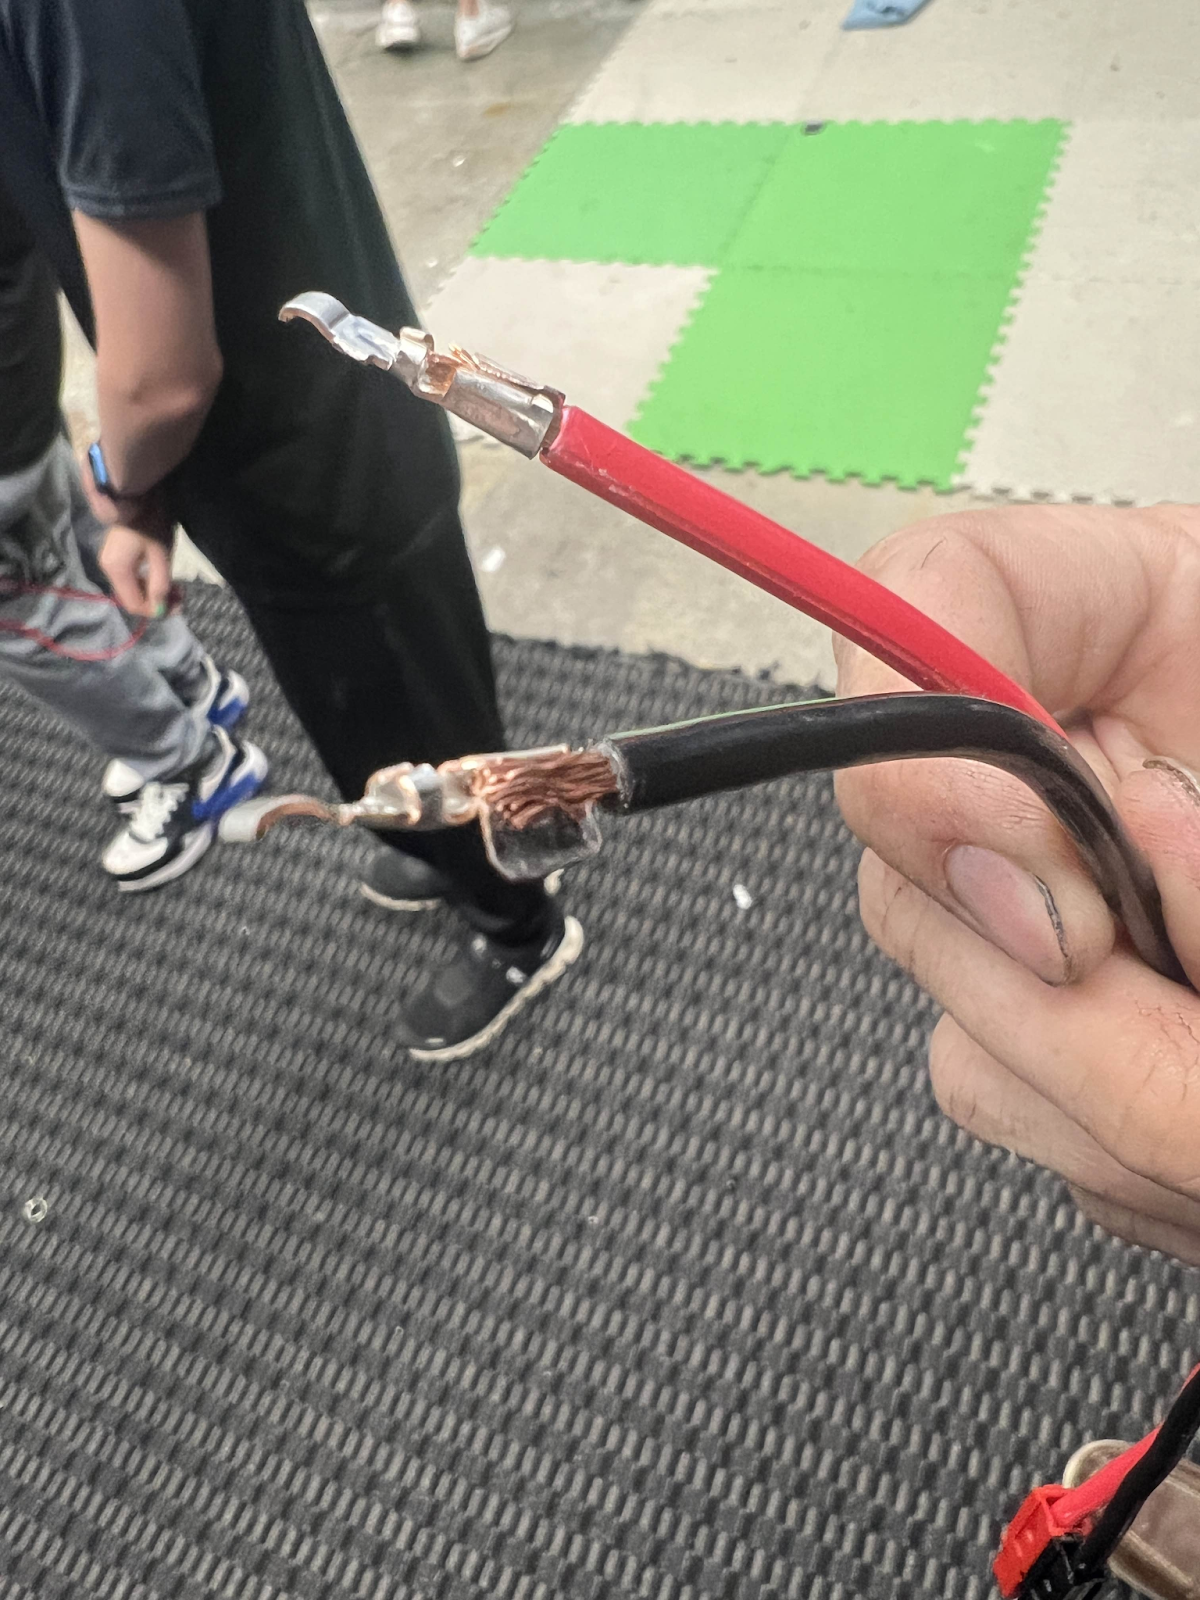
Regardless of method chosen for Anderson crimping, your wire should look like this:
From there, you move onto putting the crimp into housing!
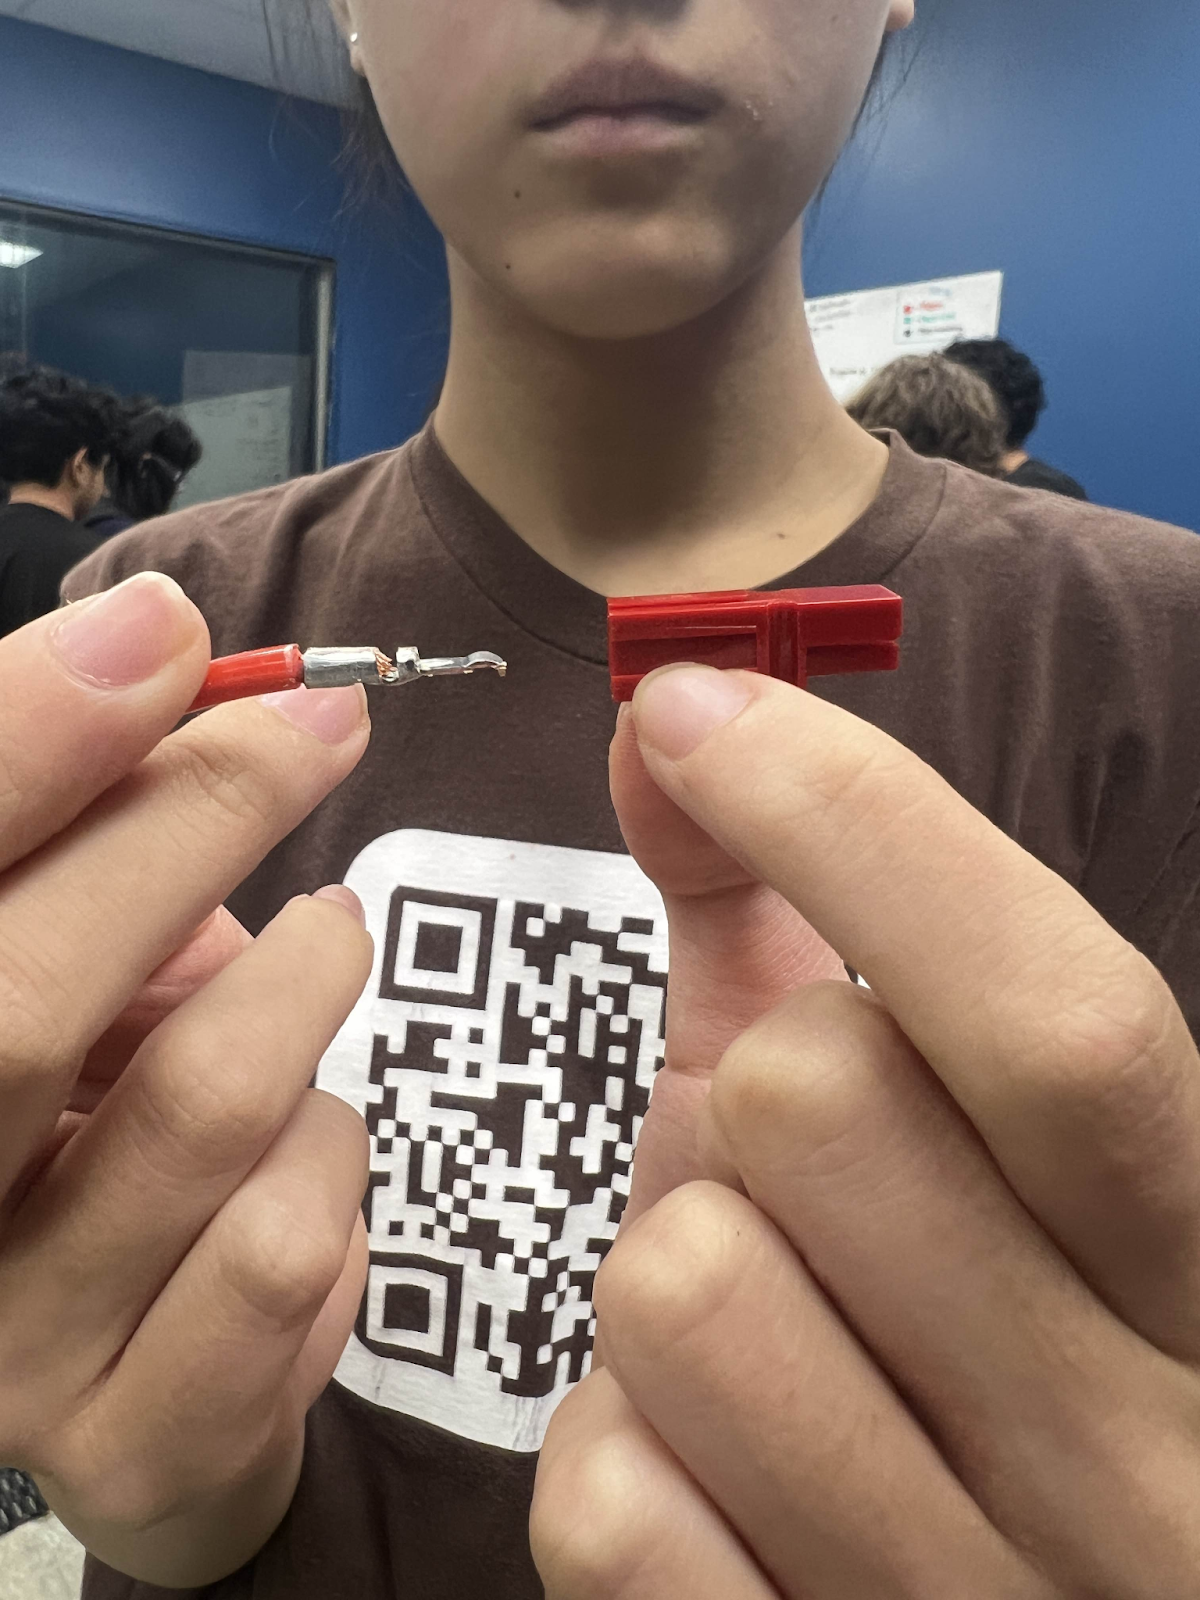
Make sure that your crimp is going inside the housing to look something like this and at this orientation.
From there, push into the housing and you should here a little *pop*
Afterwards, be sure to have someone pull test your connection.
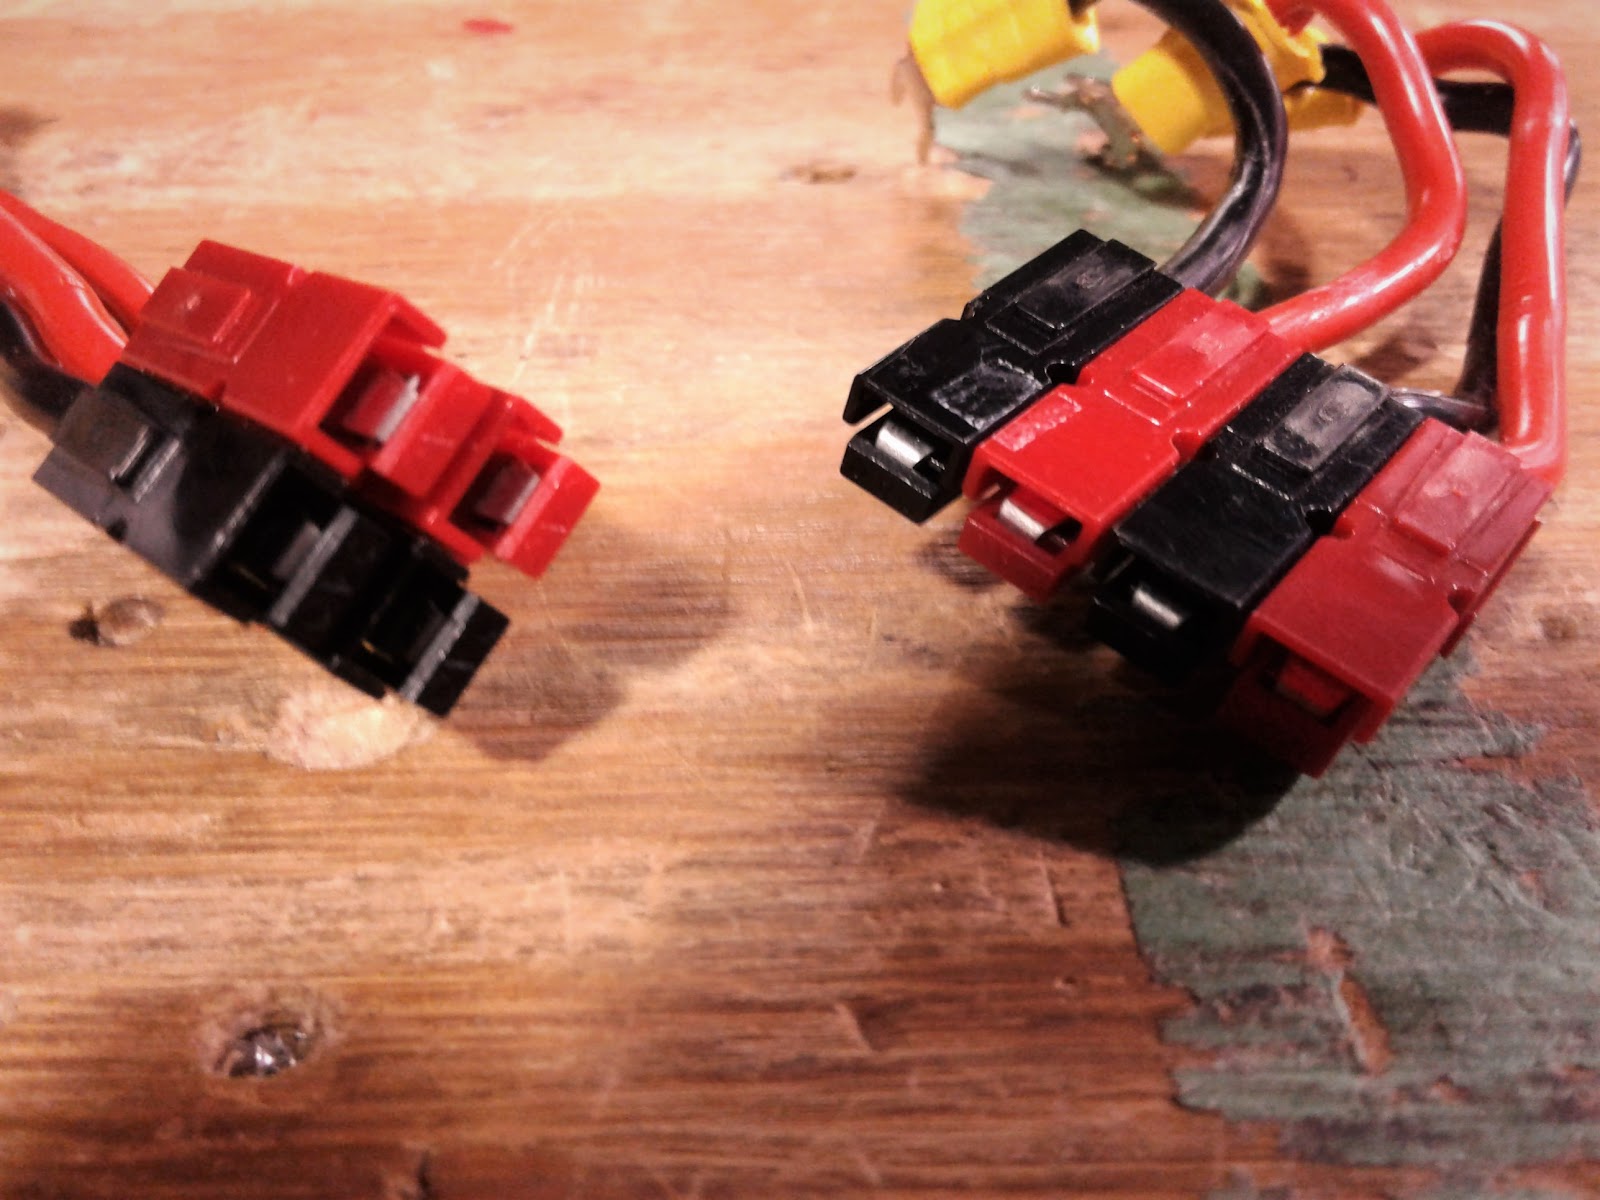
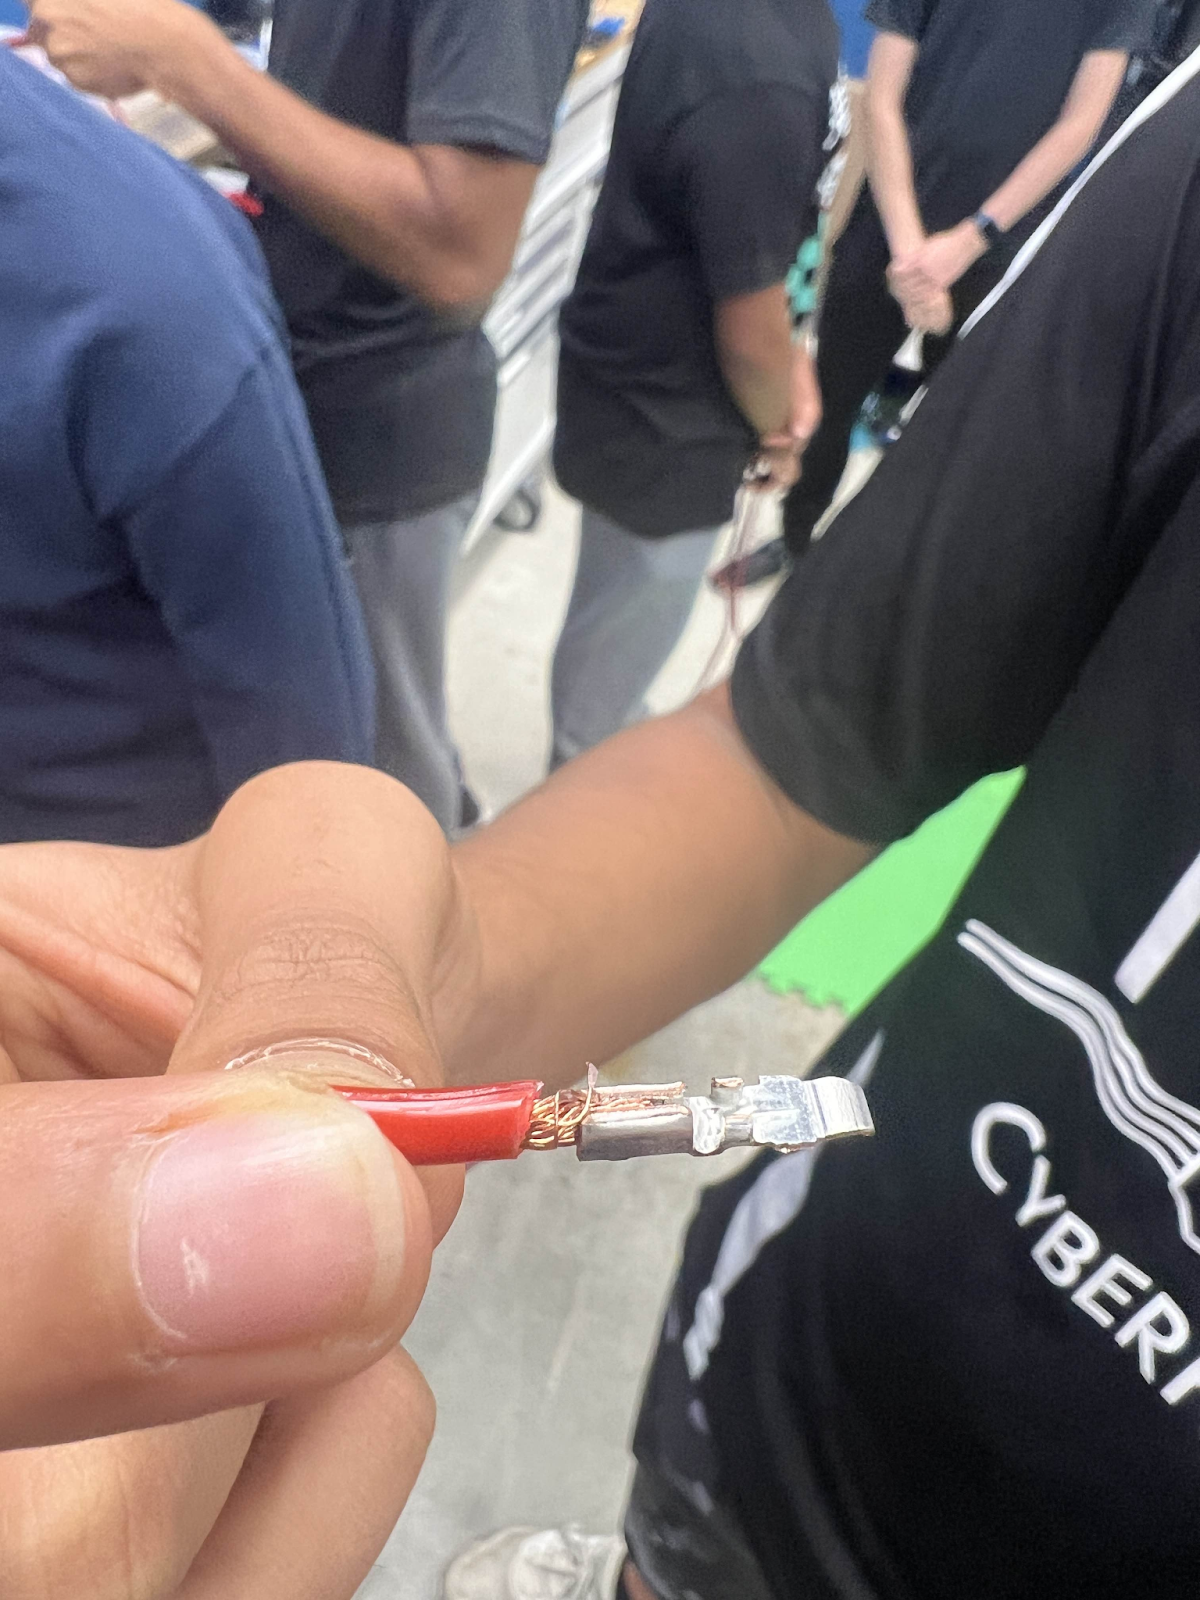
Finished result:

What NOT to do:
Strand of wire out everywhere, crimp is not encapsulating all the wire strands
Crimp flag is way out leaving wire exposed and an bad connection.
AVOID LEAVING WIRE EXPOSED AND POOR CONNECTIONS TO THE CRIMP