Flashing a Radio
Pre-2024 Champs Radios
Prerequisites
- Windows PC with WPILib Tools Installed
Steps
- Windows search for "Manage Network Adapter settings"
- Disable Wifi
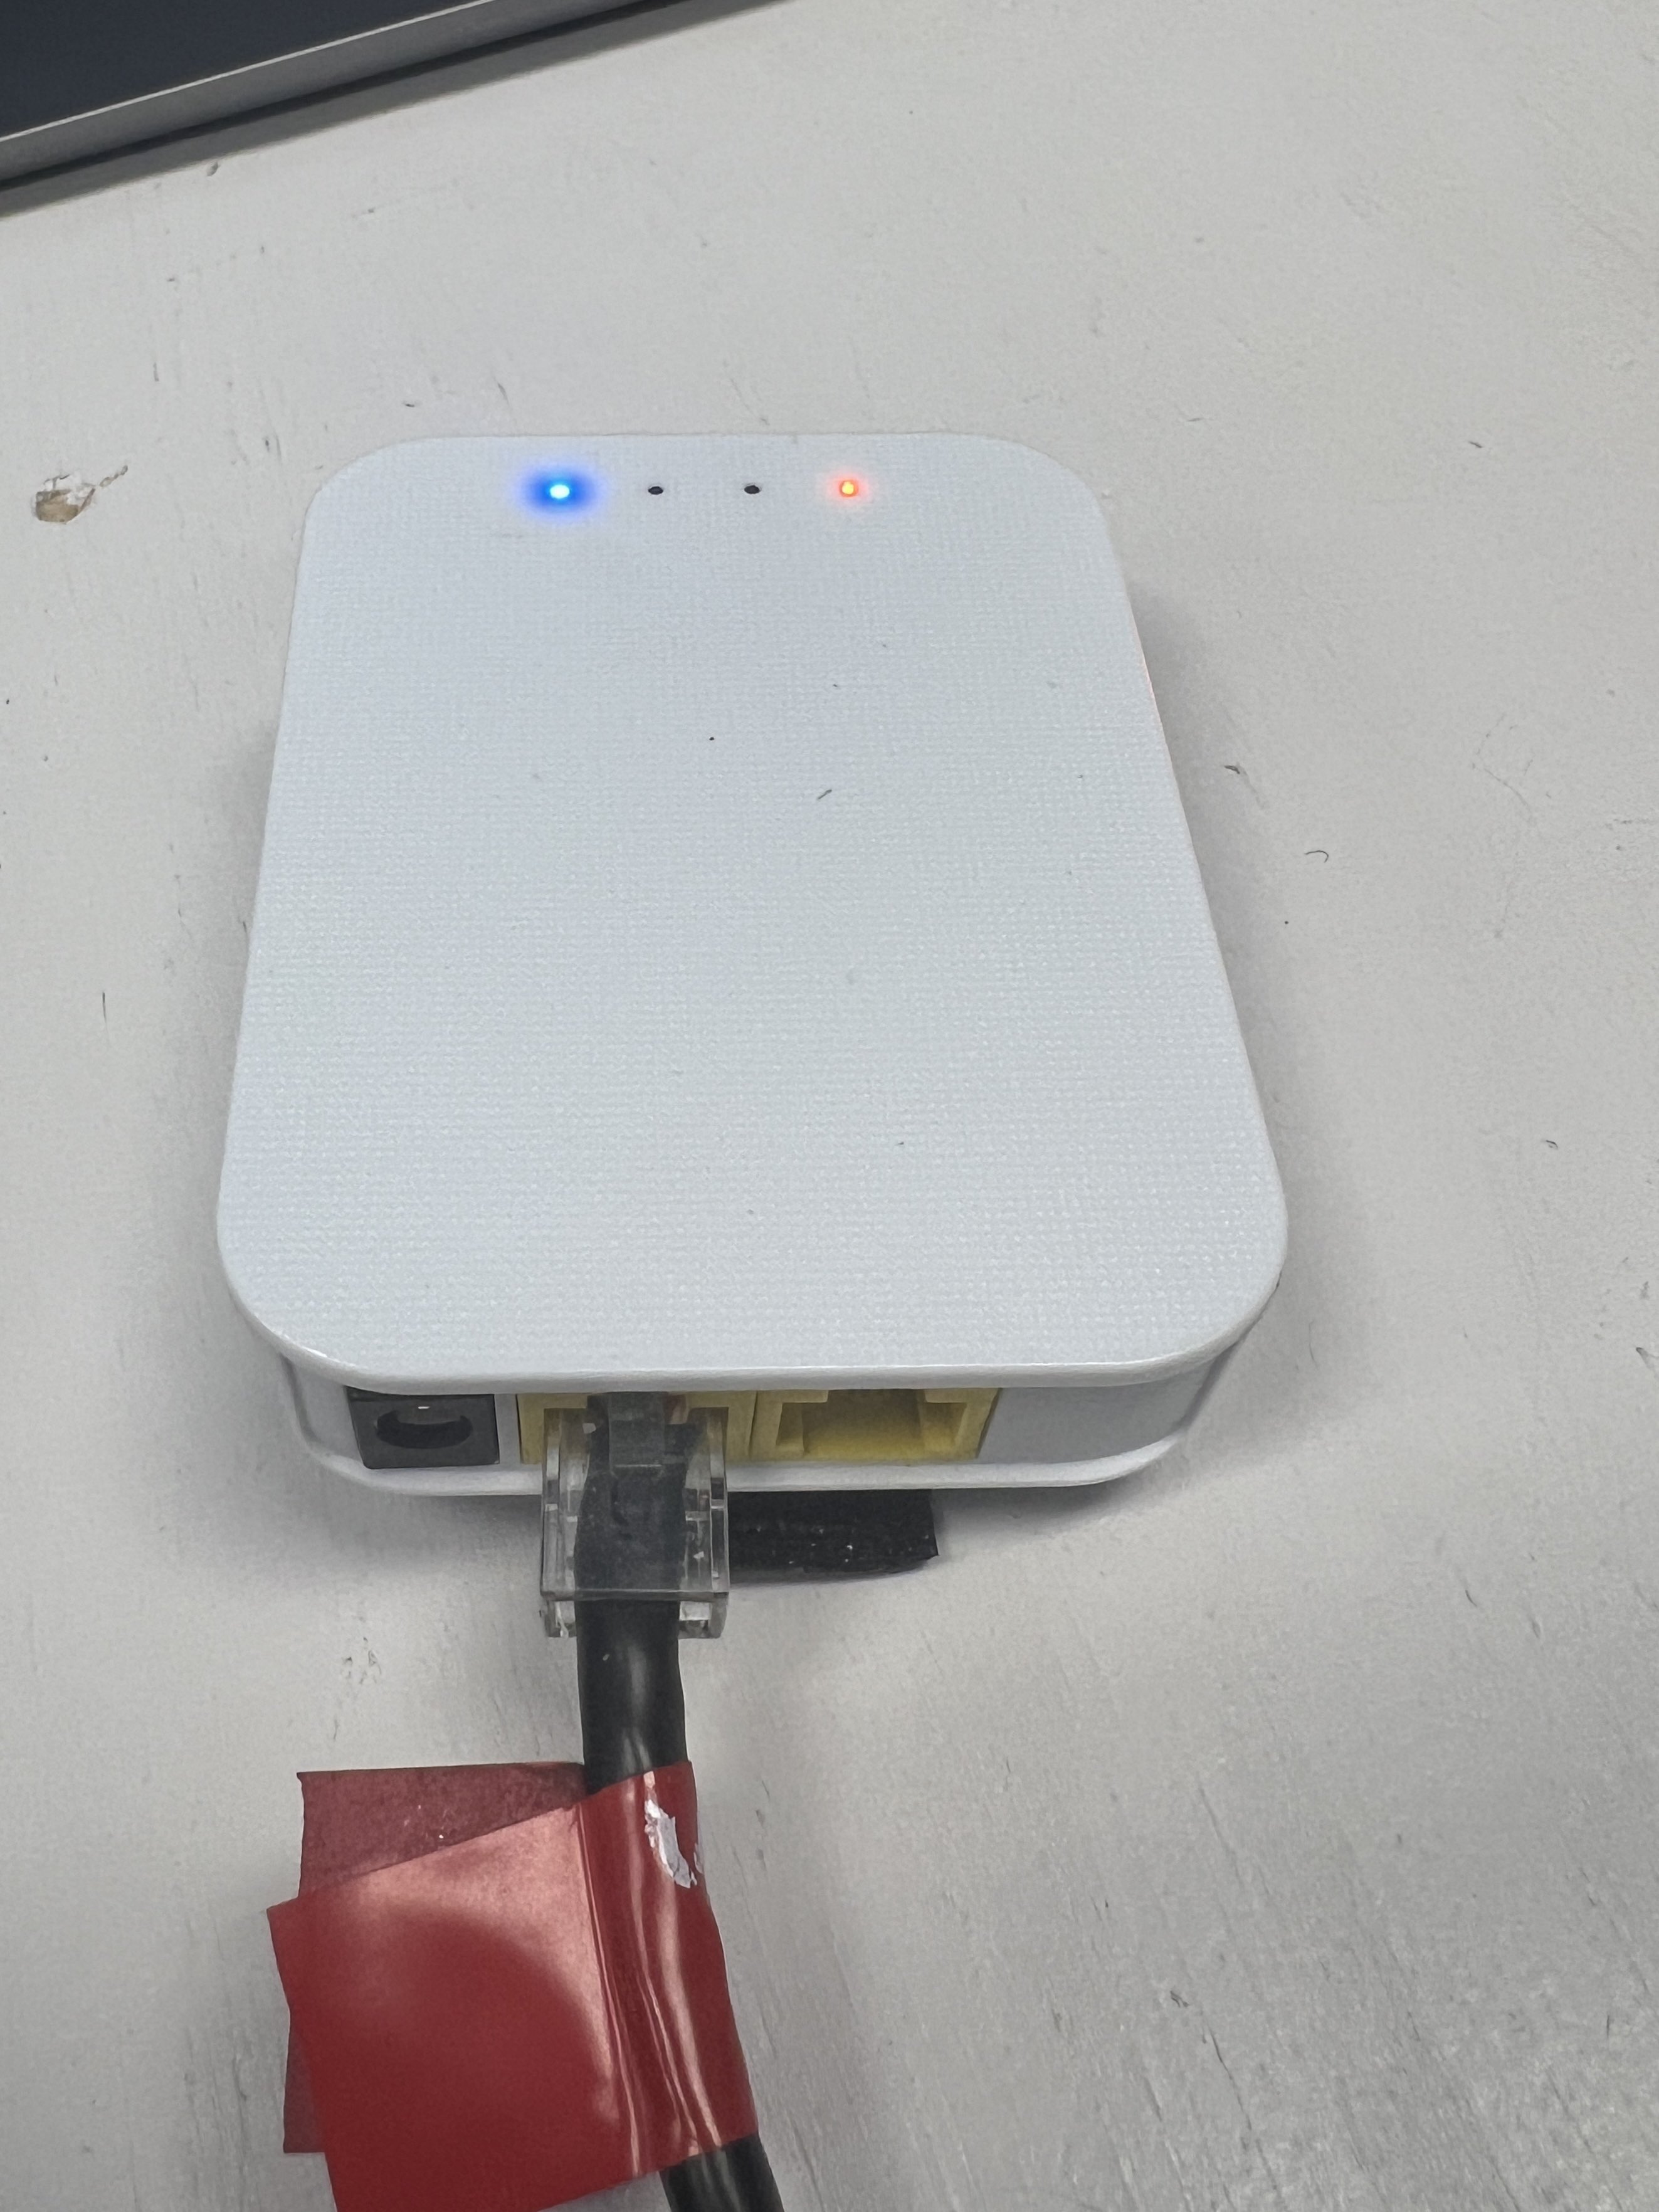
- Connect the Ethernet from the port closest to the power (18-24v POE, image included below) to the Radio Power Module (RPM). Connect the RoboRio side of the RPM to the computer.

- Open the Radio Configuration Utility application
- Set the team number to 3506 (or the number of the team you are configuring the radio for)
- Set the robot name. This is optional, but HIGHLY recommended. The name, if specified, will be put in the Wifi network name, and makes it easier to differentiate between robots.
- Go back to Network Adapter settings and re-enable Wifi
- Reboot the robot
If you encounter any issues, check out the "Programming your Radio" guide on WPILib (https://docs.wpilib.org/en/stable/docs/zero-to-robot/step-3/radio-programming.htmlhtml))
2024 Champs Radios
Prerequisites
- Windows PC with vh_network_assistant installed
- Ethernet Cables
Steps
- Plug one end of the Ethernet cable into the DS port on the radio while it's connected to the robot/Boardy and the other end into the Ethernet port/dongle (dongle recommended).
- Open up vh_network_assistant.exe (searching for it will make it pop up) and click "Run as administrator".
- Select Ethernet 1 if you plugged the ethernet wire into the direct port or select Ethernet 2 if you connected through a dongle.
- Hit Configure. This will configure the ethernet port to be able to connect to the radio.
- You should get a success dialog.
- After selecting OK in the success dialog, you will see a button for "Check Radio Status."
- Click that button. If you get the dialog mentioning the VH-109 or the other VividHosting radios, check to see if you plugged things in correctly and powered things up correctly. If it still doesn't work, then try steps 1-6 until it works.
- Once you get the success dialog with the radio specs, then select the OK button to go to the radio configuration settings page.
- At the top of the page, you will be able to select between 2 different options of Robot Radio Mode and Access Point Mode. Make sure to select Robot Radio Mode.
- Set the team number to be 3506.
- Set the suffix to the robot name. If the robot name is undecided, ask a mentor before picking a suffix.
- Set both WPA keys to this -> YETI3506.
- Hit Configure and wait 5-10ish minutes.
- Go back and do steps 1-7 to get the dialog with the radio configuration. If it has changed to the correct suffix, team number, and versioning, you have succeeded! If not, then try again.