Flashing a Radio
Pre-2024 Champs Radios
Prerequisites
- Windows PC with WPILib Tools Installed
Steps
- Windows search for "Manage Network Adapter settings"
- Disable Wifi
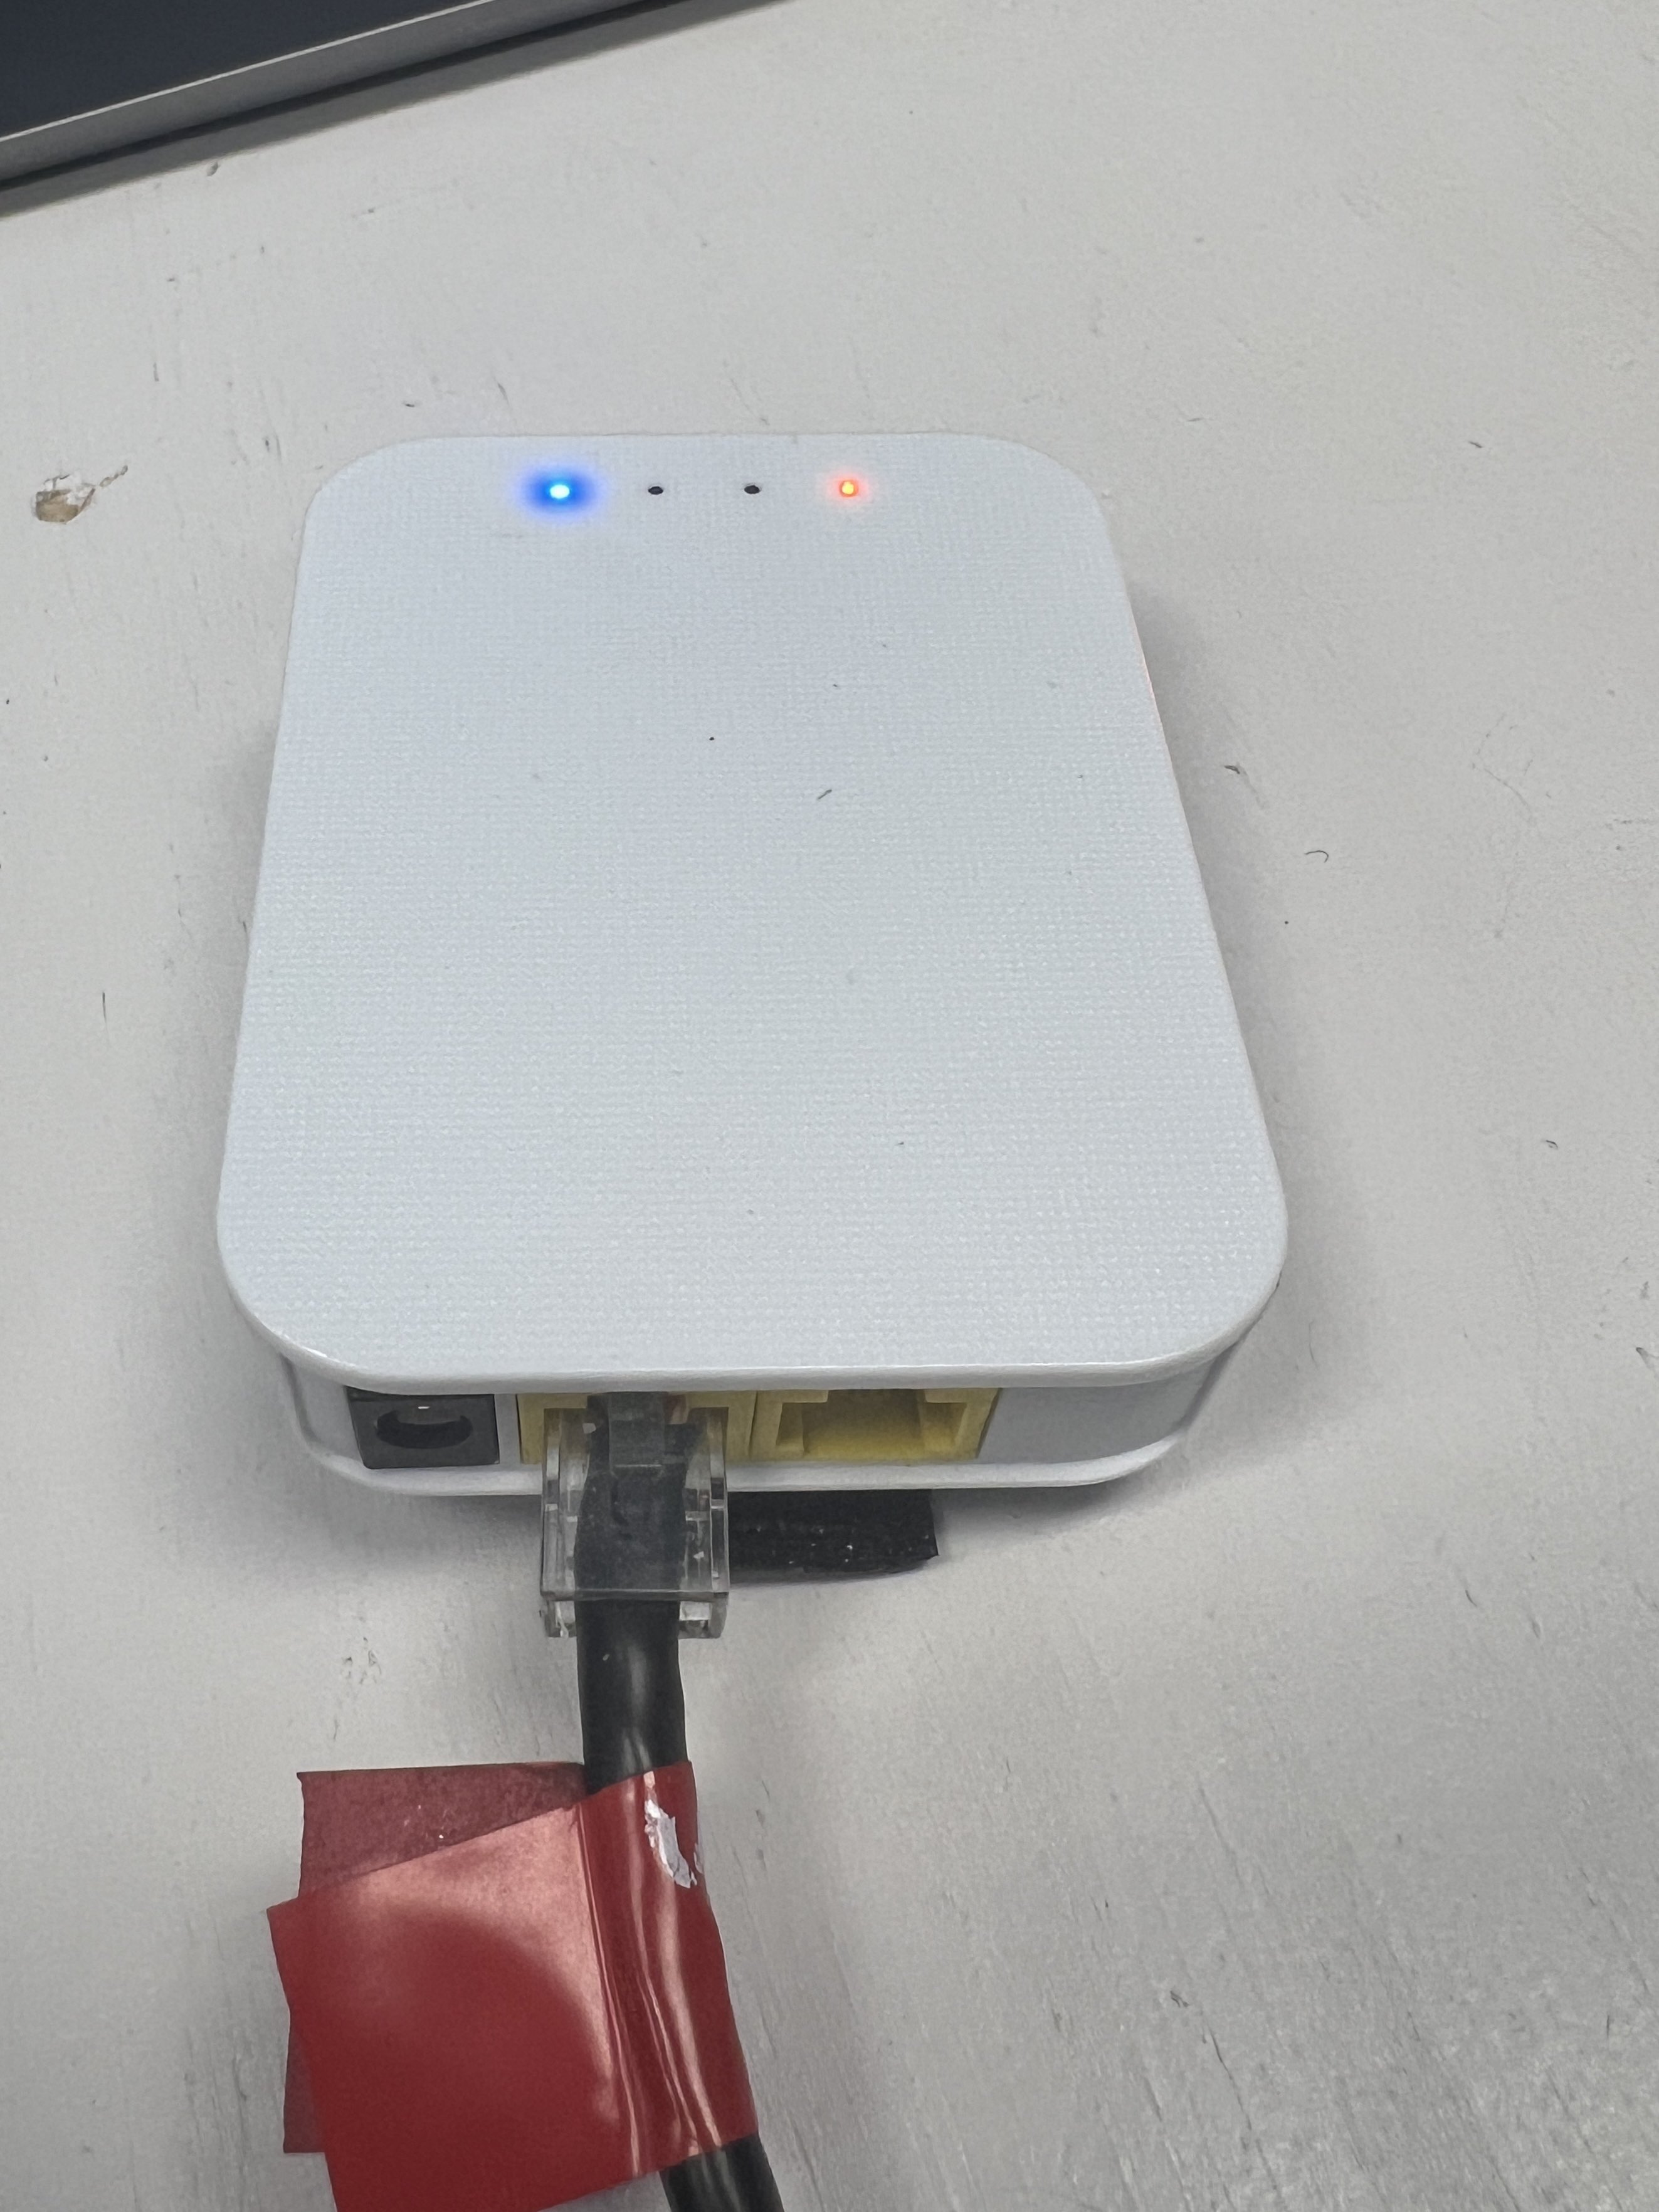
- Connect the Ethernet from the port closest to the power (18-24v POE, image included below) to the Radio Power Module (RPM). Connect the RoboRio side of the RPM to the computer.

- Open the Radio Configuration Utility application
- Set the team number to 3506 (or the number of the team you are configuring the radio for)
- Set the robot name. This is optional, but HIGHLY recommended. The name, if specified, will be put in the Wifi network name, and makes it easier to differentiate between robots.
- Go back to Network Adapter settings and re-enable Wifi
- Reboot the robot
If you encounter any issues, check out the "Programming your Radio" guide on WPILib (https://docs.wpilib.org/en/stable/docs/zero-to-robot/step-3/radio-programming.html)
2024 Champs Radios
Prerequisites
- Windows PC with vh_network_assistant installed
- Ethernet Cables
Steps
- Plug one end of the Ethernet cable into the DS port on the radio while it's connected to the robot/Boardy and the other end into the Ethernet port/dongle (dongle recommended).
- Open up vh_network_assistant.exe (searching for it will make it pop up) and click "Run as administrator".
- Select Ethernet 1 if you plugged the ethernet wire into the direct port or select Ethernet 2 if you connected through a dongle.
- Hit Configure. This will configure the ethernet port to be able to connect to the radio.
- You should get a success dialog.
- After selecting OK in the success dialog, you will see a button for "Check Radio Status."
- Click that button. If you get the dialog mentioning the VH-109 or the other VividHosting radios, check to see if you plugged things in correctly and powered things up correctly. If it still doesn't work, then try steps 1-6 until it works.
- Once you get the success dialog with the radio specs, then select the OK button to go to the radio configuration settings page.
- At the top of the page, you will be able to select between 2 different options of Robot Radio Mode and Access Point Mode. Make sure to select Robot Radio Mode.
- Set the team number to be 3506.
- Set the suffix to the robot name. If the robot name is undecided, ask a mentor before picking a suffix.
- Set both WPA keys to this -> YETI3506.
- Hit Configure and wait 5-10ish minutes.
- Go back and do steps 1-7 to get the dialog with the radio configuration. If it has changed to the correct suffix, team number, and versioning, you have succeeded! If not, then try again.
Help
If you feel stuck, ask for help, or visit the VividHosting docs.