Flashing Limelights
You've finally gotten hands on a Limelight to use for vision. Yay! Now, you want to know how to flash the Limelight so you can configure it for your robot. Here's an easy guide for that:
First, download the Limelight Hardware Manager from here, along with the correct operating system file for the type of Limelight you plan to flash: https://docs.limelightvision.io/docs/resources/downloads
Next, follow the Quick Start instructions for your specific Limelight to find the config button that you hold down, while plugging into your Limelight over USB. For example, the Limelight 4's config button is hidden inside this tiny hole, that we had to press down with a screwdriver.
[INSERT PHOTO HERE]
Then, switch the Flash OS section of the Limelight Hardware Manager app, and install your drivers if you haven't already. You'll know when your drivers are installed when you see the Drivers dot turn green at the top of the bar.
Additionally, if you have balenaEtcher installed from flashing previous SD cards, please make sure you close it!

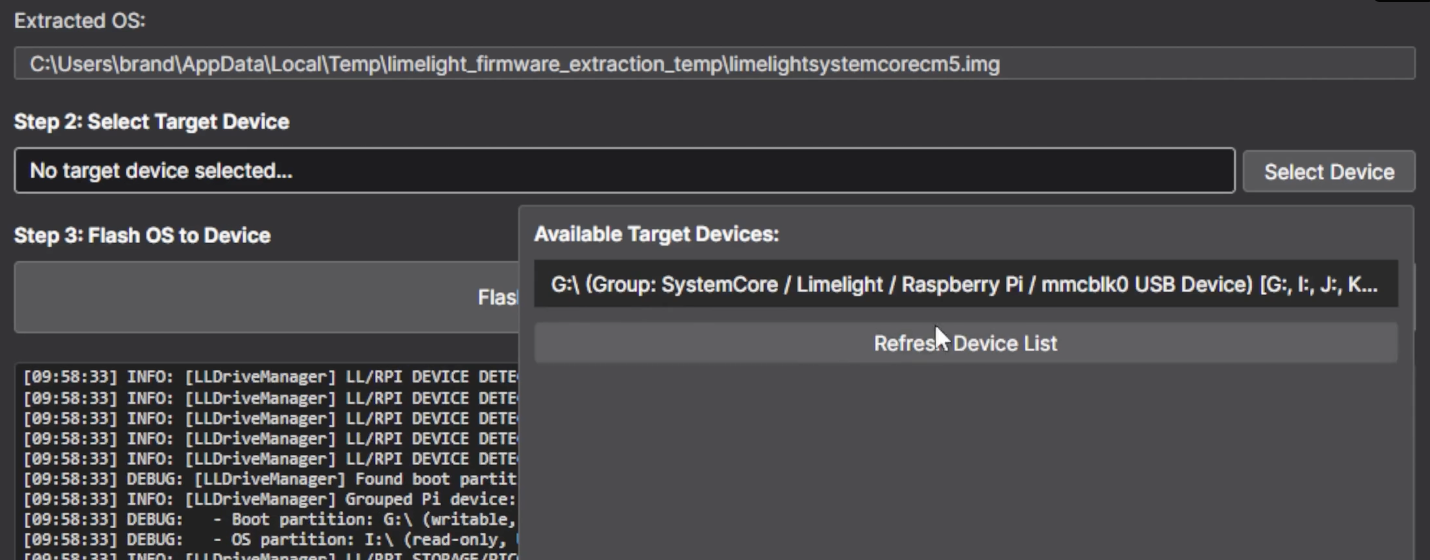
Afterward, select your OS's .img or .zip file, make sure the extracted OS is correct, and then select your target device.
Finally, just hit the green Flash Device button and wait for this notification!
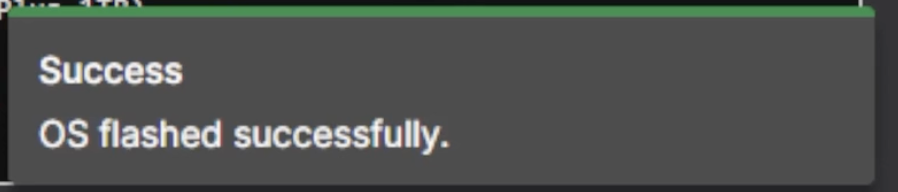
Once you get this notification, you are done!
Here are the links to other resources if you still need any more help!
Video Guide for Flashing: https://vimeo.com/1157367762?fl=pl&fe=cm
Limelight 3 Docs: https://docs.limelightvision.io/docs/docs-limelight/getting-started/limelight-3#4-updating-limelightos
Limelight 3G Docs: https://docs.limelightvision.io/docs/docs-limelight/getting-started/limelight-3g#4-updating-limelightos
Limelight 4 Docs: https://docs.limelightvision.io/docs/docs-limelight/getting-started/limelight-4#4-updating-limelightos