Replacing the Old with the New
Actually Replacing the Old Repositories
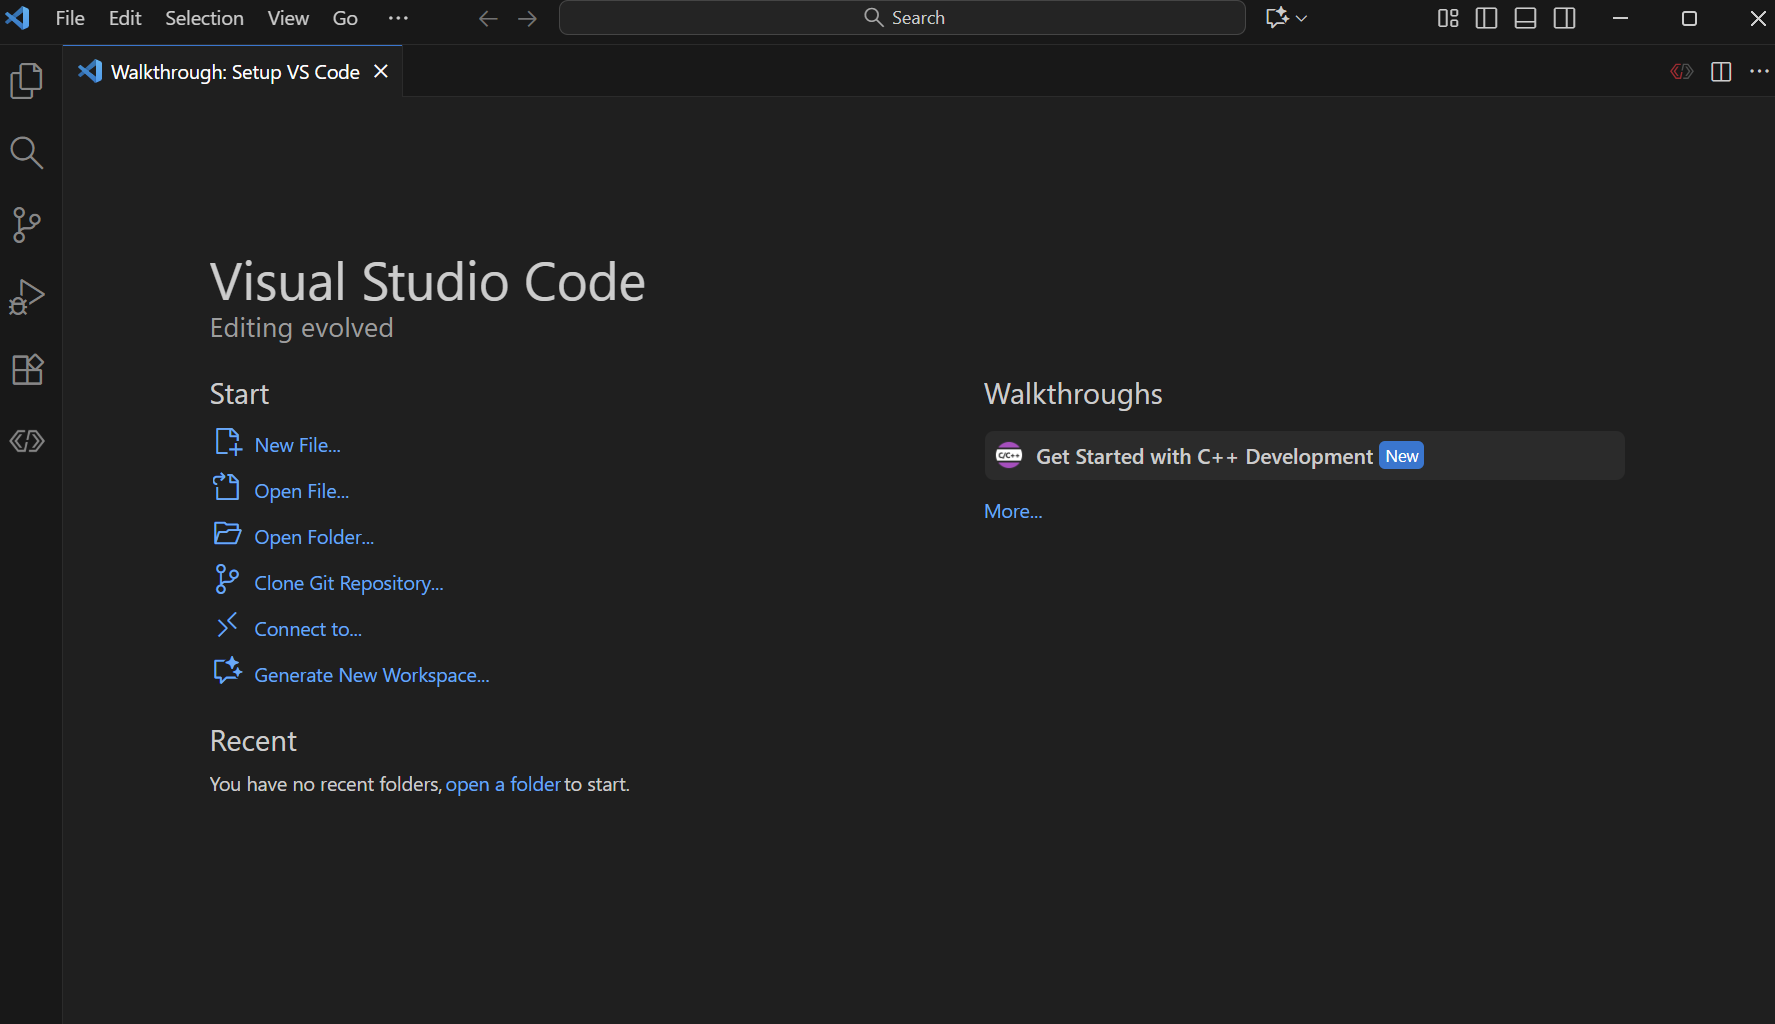
Here, click on Clone Git Repository, and follow steps from the previous chapter to copy the HTTPS link and authorize VS Code access to your GitHub account.
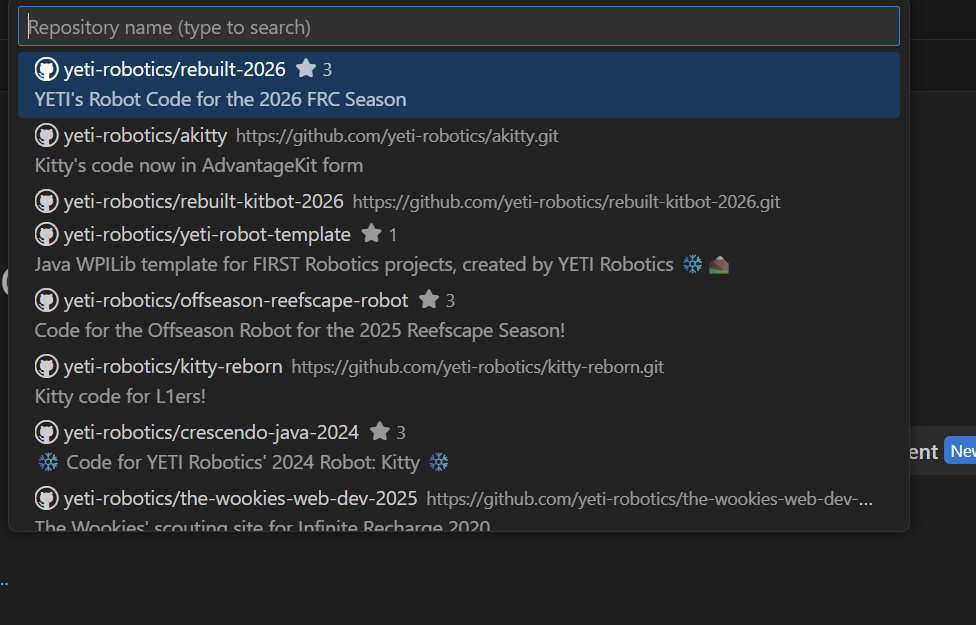
Then, you'll see this in the search bar, and select the repository you are upgrading.
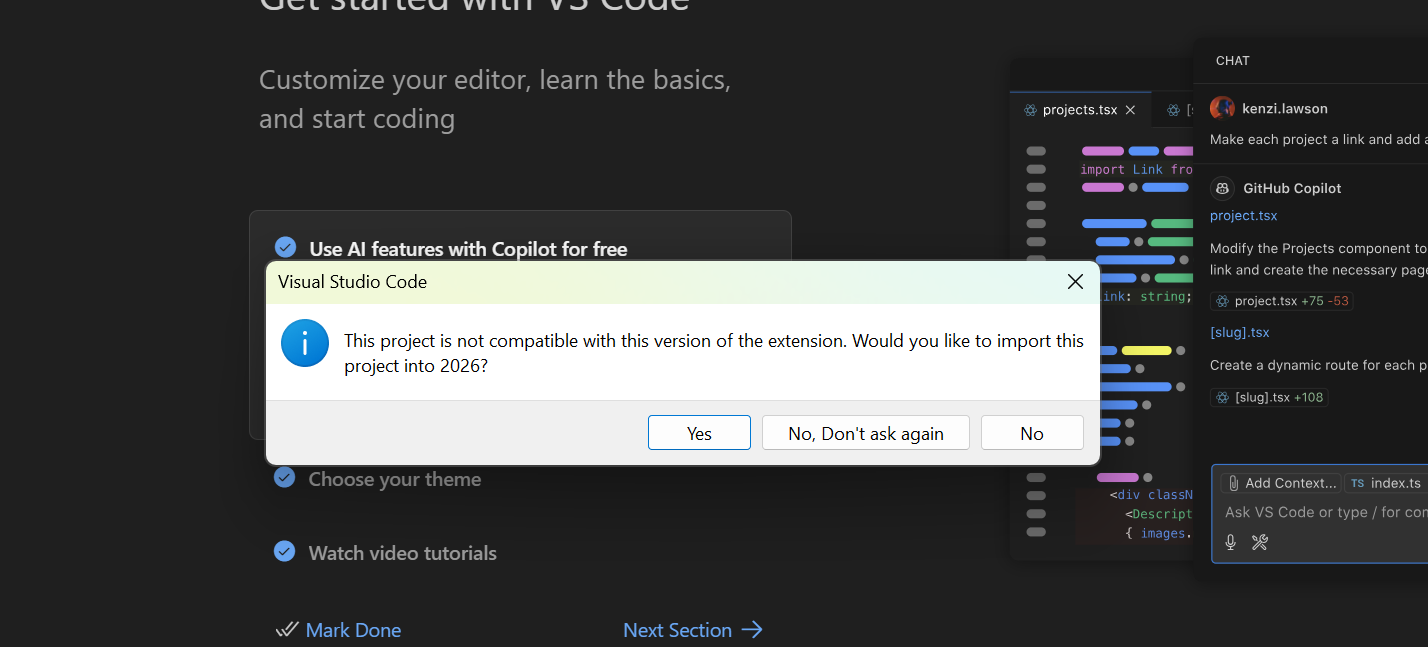
Once you select a target destination folder in your computer (I saved mine in Documents), you'll get a pop-up asking you if you want to upgrade the repo to the current year. Click yes (obviously lol).
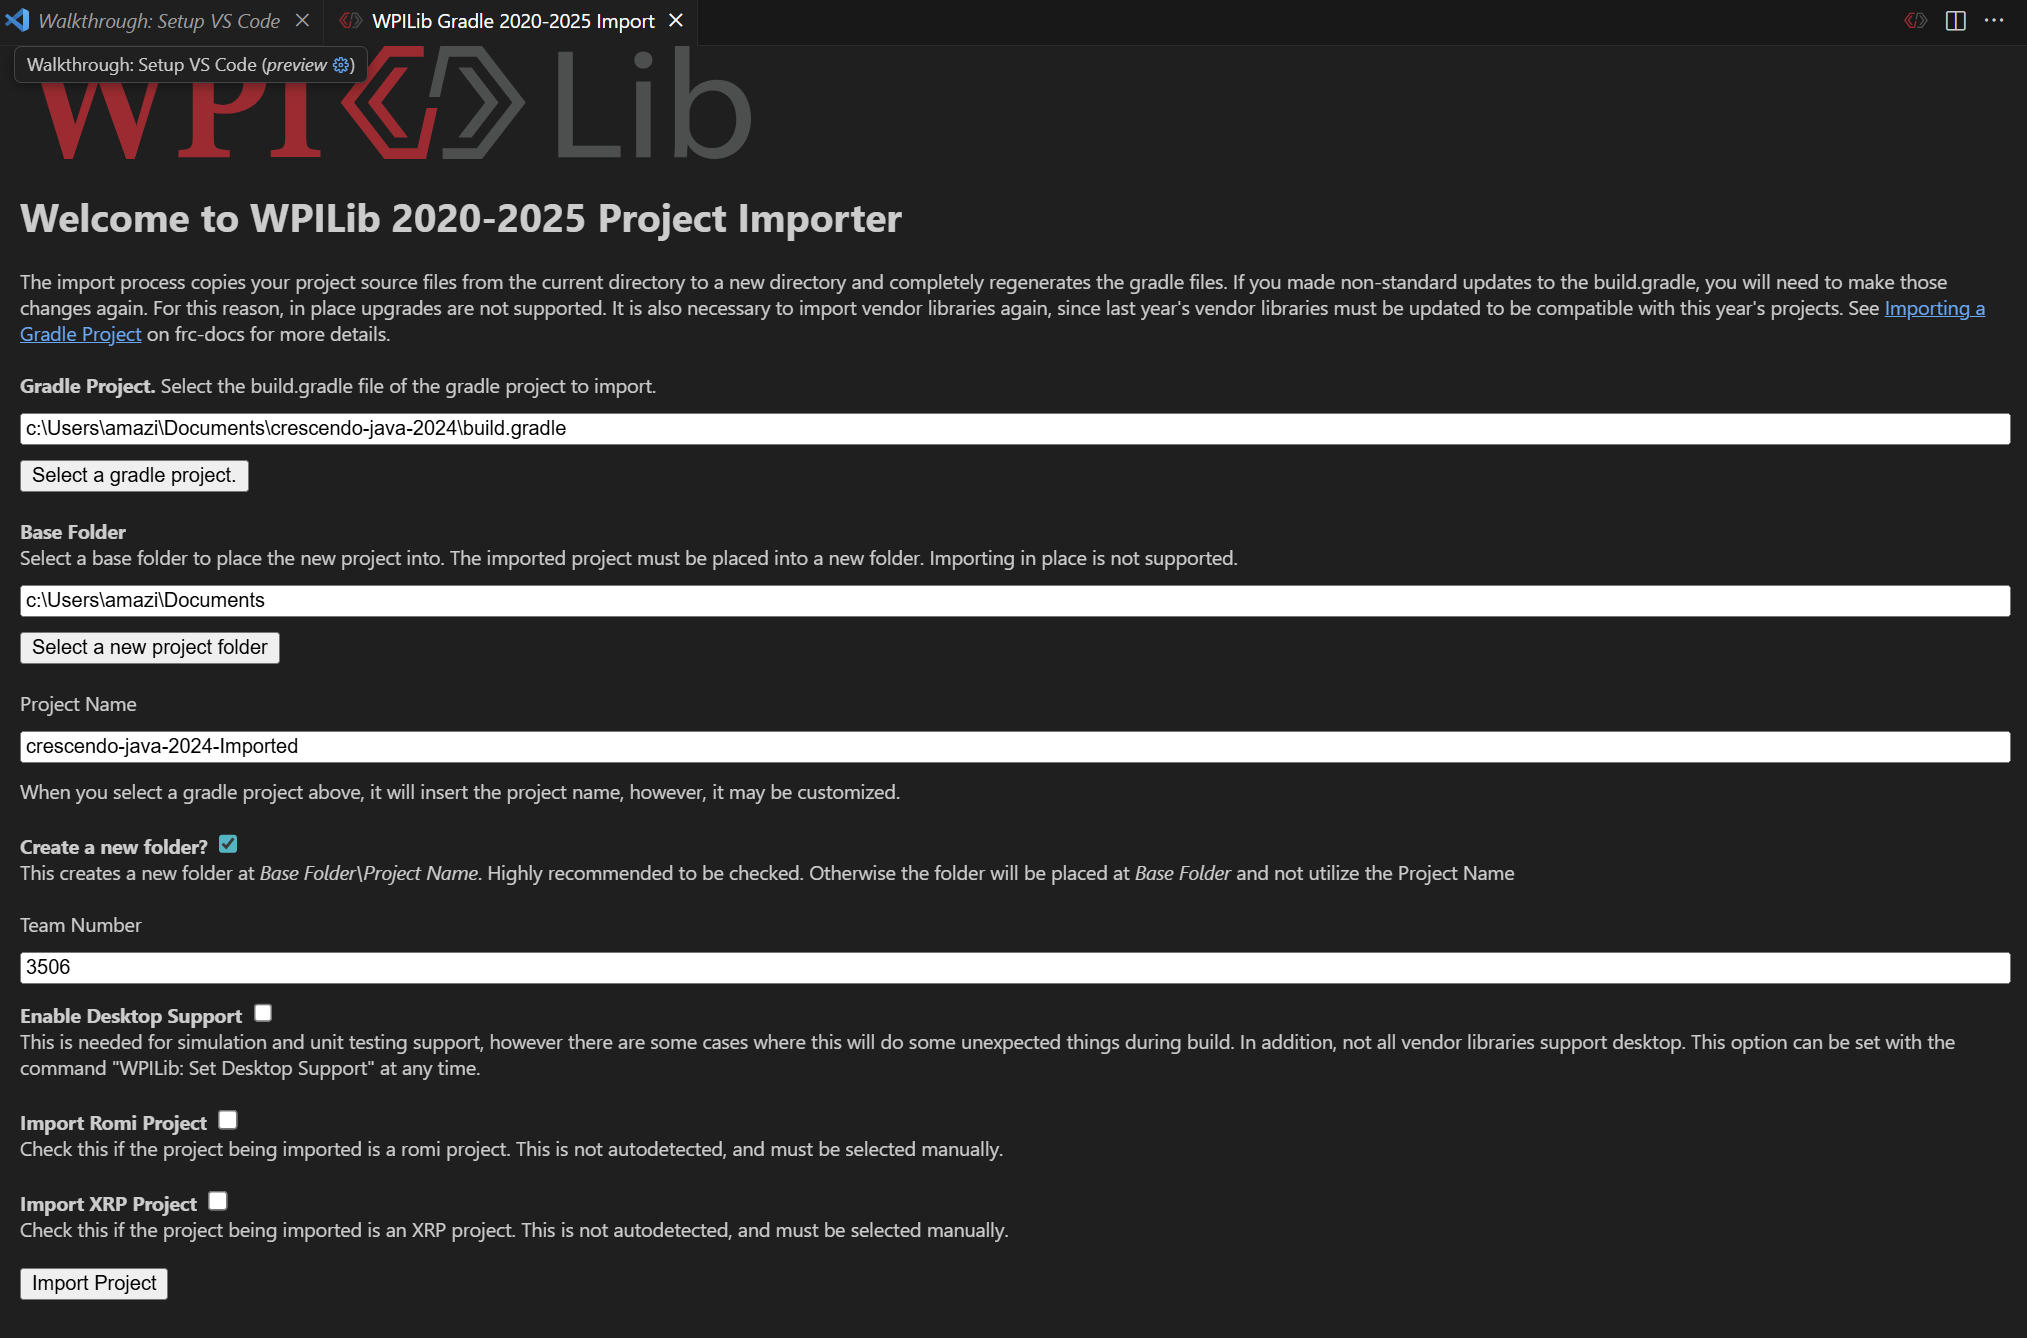
Once you do, it should auto fill out all the fields. The new Project Name for the repository will have an "-Imported" at the end of its name. Then, click Import Project and watch the magic happen.
Once the project has finished upgrading, open the repository in your File Explorer.
You will get a bunch of errors in the VS Code project, but don't worry, it's fine.

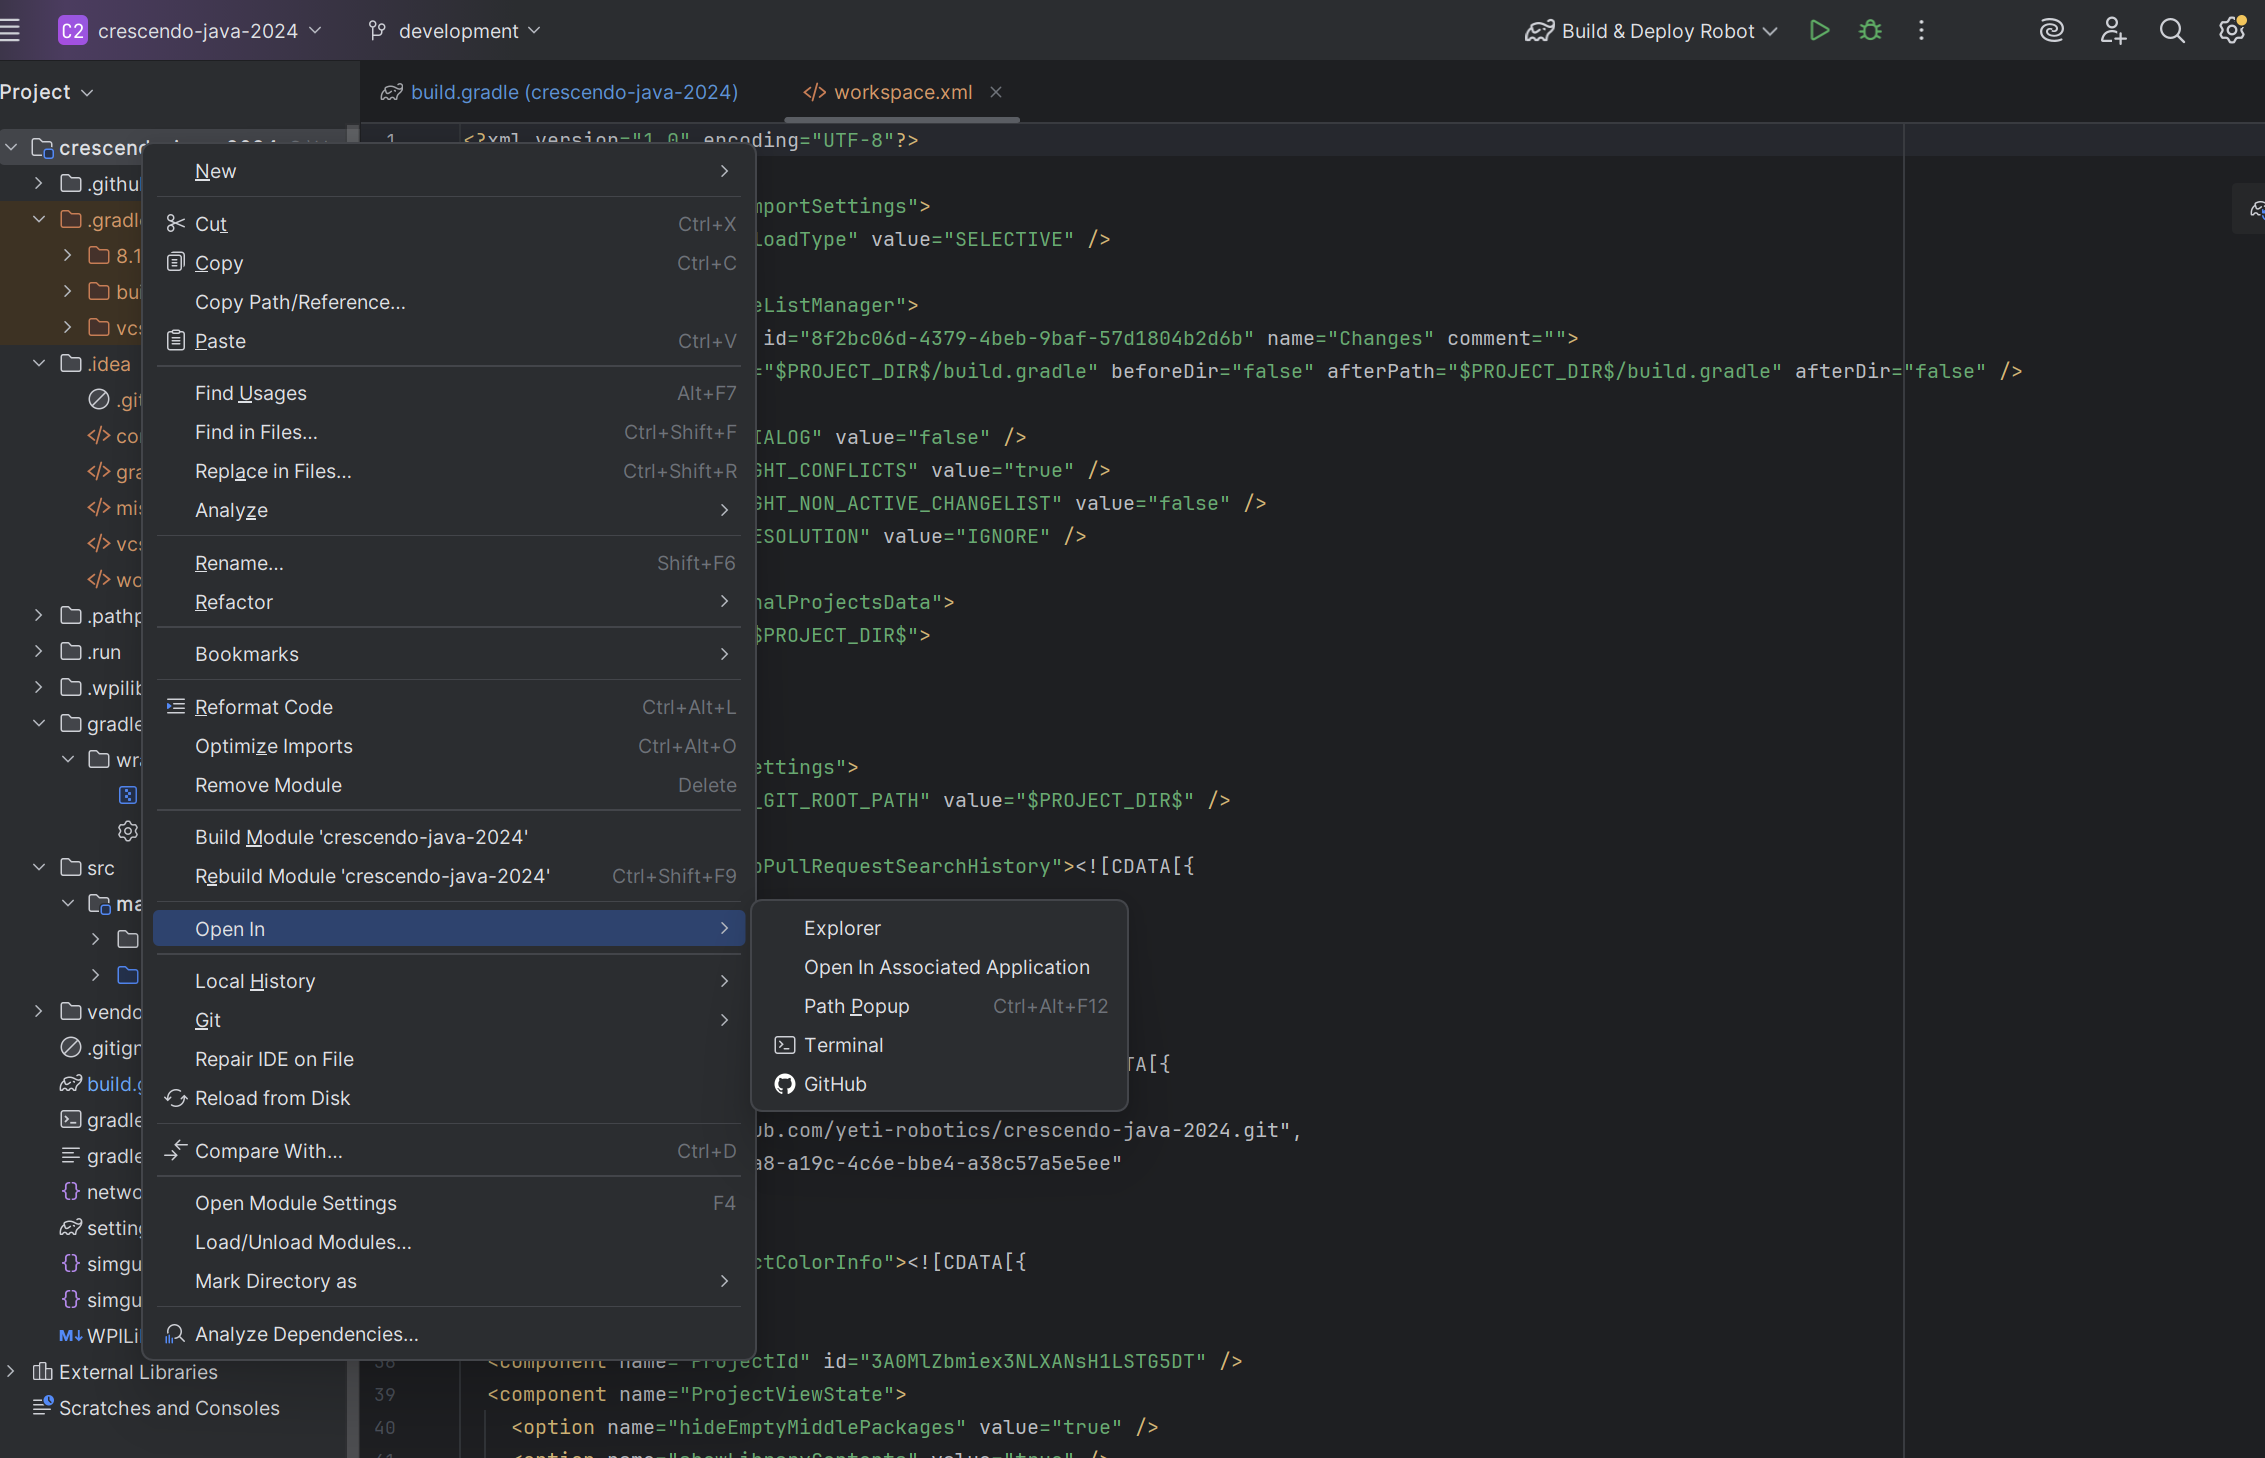
CTRL (or Cmd) + A to select all the files in the "-Imported" repo, and then paste all those new files into the old repo. Click Replace after you paste the files to replace all the old files. To find the old repository in the File Explorer, right click the project name, then Open In -> Explorer
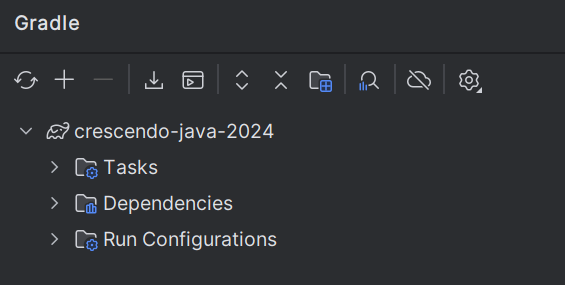
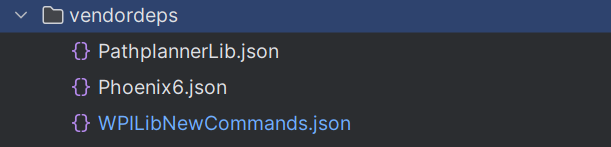
Once you paste all the files into the old repository, reload the gradle and you'll see a couple errors with the VendorDeps.
You have to upgrade all old VendorDeps into 2026 by copy and pasting from the team's new repo. (Such as Rebuilt for 2026 upgrade).
Once you copy/paste the new VendorDeps, reload the gradle again and it will build properly!!
Commit your changes, push, and create a PR!