Setting up Motors
Overview
There are a couple of steps involved with setting up your bot's motors, and this page will cover these steps.
Updating ID and Name
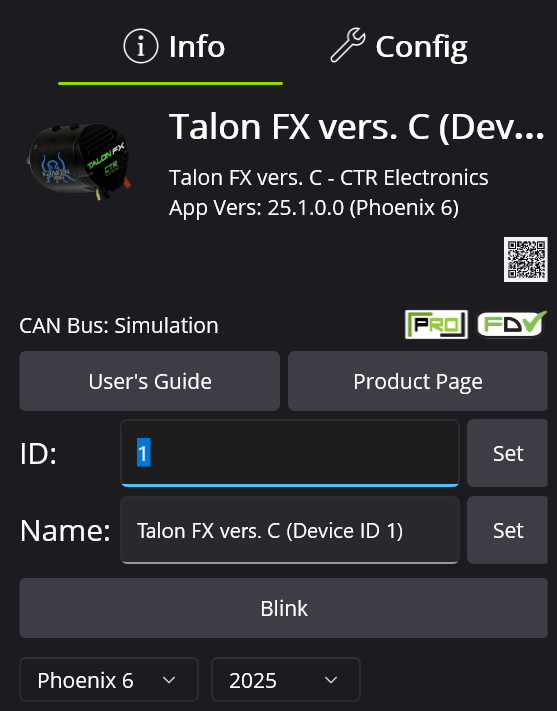
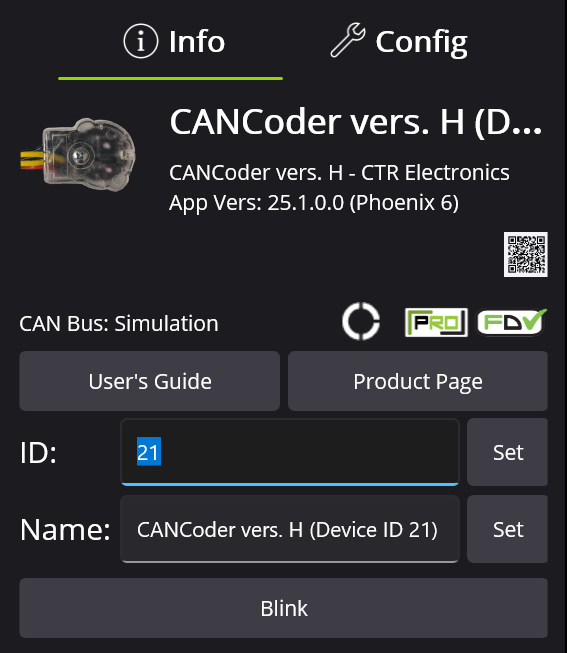
Updating the ID and name of motors contributes functionally to address the motors in code and organizationally to understand the purpose of each motor. You can update the ID number of the motor by typing text in the following box:
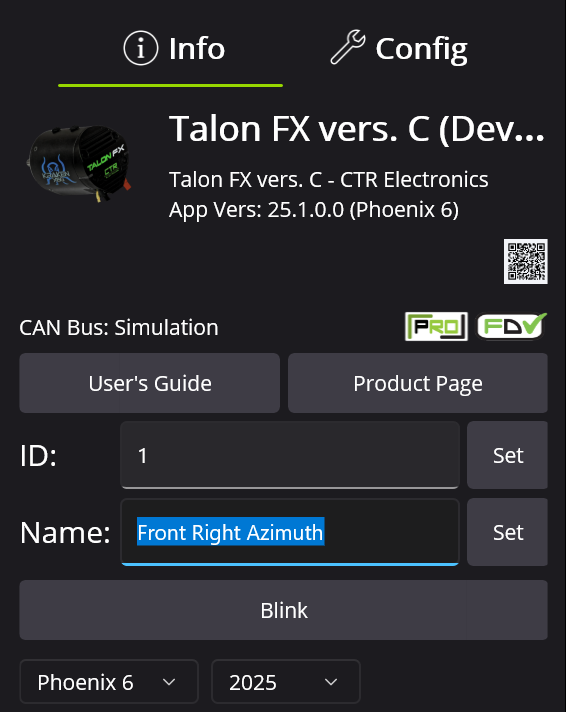
You can update the name of the motor by typing text in the following box:
Motor Inversion
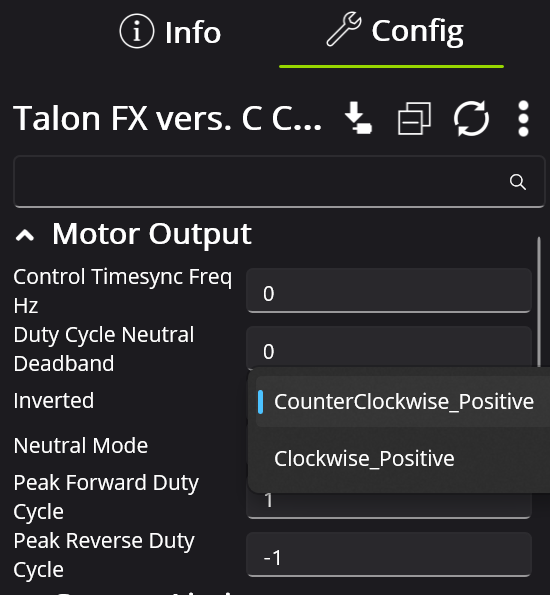
Sometimes, you need to switch the motor direction to ensure that the "forward" direction is positive. Also make sure that the Cancoder moves in the same positive direction as the motor it is assigned to. You can switch this in Phoenix Tuner as such:
Cancoder Settings
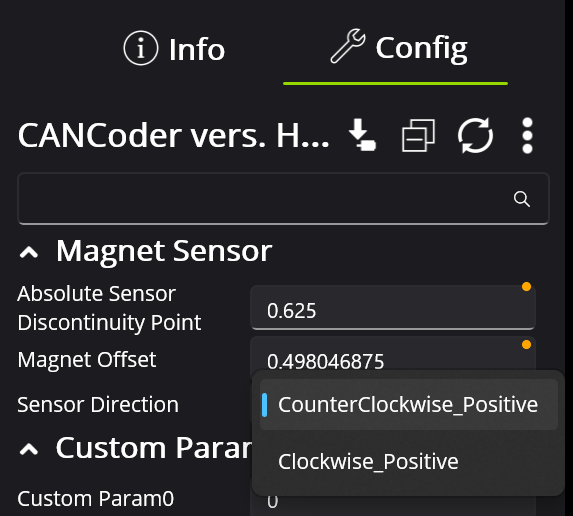
Some motors require cancoders, which have IDs of their own. You can update the cancoder ID by navigating to the cancoder itself and changing the ID number here:
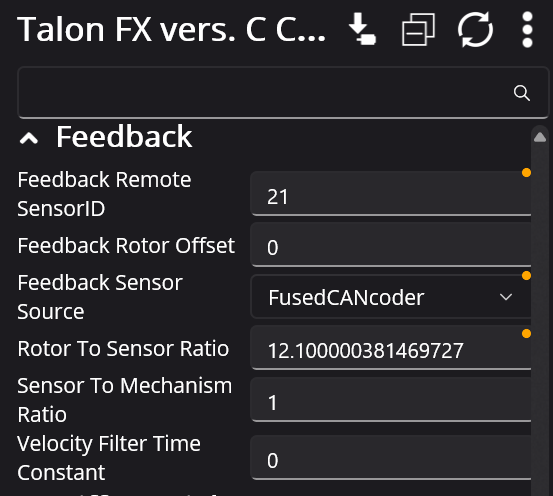
Then change the motor configs to ensure it is assigned to the correct cancoder:
Tuning Configs
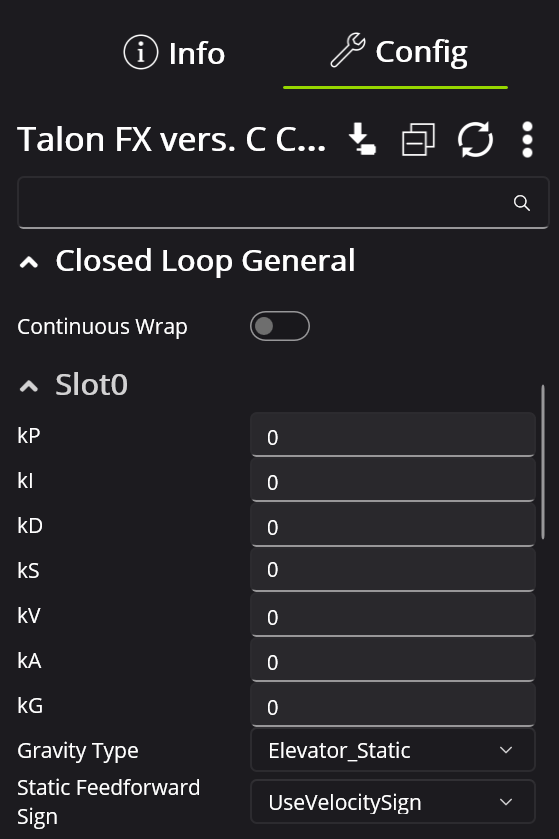
The tuning configs are located here:
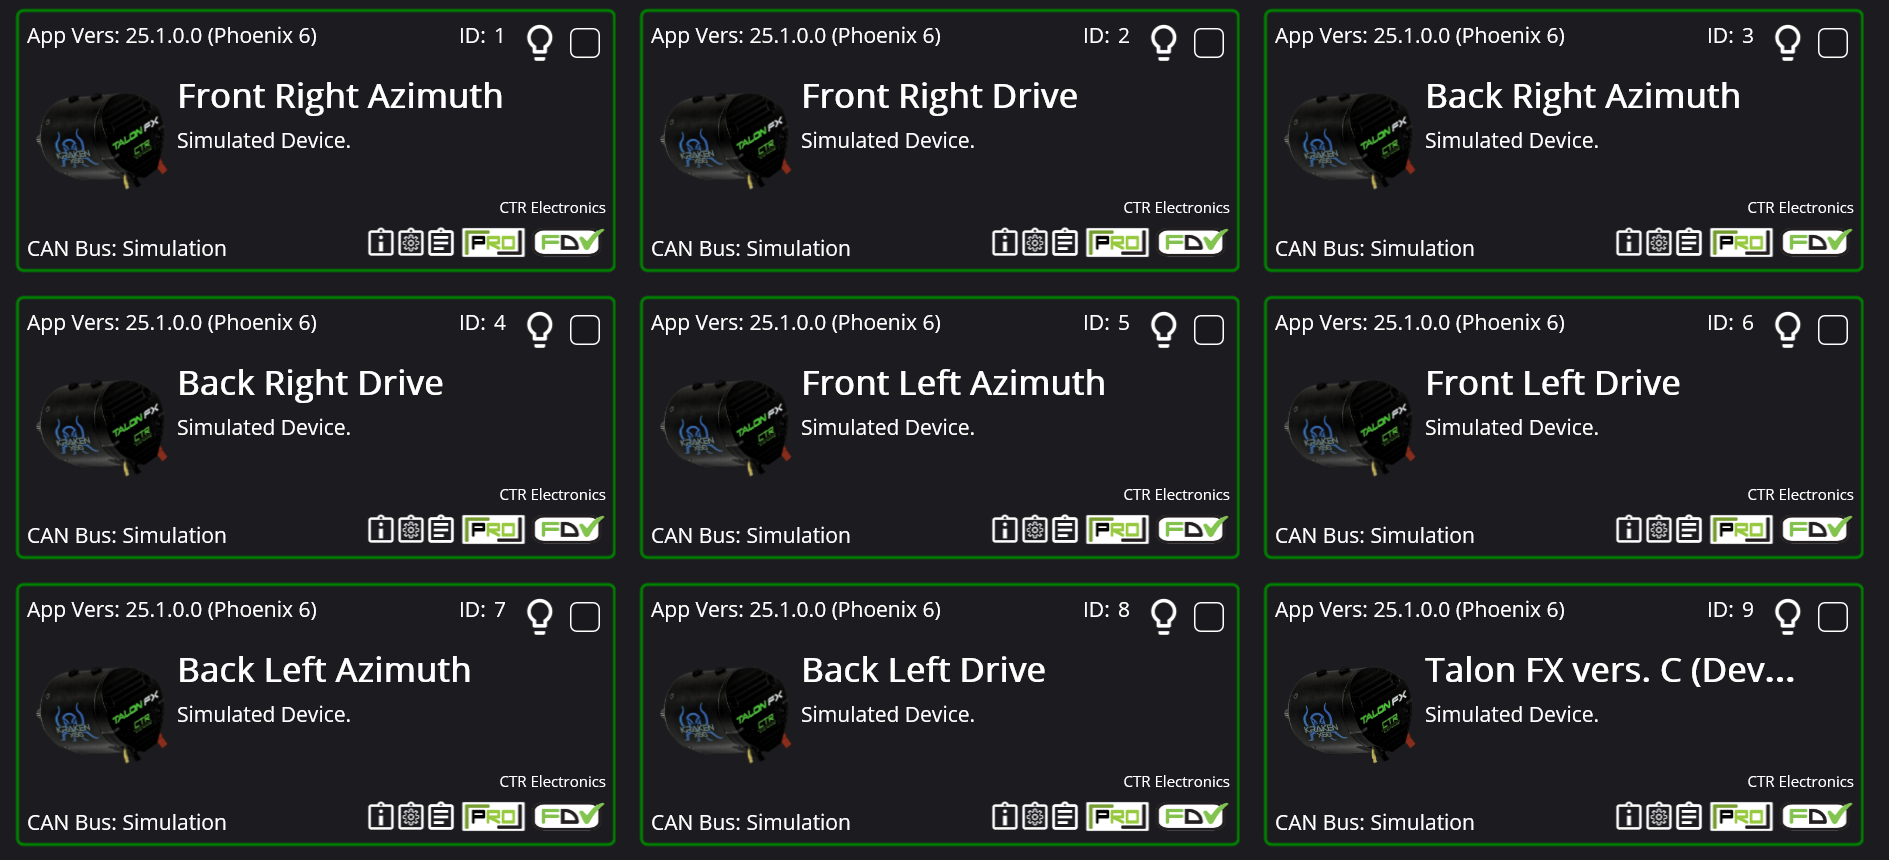
Drivetrain Motors
For the sake of organization and easy access, we ID our drivetrain motors sequentially from 1-8. This is because Phoenix Tuner displays devices in order of ID, and therefore keeps the drivetrain motors at the top of the page:
Update Configs in Code
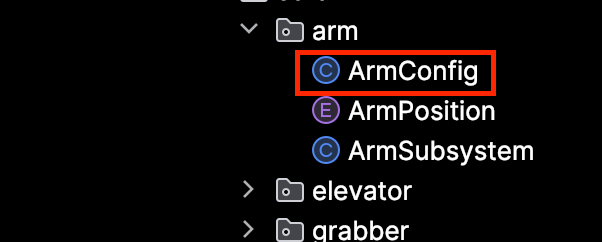
Changing the configs in Phoenix Tuner is important to make sure they are correct, but after this, you need to update the configs in the code. Configurations in Phoenix Tuner reset to what is in code on power cycle, so it is important to keep the configs in code up to date. For example, if the motor I am trying to update is the Arm motor, navigate to the following config file:
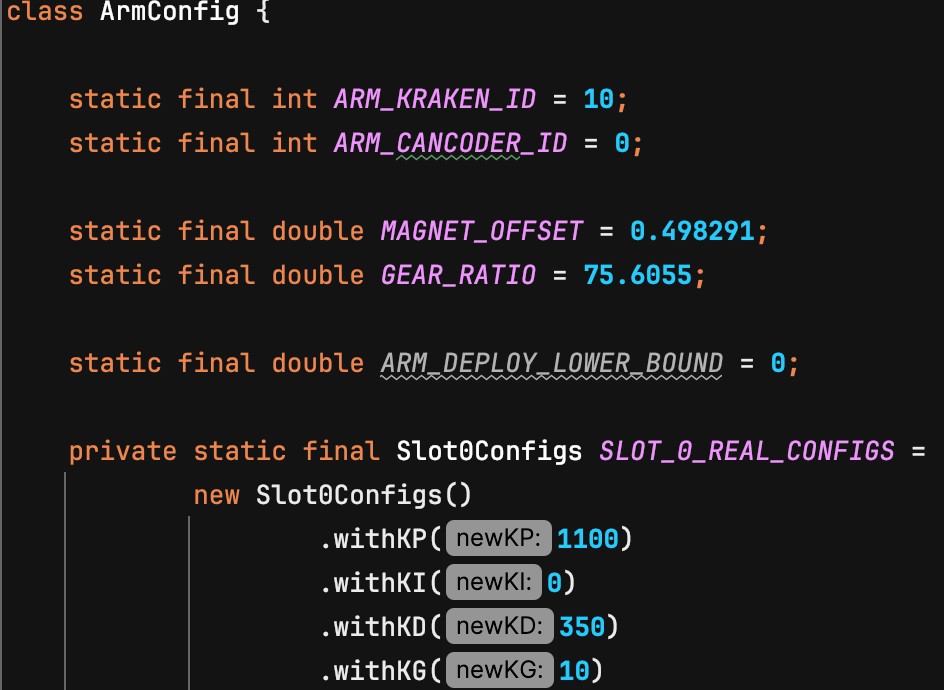
Then find the settings you want to update and change them:
Update Firmware
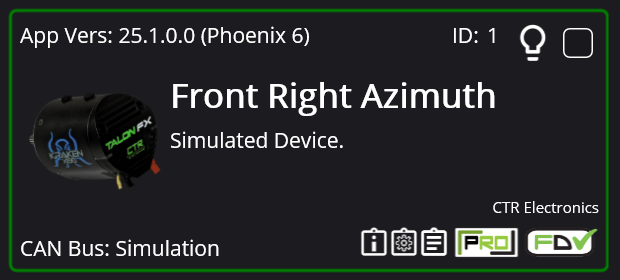
Make sure your motors are using the latest firmware version, usually the border around each device as pointed by the red arrow would be yellow if the firmware needed updating. To update, click the little checkbox in the corner and the upward facing arrow that appears in the top right of your screen.

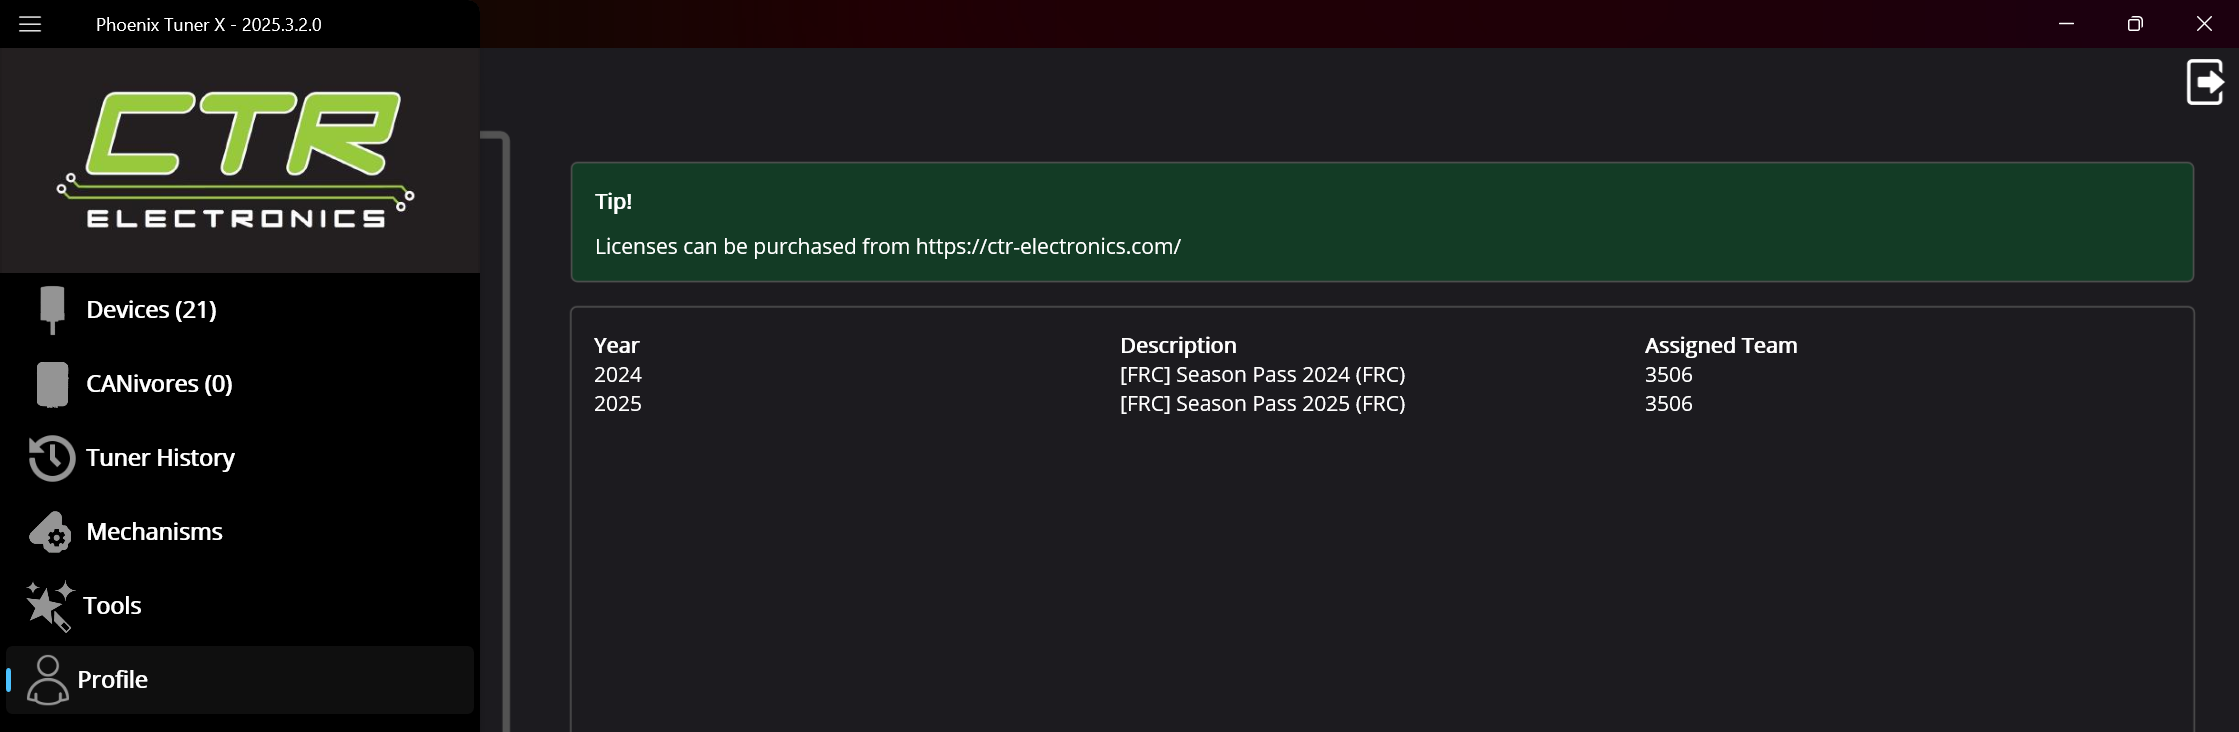
Licensing Motors
For much of the tuning YETI does, the motors must be Phoenix Pro Licensed indicated by the little PRO icon in the corner.
To license a motor, first unsure you are logged in to your CTRE account by checking under Profile on the side panel. The login details in the pinned messages of our Controls channel in Discord. Once logged in you will see what licenses are available to our team. There are only a certain number of license seats per year/season, but it is well over enough for the number of motors we use.
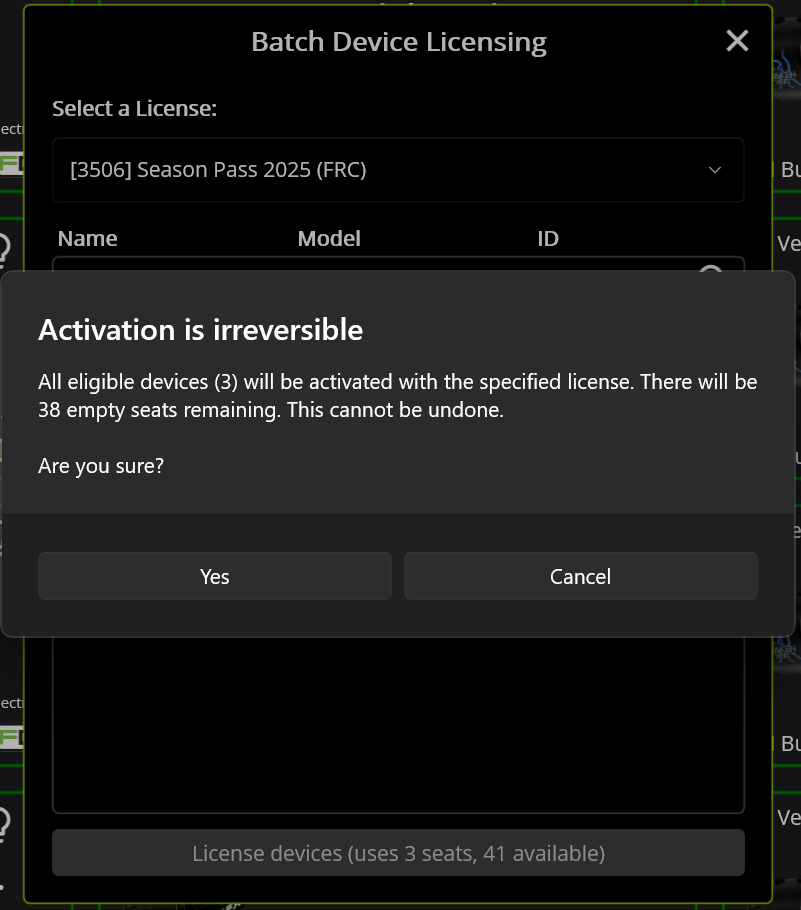
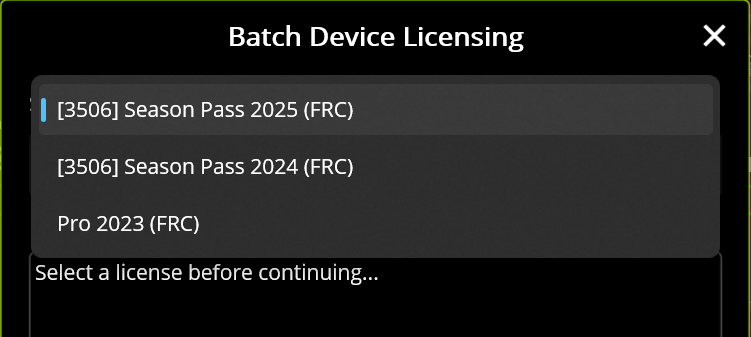
The actual process for licensing is kind of convoluted. You have to be connected to the robot to access the motors and select them, and click the person looking icon in the corner.

That'll bring up this box where you select the current year's pass.
Then it displays the motors you have selected, make sure these are the right ones.
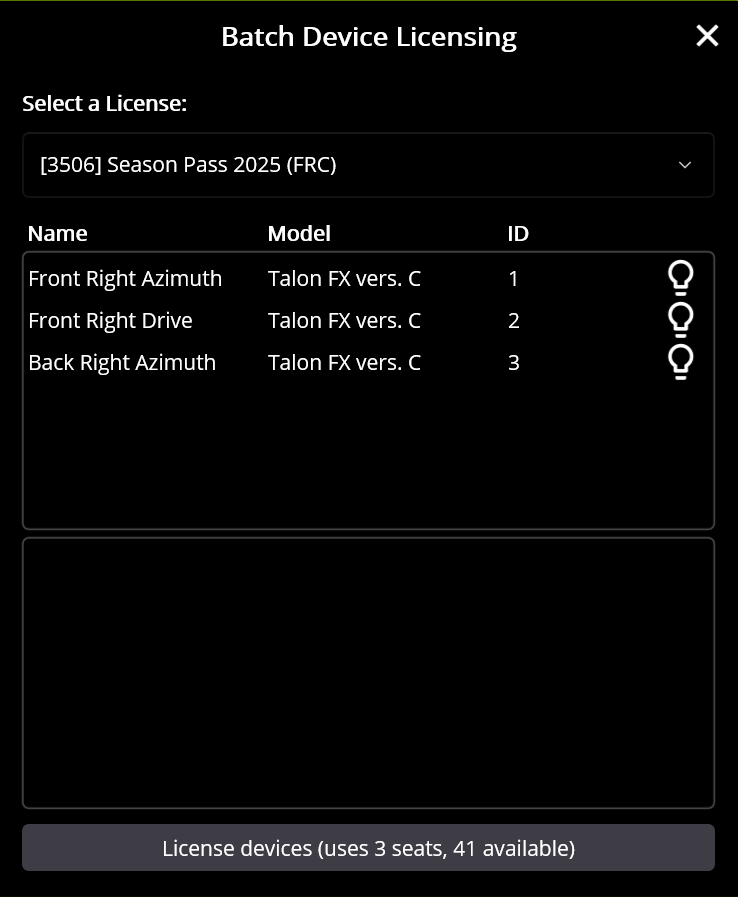
Once you are sure, allow the pop-up to strike fear into your heart.